Working with Search Filters
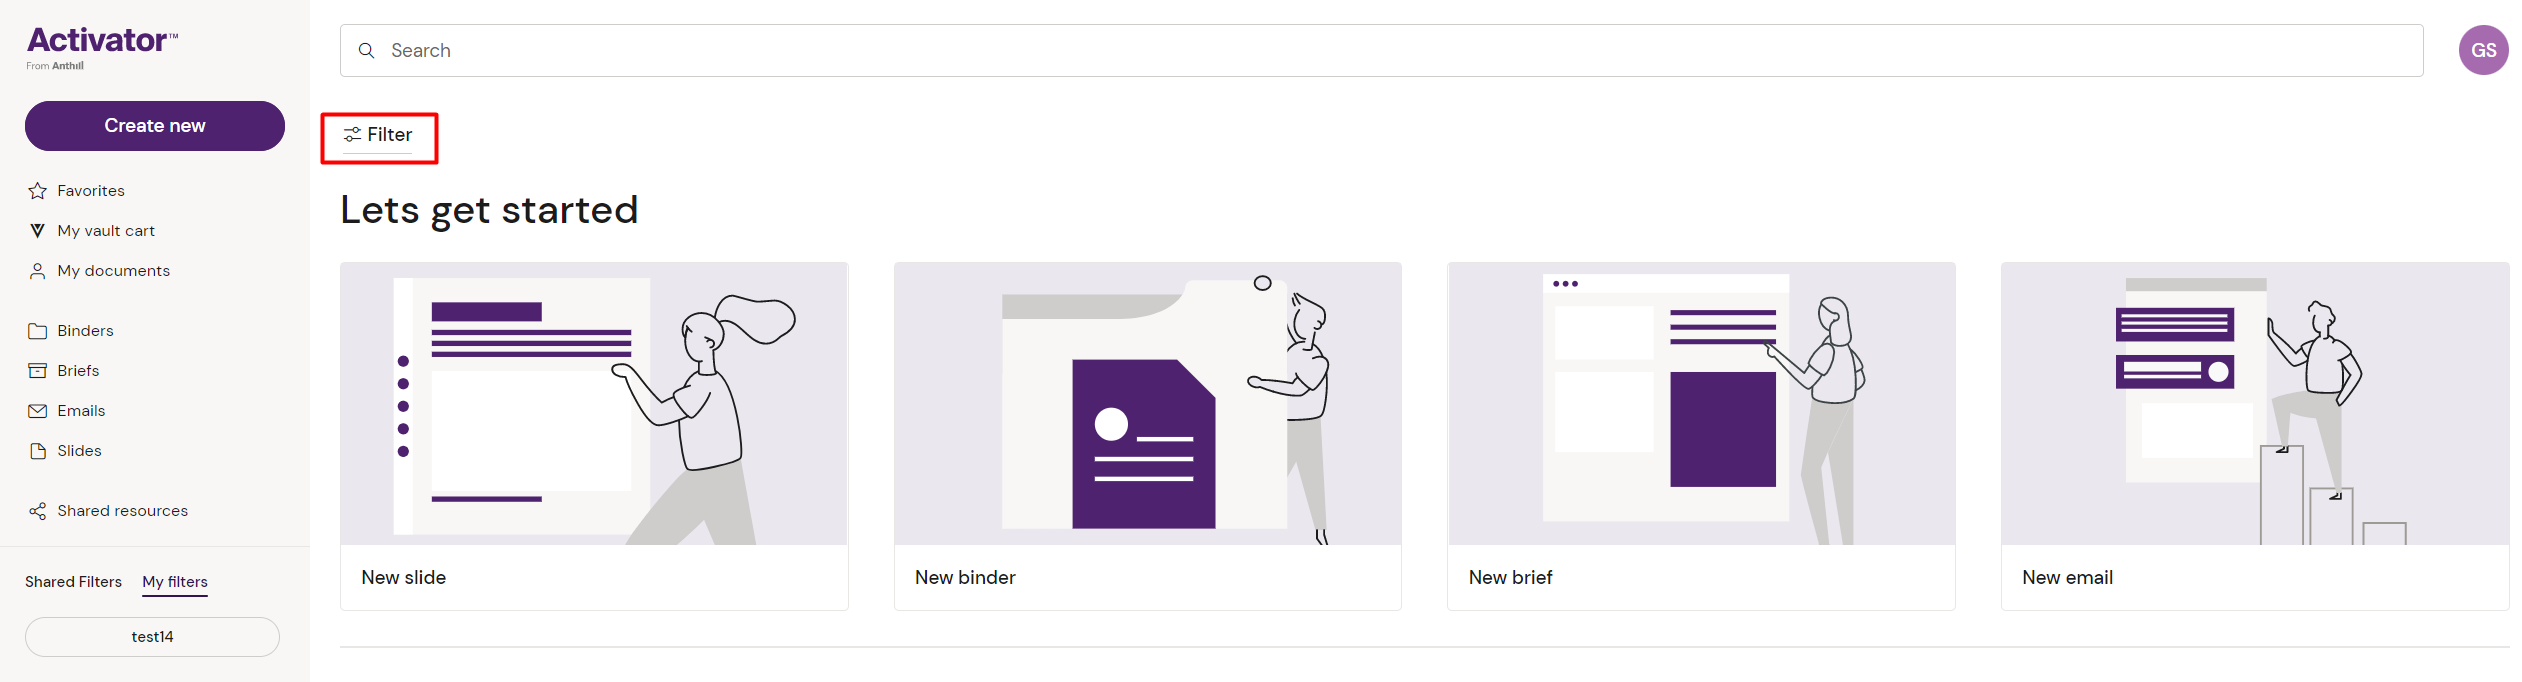
You can use filters to narrow down your search criteria. The filter options, as well as the search bar, are available on the top of the Activator Dashboard. Click on the 'Filter' button to expand the view of the filter options:
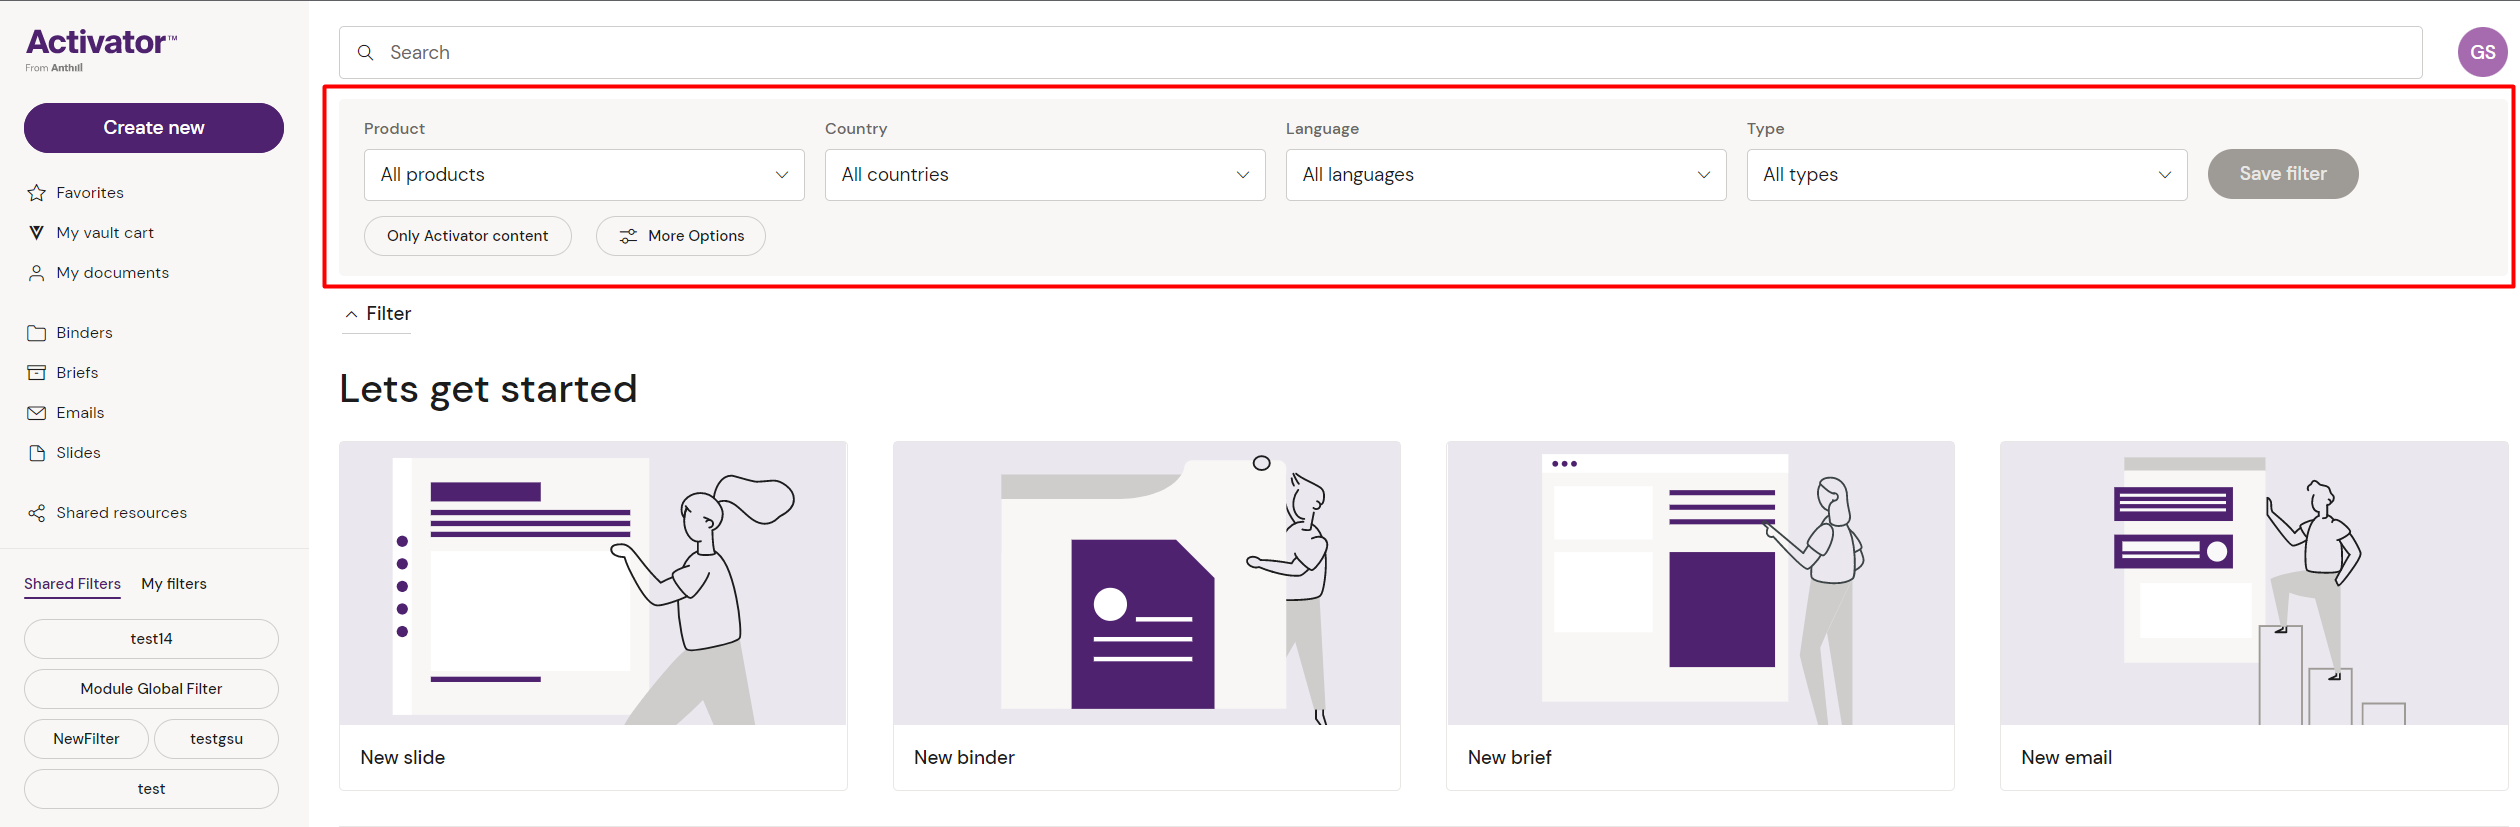
Once you clicked the button, the filter options will expand and show all the below options:
Filter Name | Function |
|---|---|
Product | Limit the search based on product names |
Country | Limit the search based on local markets |
Language | Limit the search based on content language |
Type | Limit the search based on content type |
Activator content (yes/no) | When enabled, only content created in the Activator will appear. |
Date Modified (under “More Options”) | Calendar to limit search for content created within a certain timeframe |
You might have to expand the view further by clicking on ‘Additional Options’ to show the options that are hidden from the current view.
Creating, saving and sharing filters
If you find yourself using a certain filter combination to find the same type of content regularly, you can save the filter combination as a custom filter for later use.
To do so, select the filter combination that you want to use as you would when just filtering search results regularly. Make sure that the the filter option view is expanded to be able to click the ‘Save filter' button. Click the button and select a name for your filter.
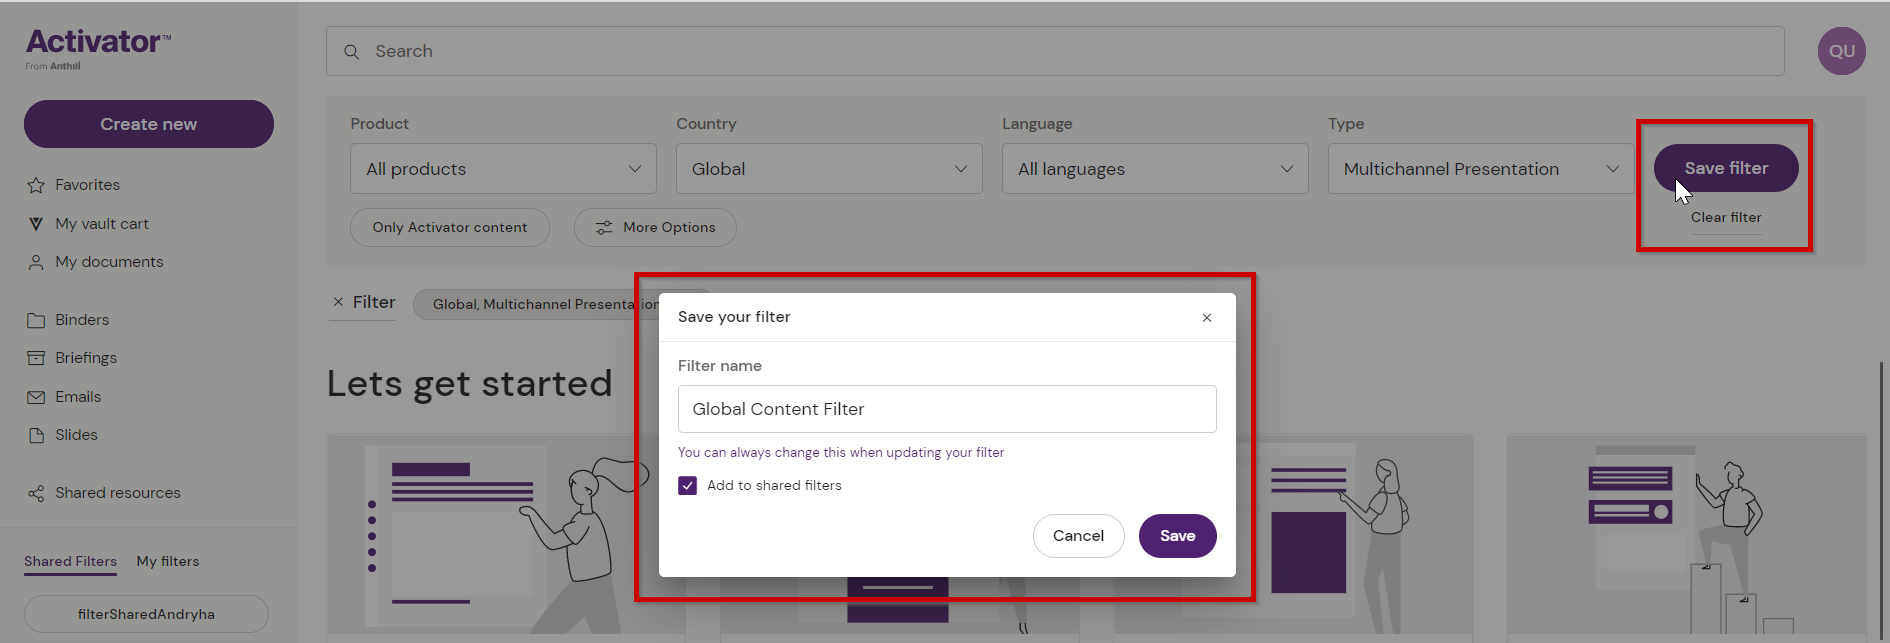
If you want to make this a shared filter, check the ‘Add to shared filters’ option before you save. If you choose to add the filter as a shared filter, it will be available to all other Activator users, not only yourself.
If the filter is only for personal use simply deselect the shared filter option before you save the filter.
Other users do not have the the necessary rights to alter or delete your shared filter. If you want to remove a certain shared filter from the filter overview, you will need to be signed in as the original creator of the given filter to be able to delete it.
Accessing your saved filters
You should now be able to see your newly created filter in the left hand menu under the ‘My filters’ tab:
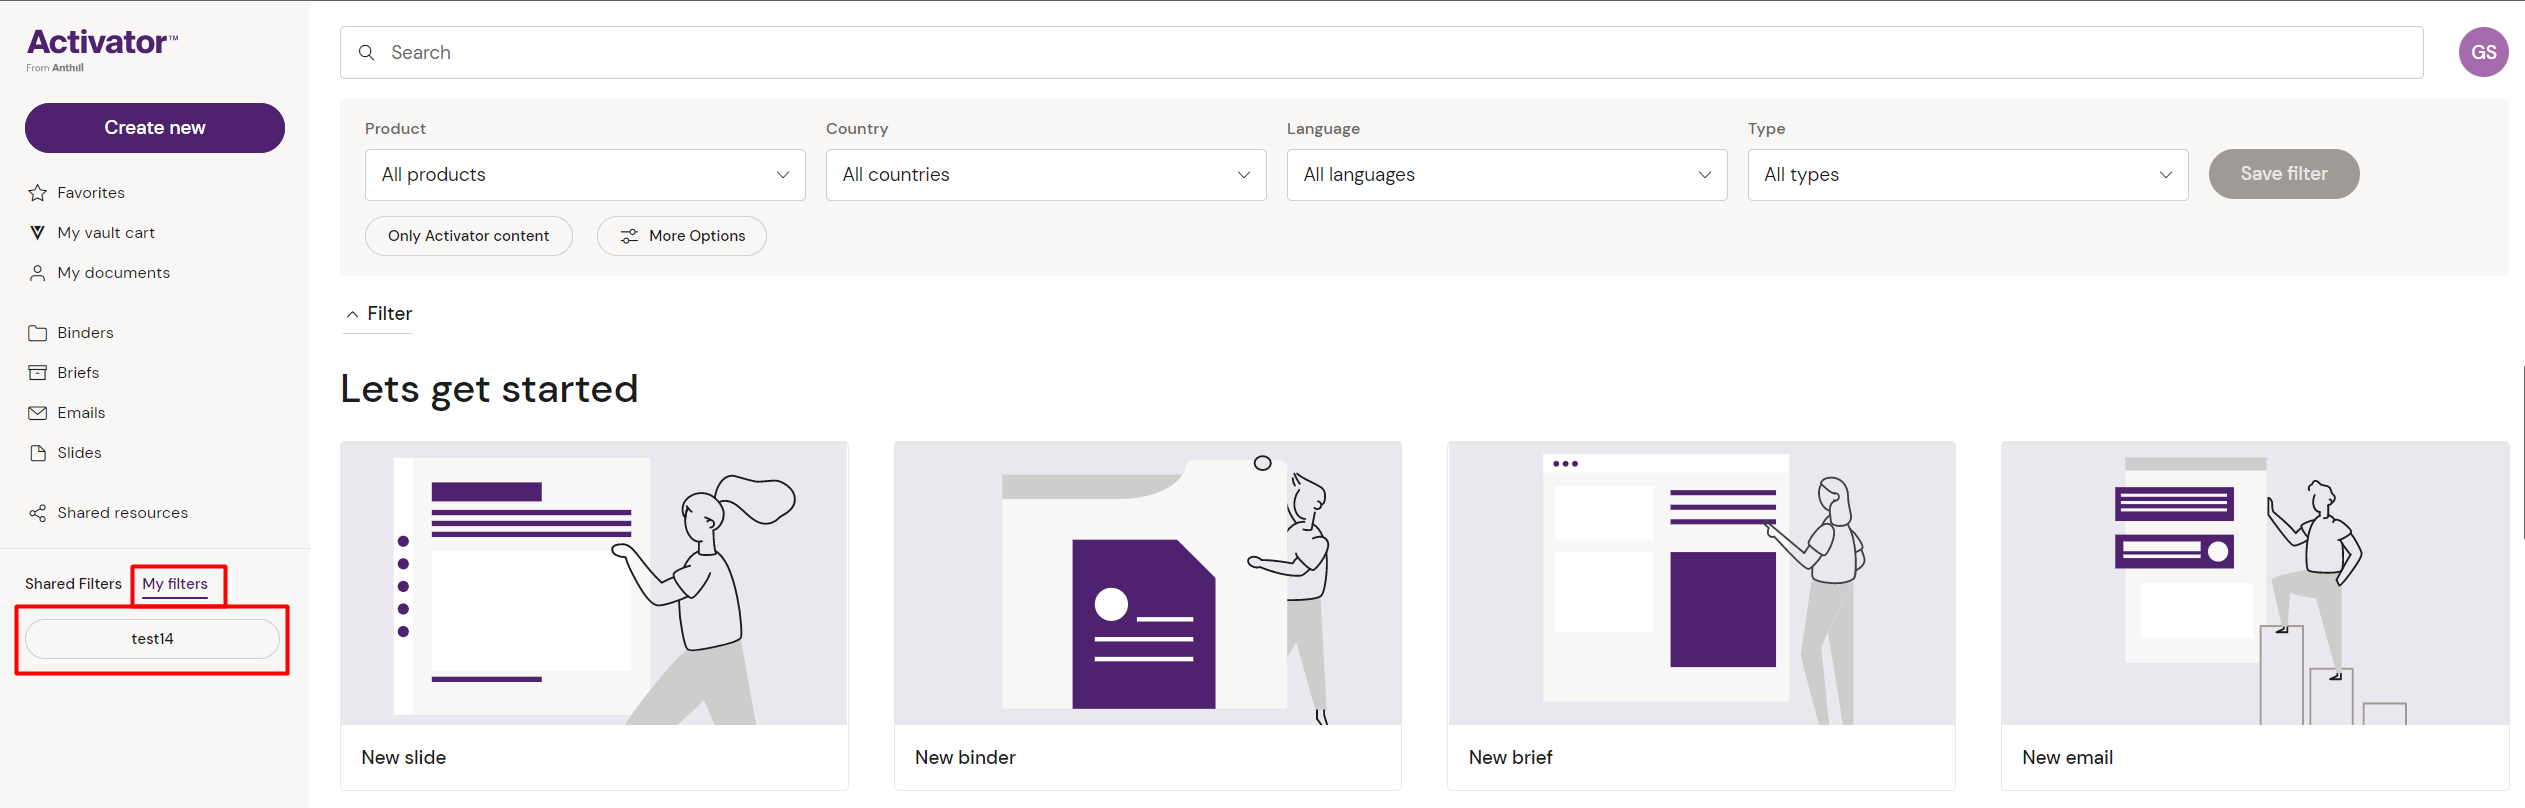
In the tab next to it, you also have the overview over all shared filters, including the shared filters that you have created yourself.
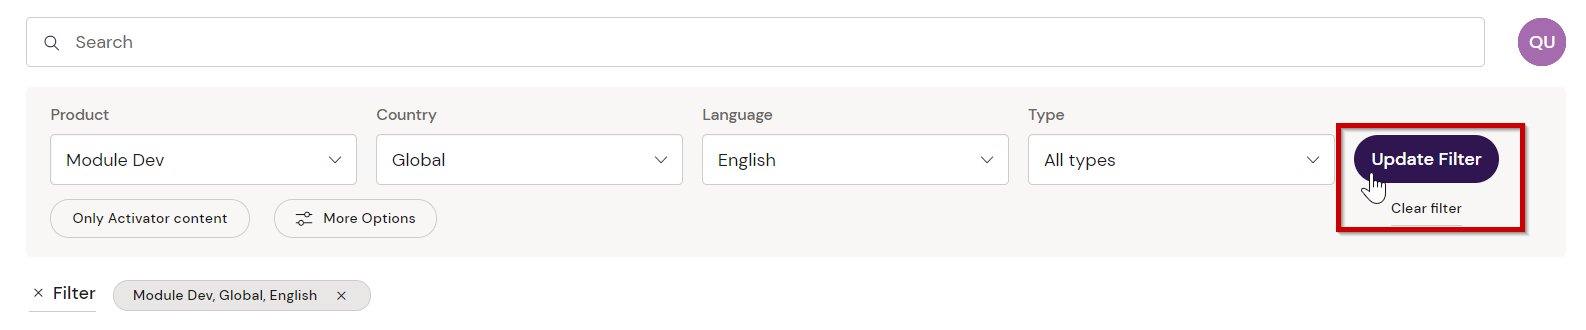
Updating a saved filter
If you wish to edit a filter that you have created by making updates to it, you can do so by selecting your filter from the left hand menu. When the filter has been selected, you can make the necessary changes to it. Once you are happy with your updates, click the ‘Update filter’ button to save your changes.
Deleting an existing filter
Please note that you are only able to delete filters that have been created by your Activator user. You cannot delete shared filters that you are not the creator of.
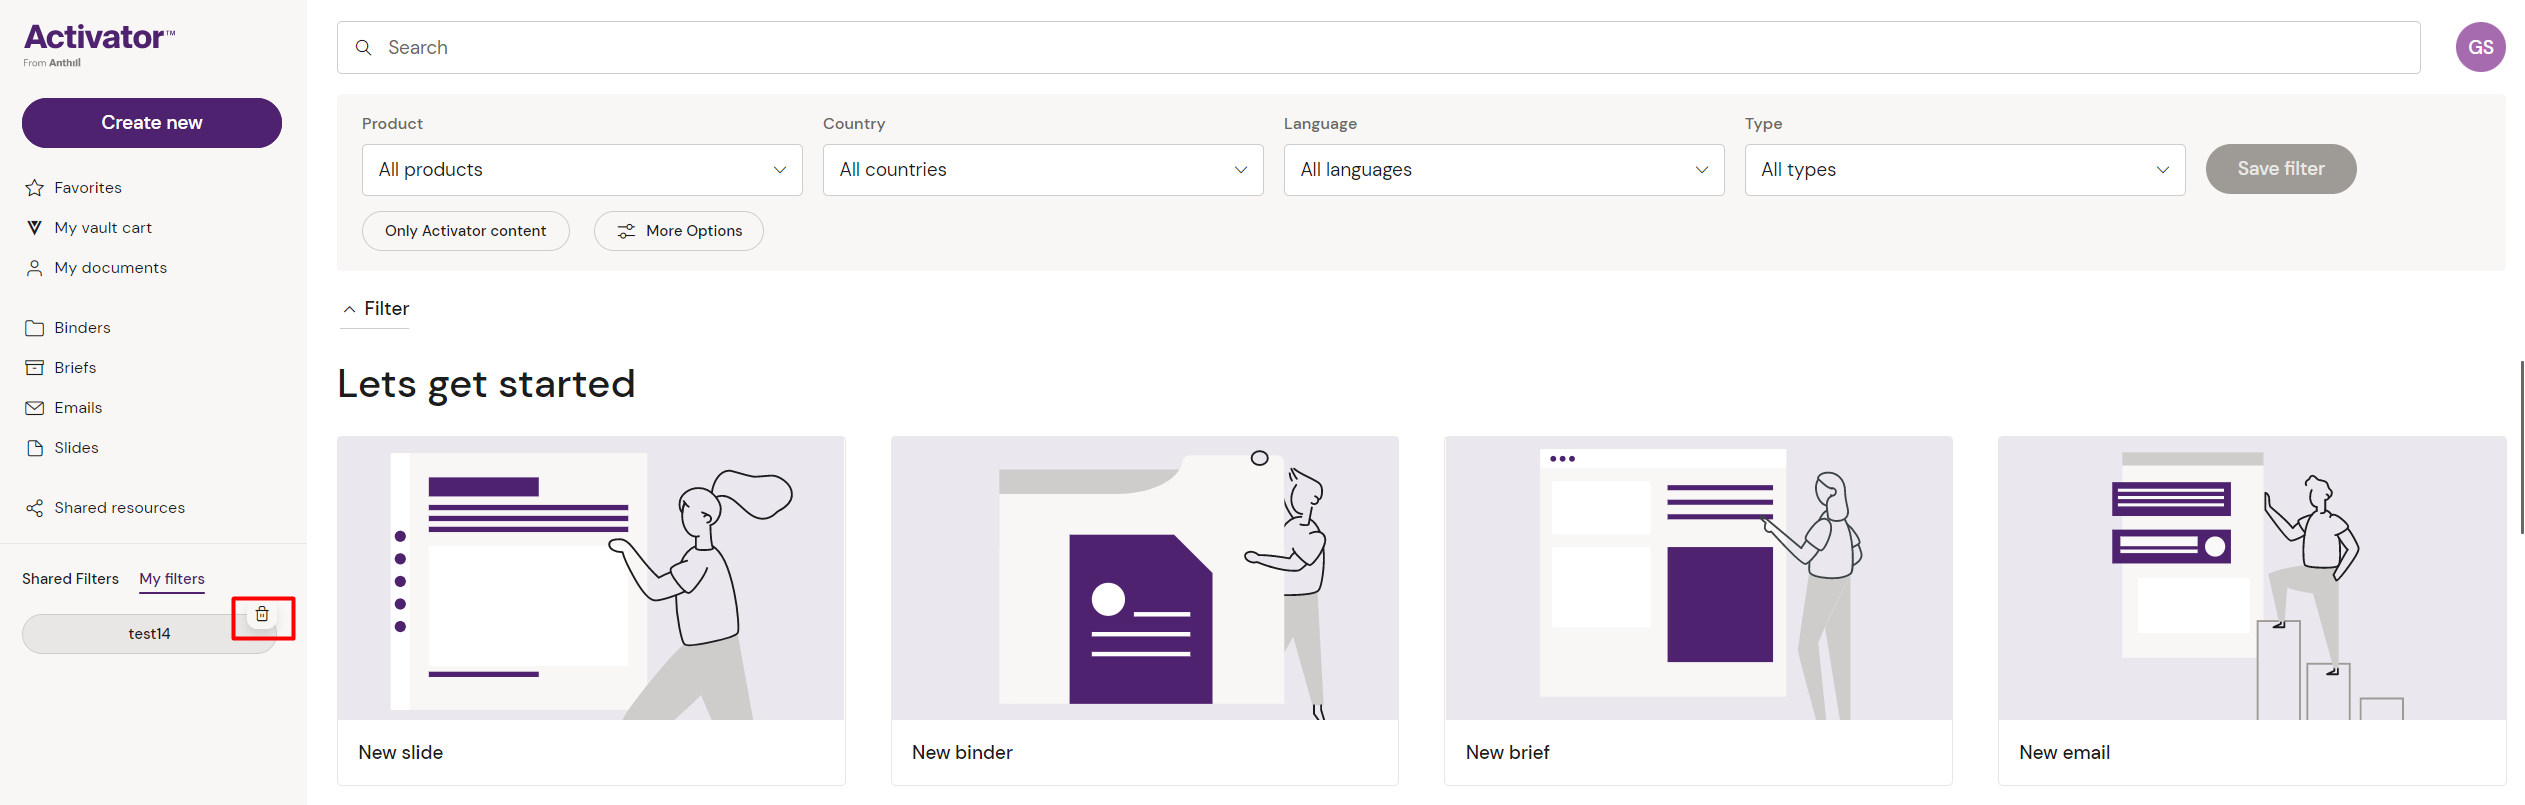
To delete one of your saved filters, simply go to the left hand filter menu and hover over the filter that you want to delete. An icon of a trash can will appear. Click the icon to delete the filter.