Step-By-Step Build an Email Layout
This feature is only available to the Designer role
Follow this Step-by-Step guide to build an Email Layout from scratch.
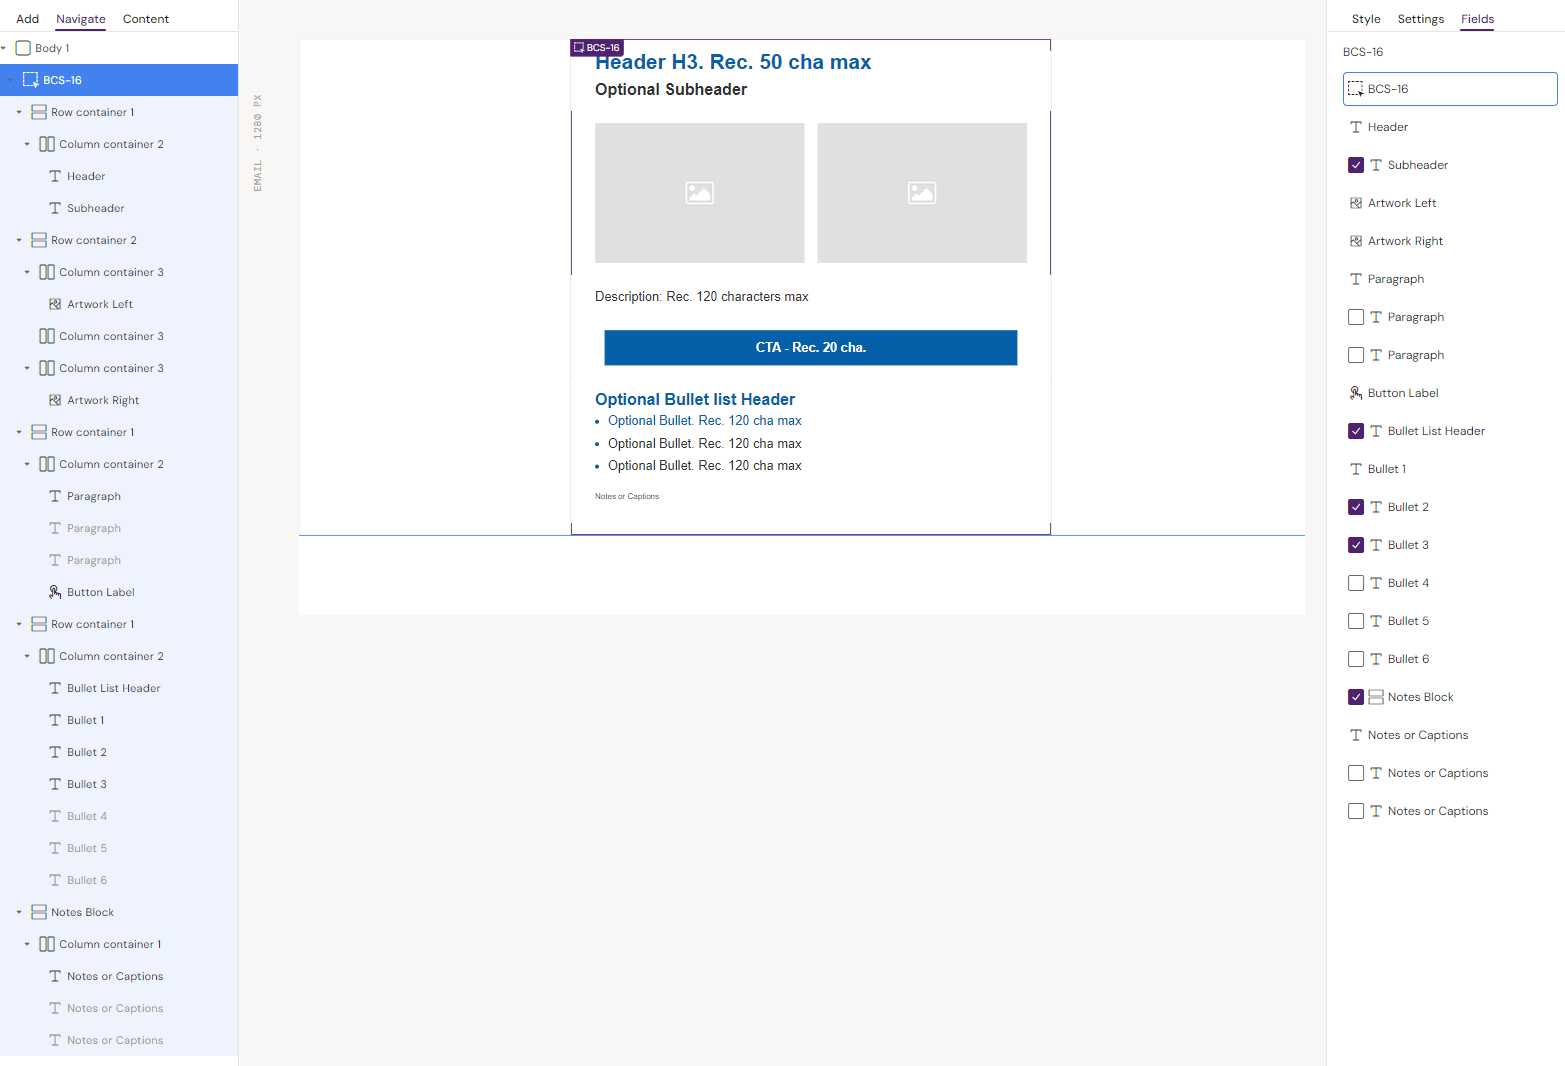
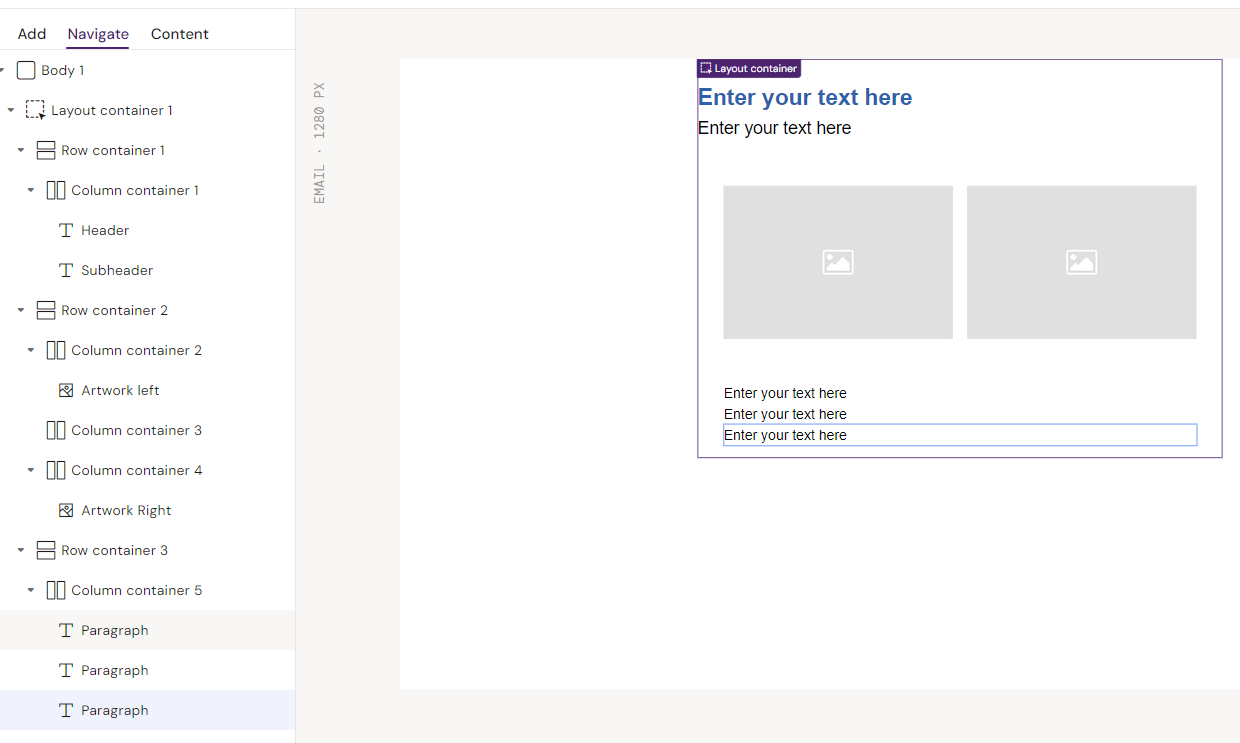
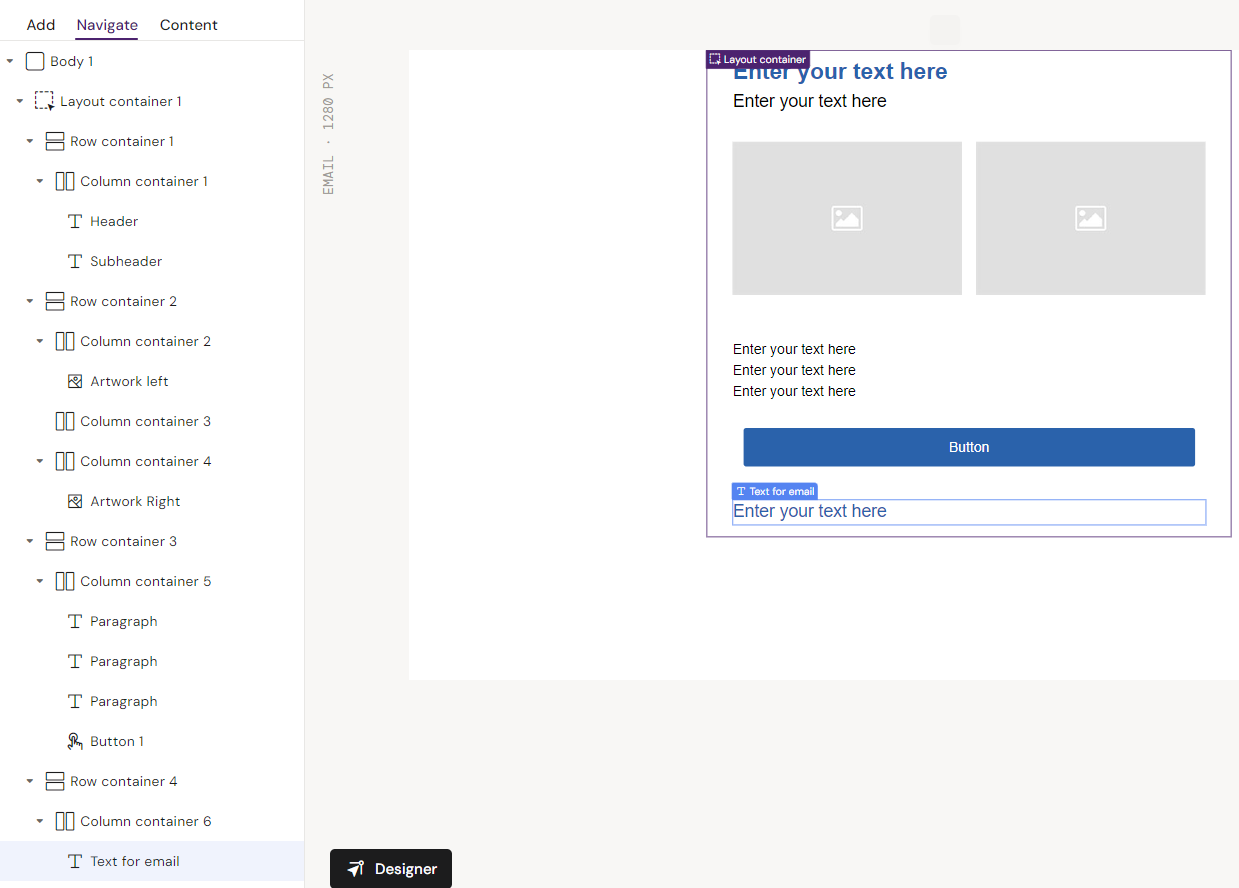
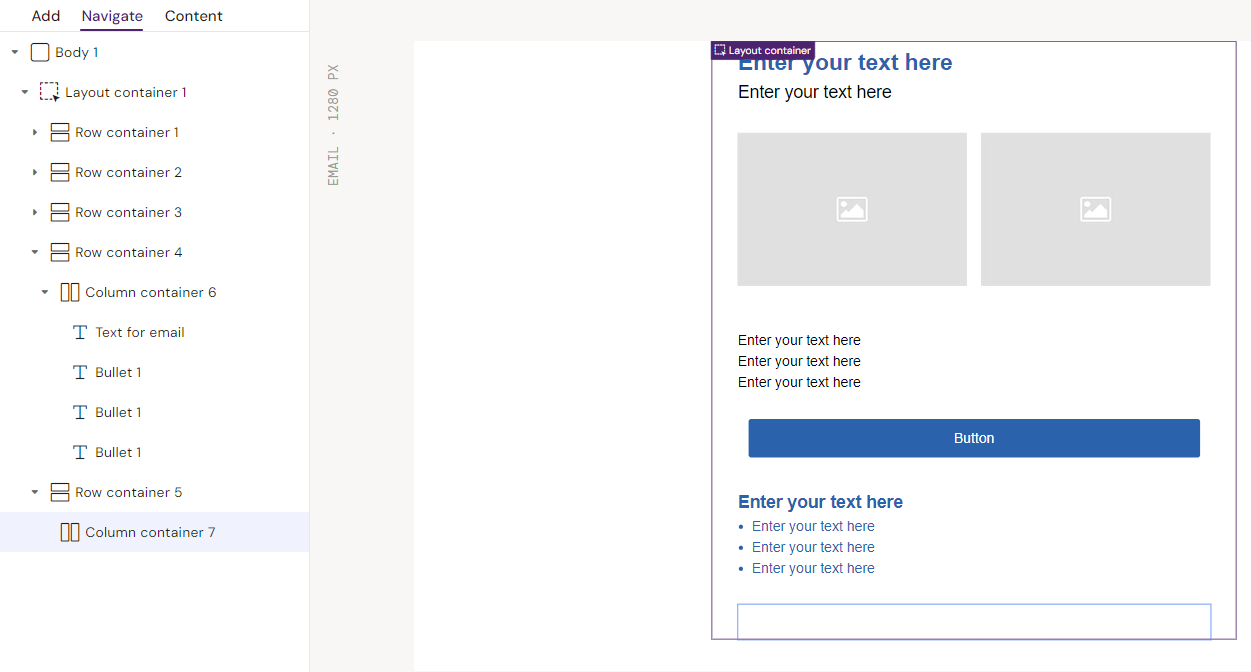
The Layout you are about to build should look close to this when you are done:
BCS-Layout contruction
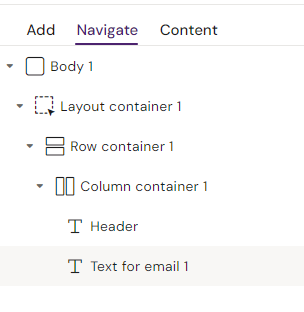
Step-By-Step
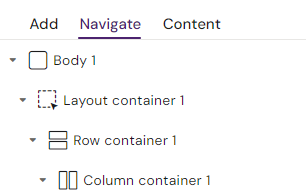
Step 1: Insert a Layout Container in the canvas. This will place a Row Container inside it. Select the Layout Container.

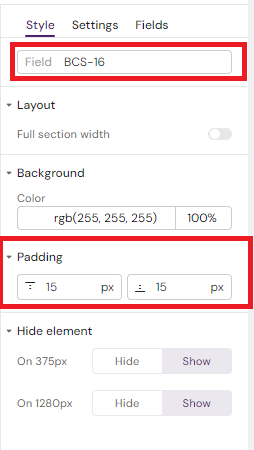
Style the Layout container:
Field: “BCS-16”
Padding:
Top = 15px
Bottom = 15px
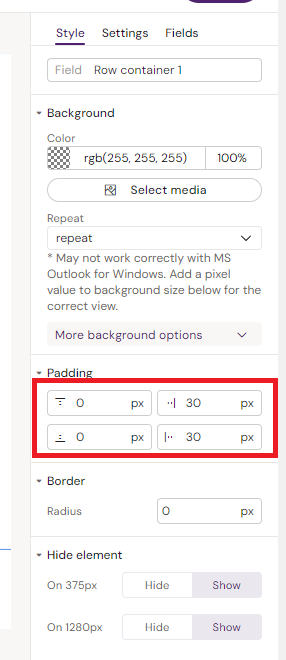
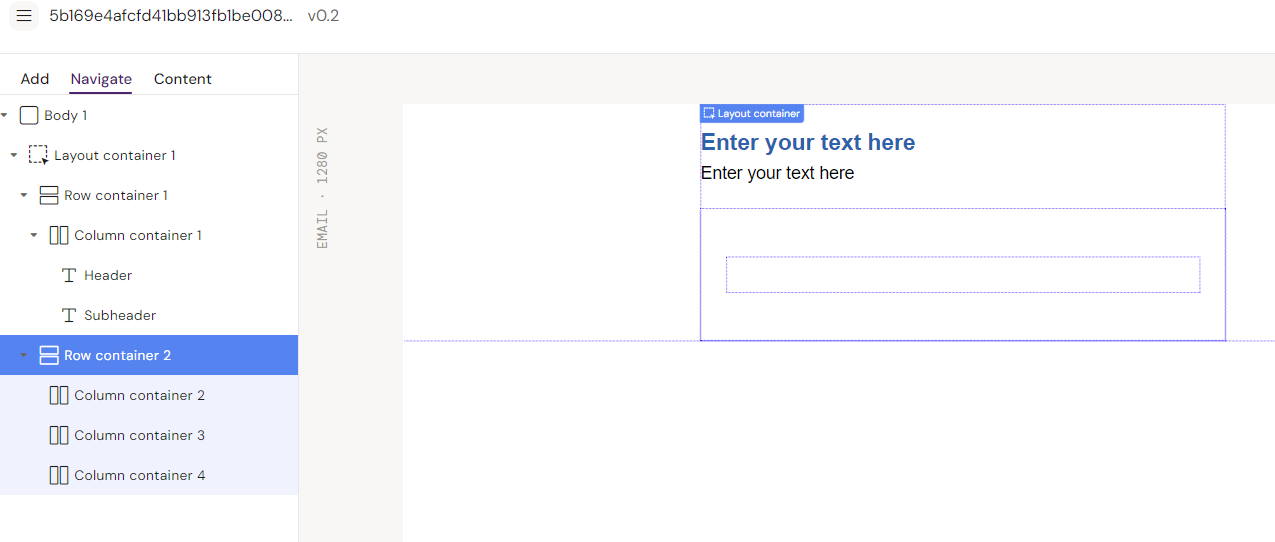
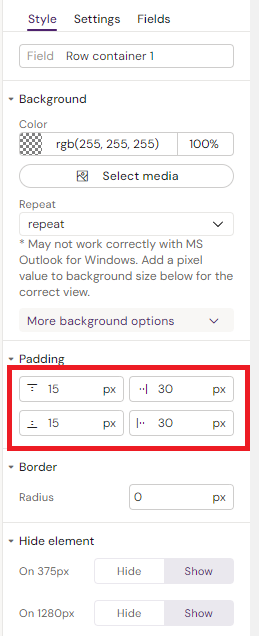
Step 2: Select the 1st Row Container.
Style
Padding:
Top = 0px
Bottom = 0px
Right = 30px
Left = 30px
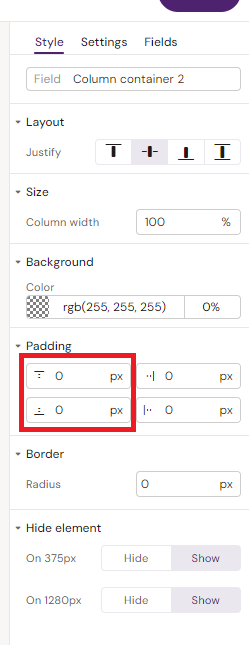
Step 3: Insert a Column container into the Row container.
Style
Padding:
Top = 0px
Bottom = 15px

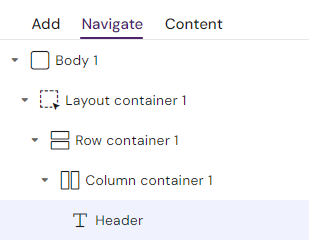
Step 4: Add a Text element to the Column container:
Style
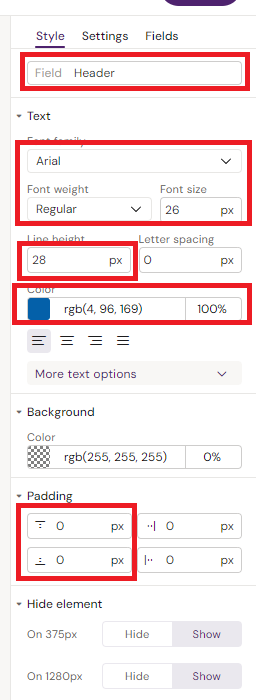
Field: “Header”
Font:
Font Family = Arial
Font weight = Regular
Font size = 26
Line Height = 28
Color = rgb(4, 96, 169) / #0460a9
Padding:
Top = 0px
Bottom = 0px
left = 0px
right = 0px
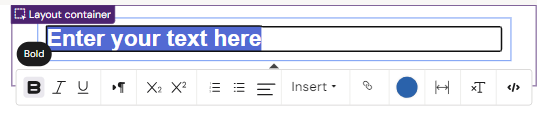
Make the text BOLD using the floating text editor. Double click the text on the canvas to select it:
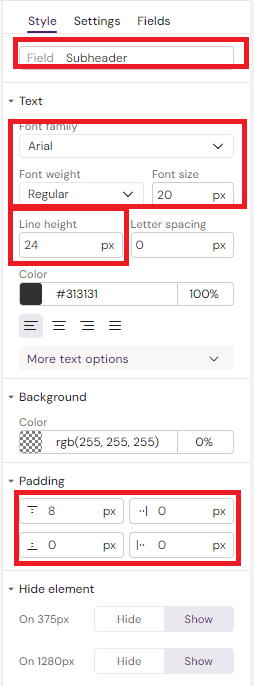
Step 5: Add another Text element to the Column container, or copy the existing one using CTRL+C, CTRL+V / CMD+C, CMD+V.
Style
Field: “Subheader”
Font
Family= Arial
Weight = Regular
Size = 20
Height = 24
Padding:
Top = 8px
Bottom = 0px
Left = 0px
Right = 0px
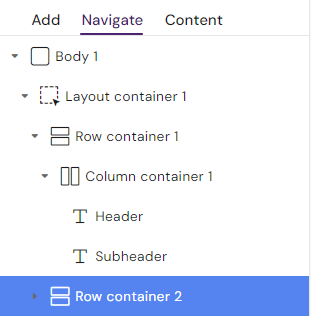
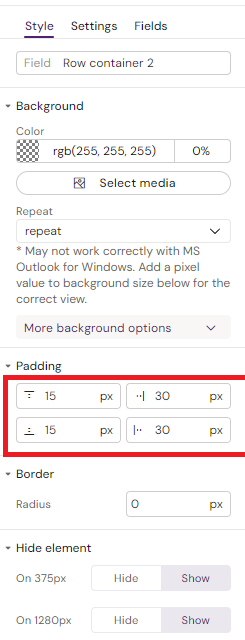
Step 6: Add the 2nd Row container to the Layout container:
Style
Padding:
Top = 15px
Bottom = 15px
Right = 30px
Left =30px
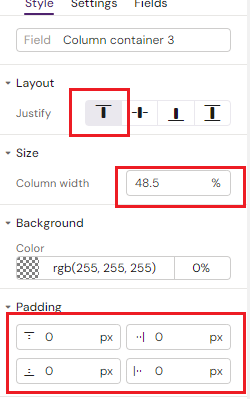
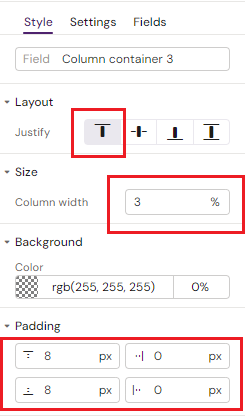
Step 7: Add 3 Column containers into the Row container.
Style - From top and down:
Justify = Start on all
Column width = 48.5% on the first Column
Padding = 0 on all sides
Column width = 3% on the second Column
Padding = Top/bottom = 8px
Column width = 48.5% on the third Column
Padding = 0 on all sides
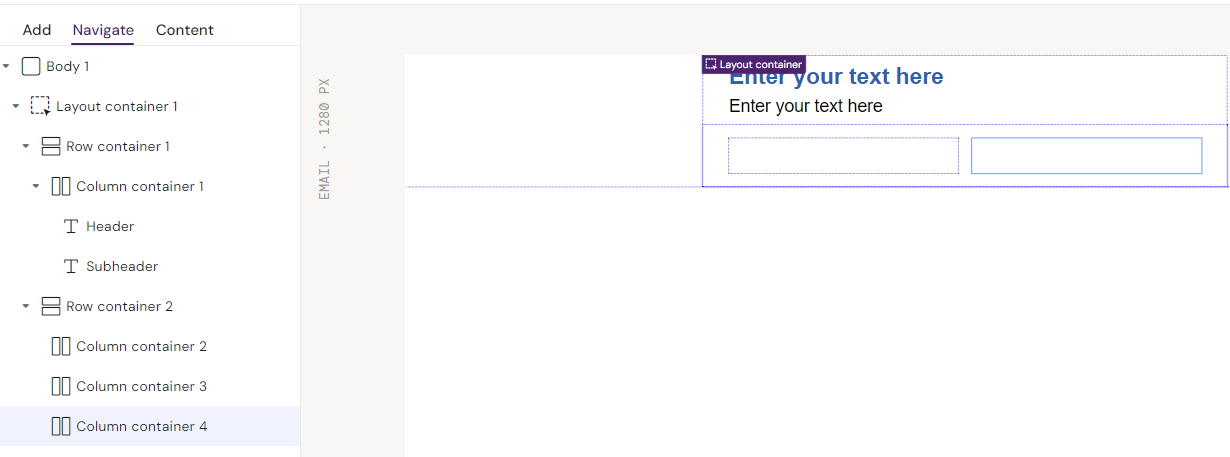
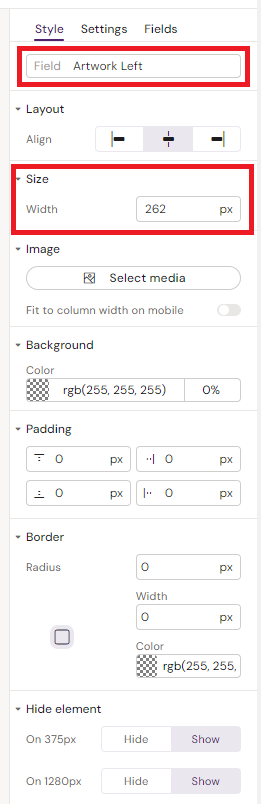
Step 8: Add an Image container in the first Column.
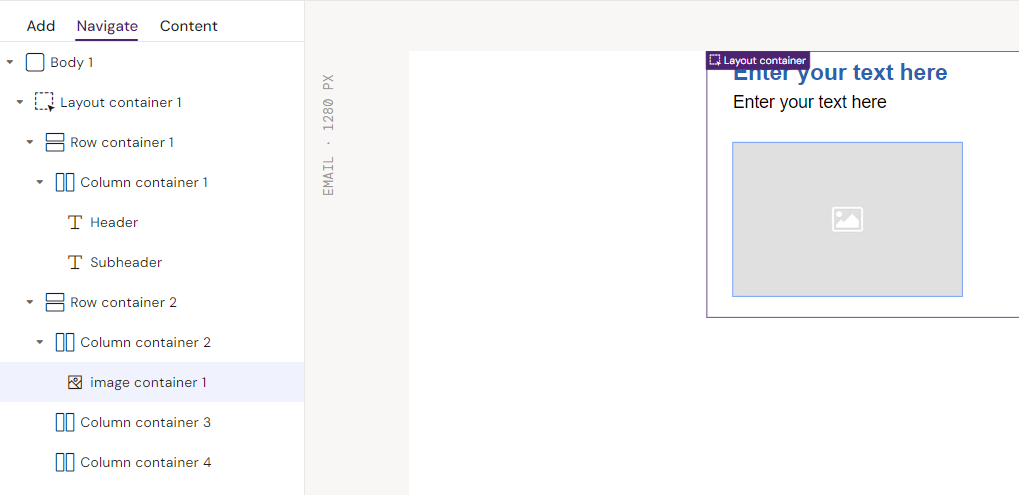
Style
Field: “Artwork Left”
Size= 262px
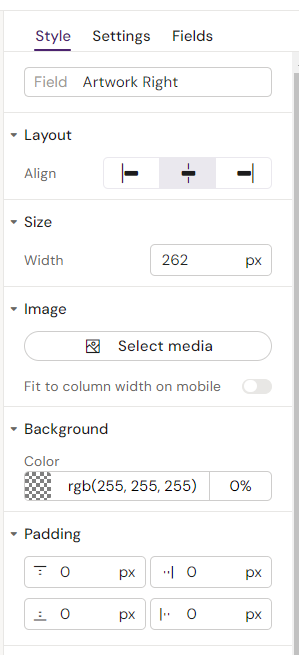
Step 9: Insert an Image container in the third Column - You can copy the left you already insertedto save time on styling it. CTRL+C, CTRL+V / CMD+C, CMD+V.
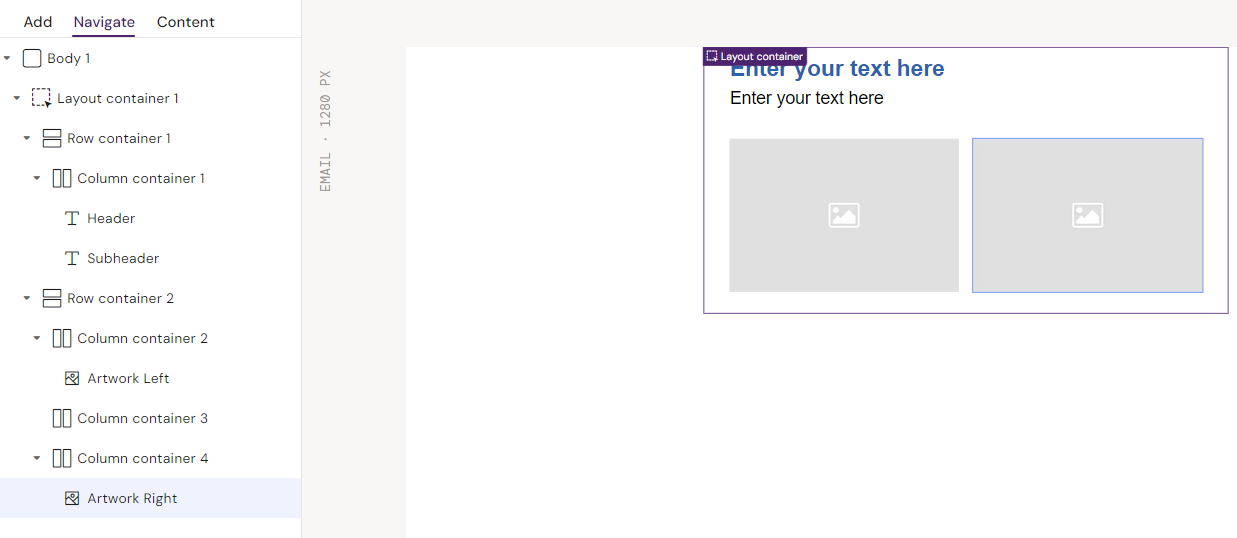
Style
Field: “Artwork Right”
Size= 262px
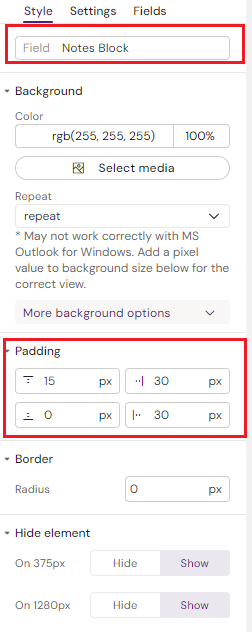
Step 10: Add a 3rd Row Container to the Layout Container.
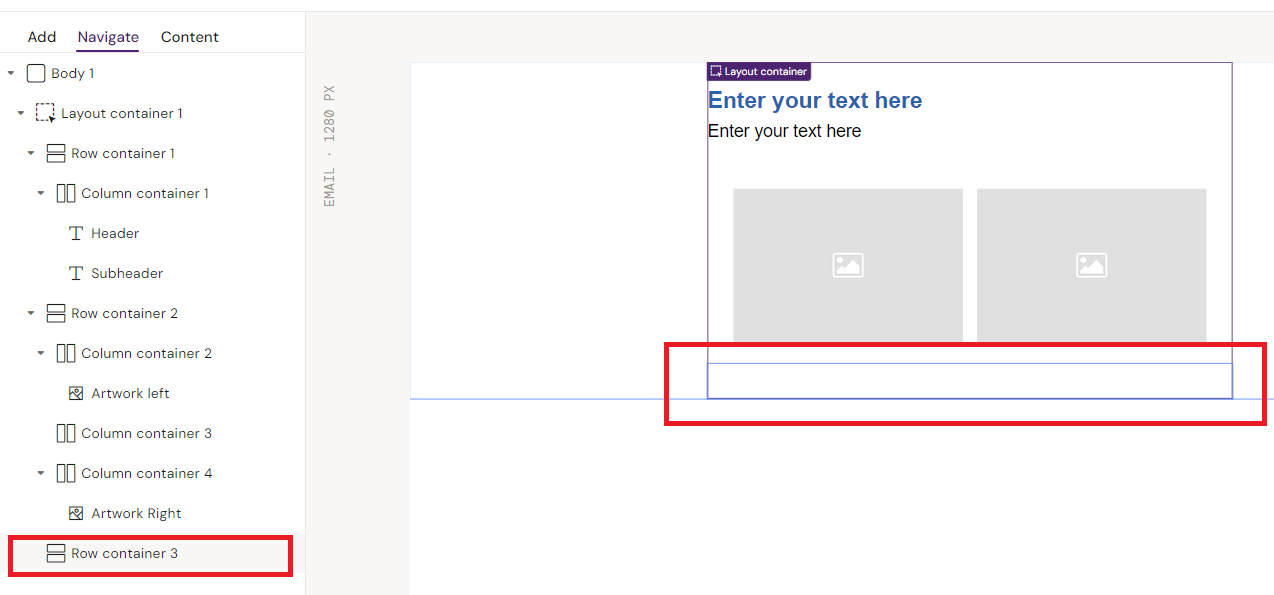
Padding:
Top = 15px
Bottom = 15px
Right = 30px
Left =30px
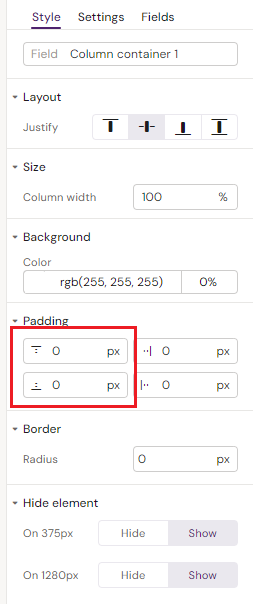
Step 11: Insert a Column container into the Row container.
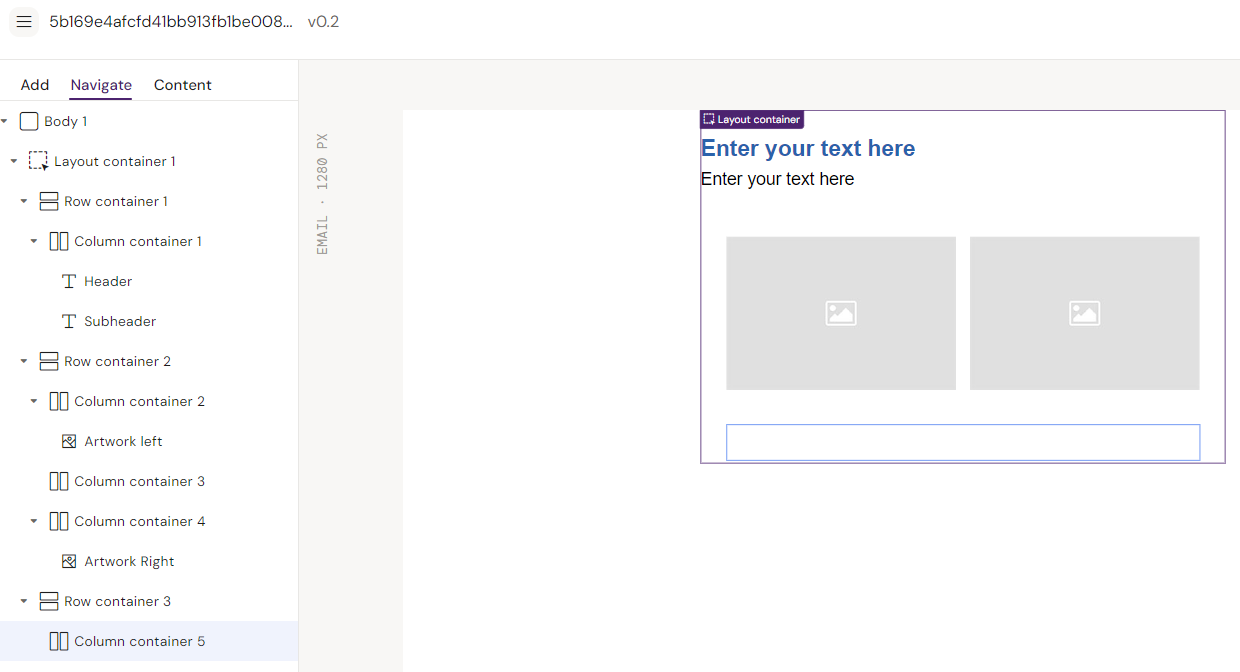
Style
Padding:
Top/bottom = 0
Left/right = 0
Step12: Insert a text element in the Column container.
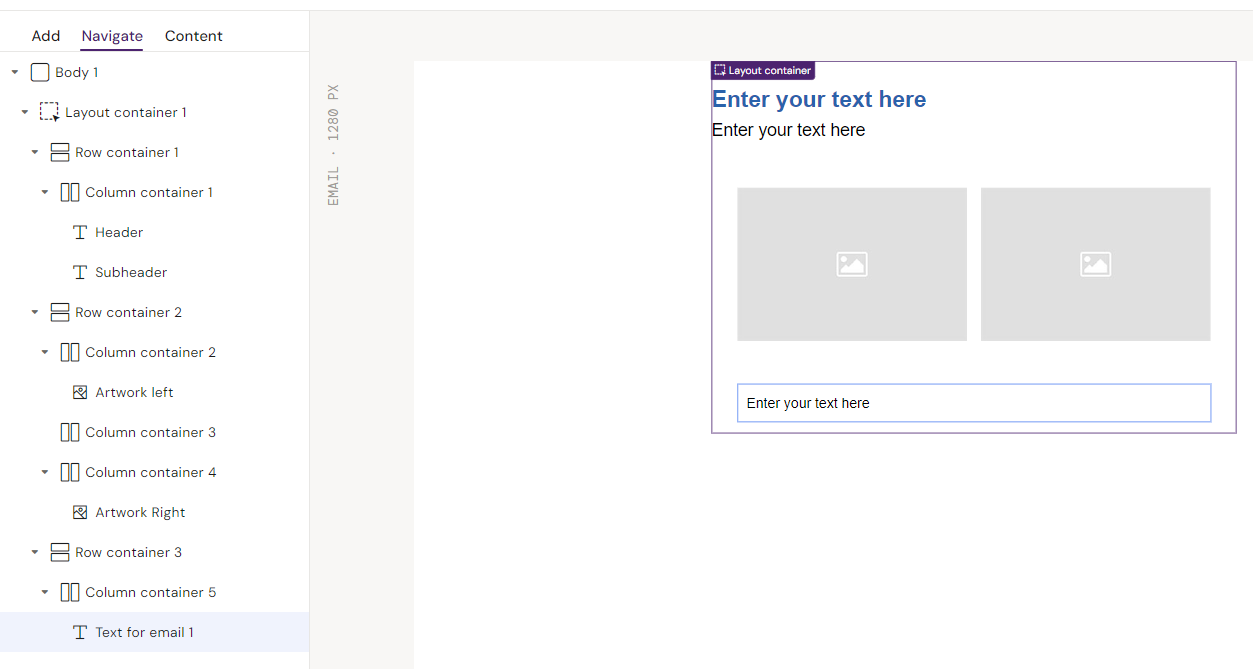
Field: “Paragraph”
Text:
Family = Arial
Weight = Regular
Size: 16
Line height = 24
Padding:
Top/bottom = 0
Right/left = 0
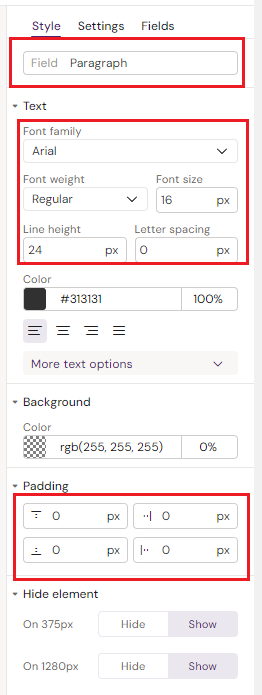
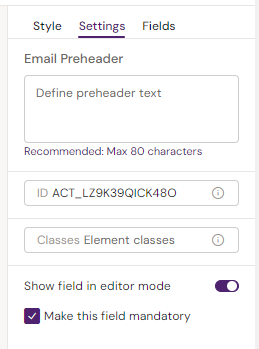
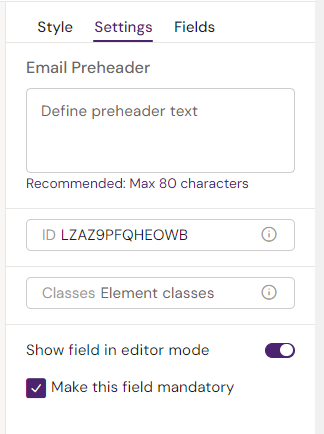
Settings: Make this paragraph mandatory:
Step 13: Insert additional paragraphs in the same column container - use copy paste to save time on styling. CTRL+C, CTRL+V / CMD+C, CMD+V.
Settings: Make these paragraphs optional. Ensure the checkmark is not present.
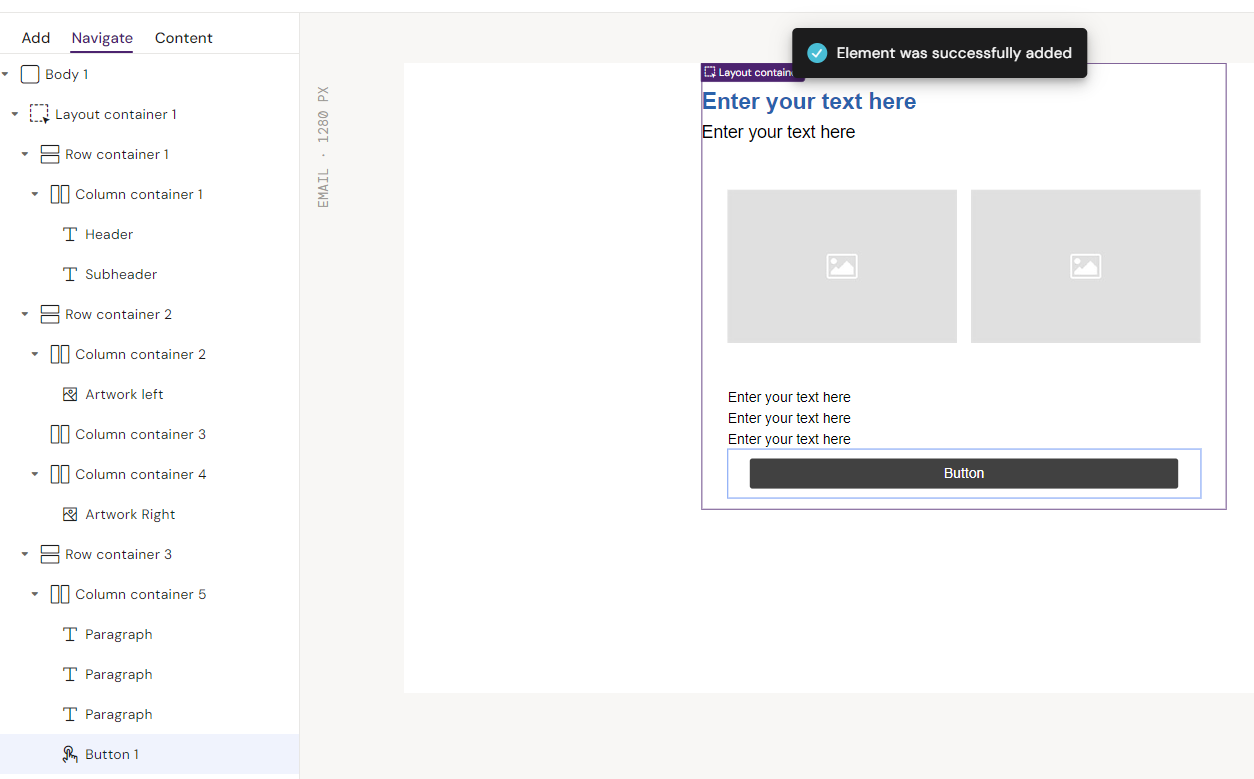
Step 14: Insert a Button element into the Column container.
Style
Field: “Button label”
Size:
H / Height = 44px
Text:
Family = Arial
Weight = Regular
Size = 16
Line height = 150
Background
Color = rgb(4, 96, 169) / #0460a9
Padding:
Top = 30px
Bottom = 0px
Right = 12px
Left = 12px
Inner Padding:
Top = 10px
Bottom = 10px
Right = 16px
Left = 16px
Border:
Radius = 0px

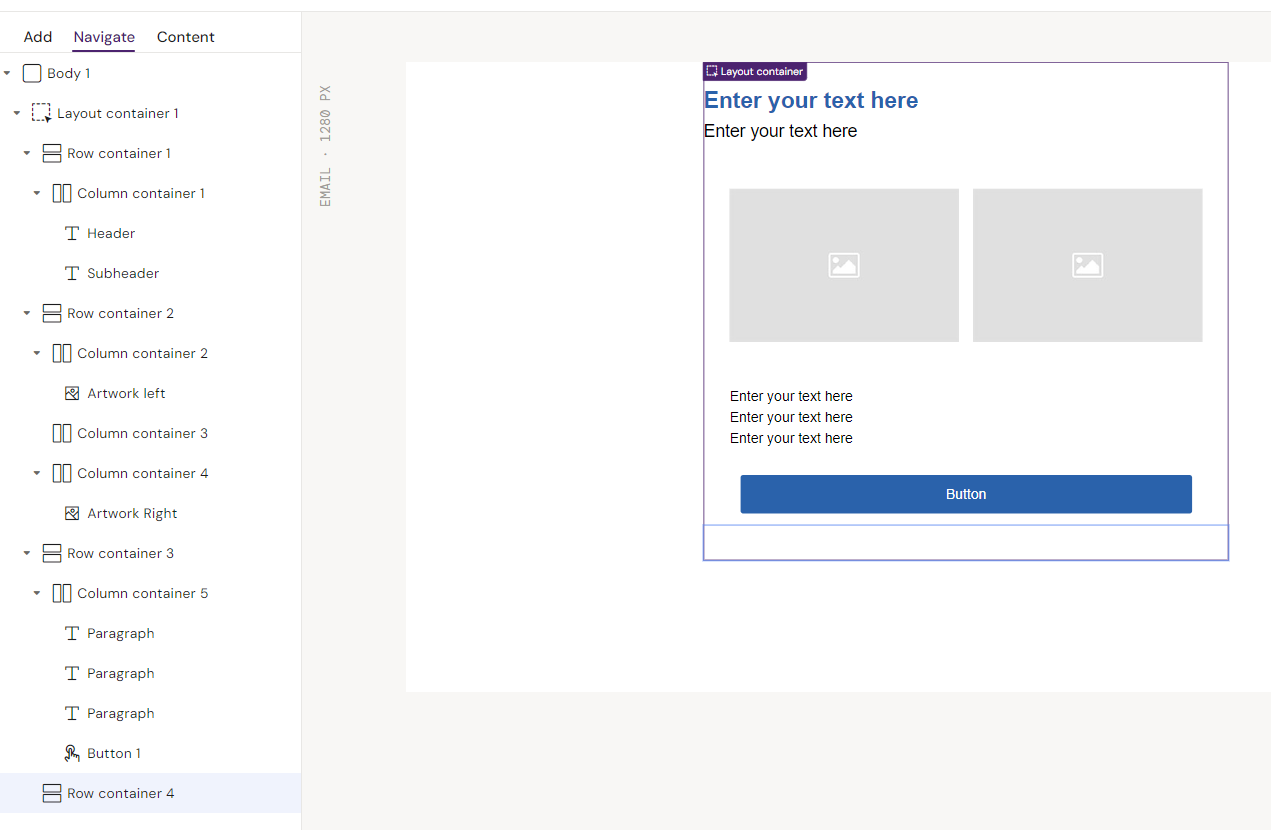
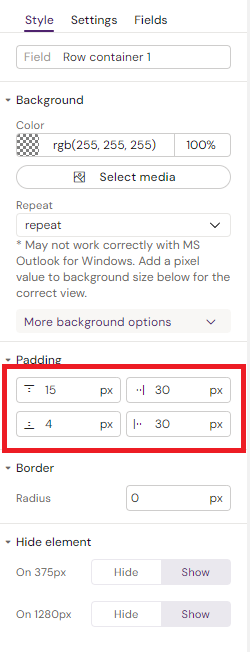
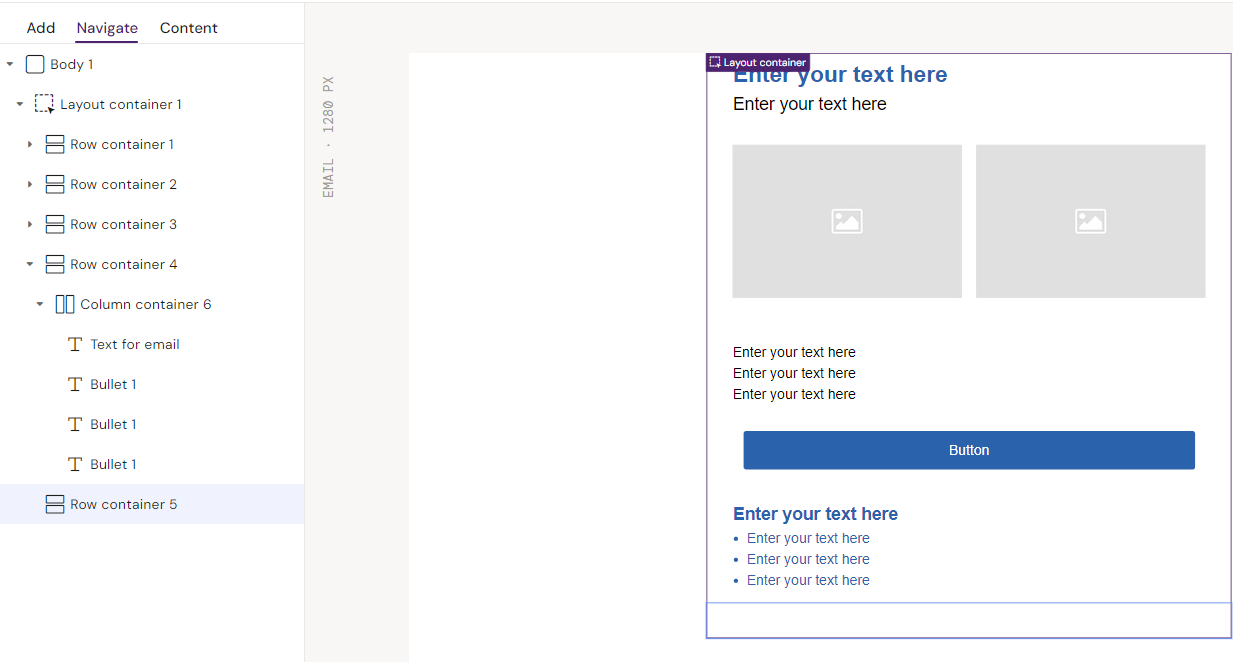
Step 15: Insert a 4th Row container in the Layout container.
Style
Padding:
Top = 15px
Bottom = 4px
Right = 30px
Left = 30px
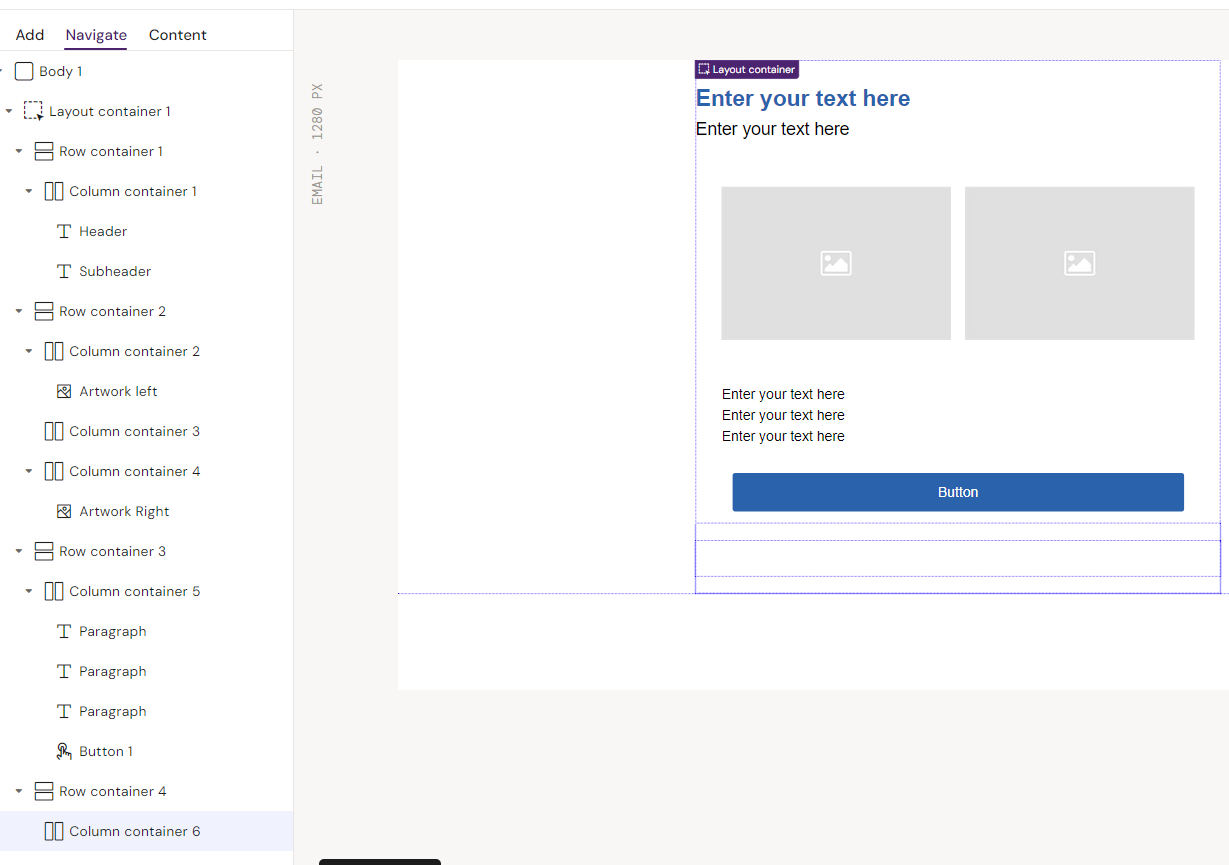
Step 16: Add a Column container to Row container.
Style
Padding:
Top/Bottom = 0px
Step 17: Add a Text element to the Column container.
Style
Field: “Bullet List Header
Font:
Family = Arial
Weight = Regular
Size = 20px
Height = 24
Color = rgb(4, 96, 169) / #0460a9
Padding:
Top = 0px
Bottom = 4px
Right = 0px
Left = 0px
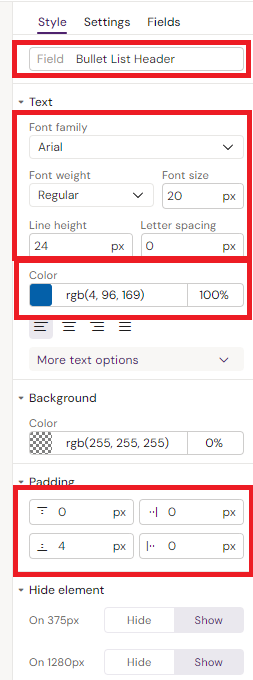
Double click on the text. Make text BOLD using the floating text editor.

Step 18: Add another text element inside the column container - Copy the previous one to save time on styling.
Style
Field: “Bullet 1
Font:
Family = Arial
Weight = Regular
Size = 16px
Height = 24
Color = rgb(4, 96, 169) / #0460a9
Padding:
Top = 0px
Bottom = 0px
Right = 0px
Left = 16px
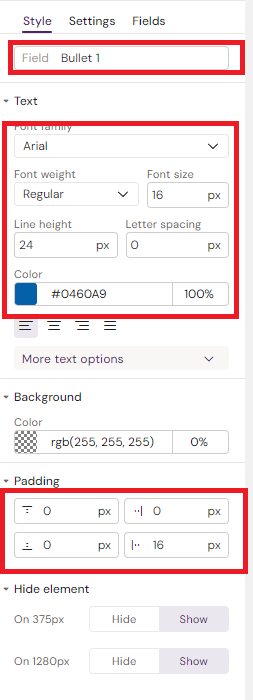
Floating text editor
Make text regular
Make text a Bullet Point. Use Unordered List

Step 19: Copy as many as you need into the Column container.
Make the first bullet point Mandatory in Settings:
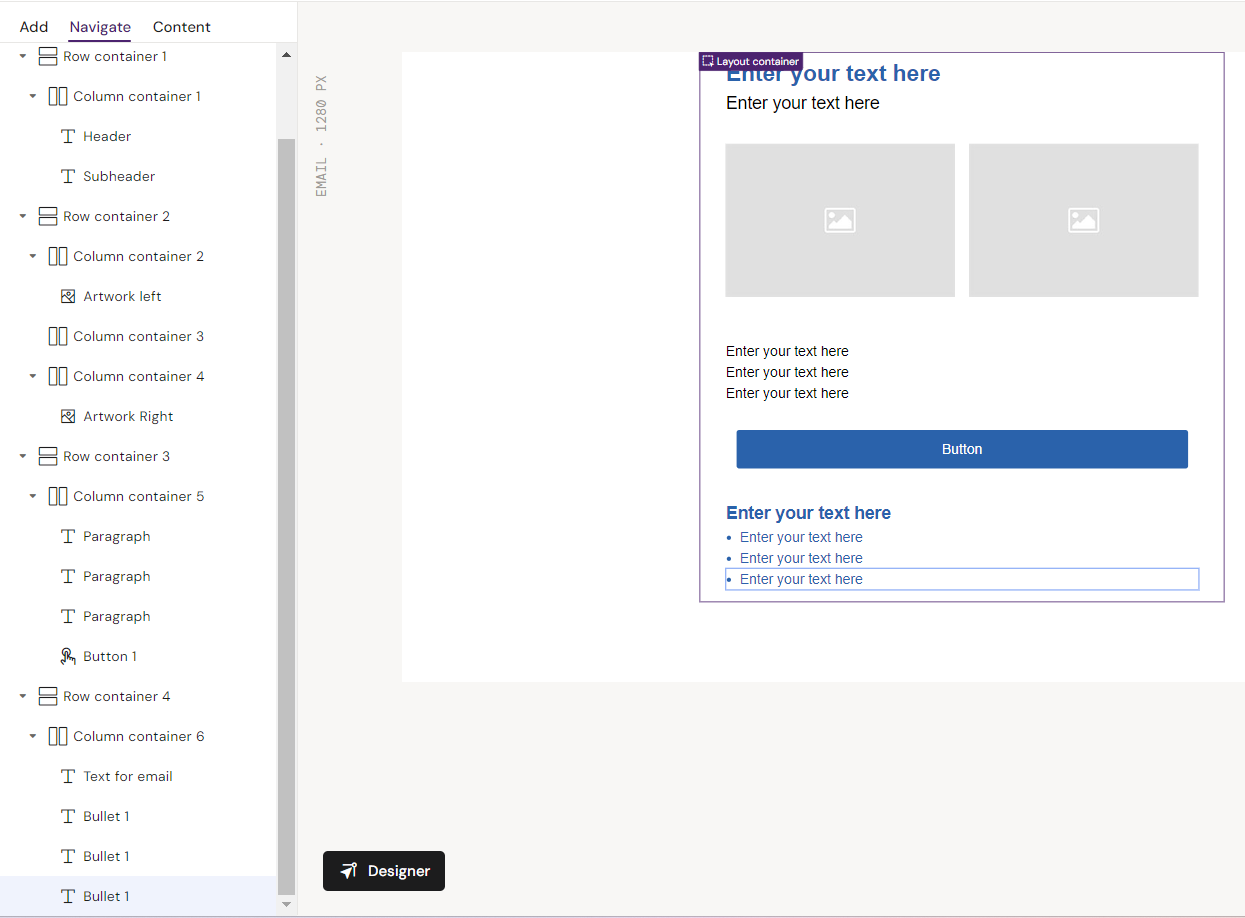
Step 20: Insert a 5th Row container in the Layout container.
Go to Settings for the Row and enable “Show Field in editor mode”.
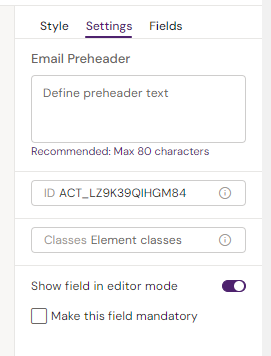
Style
Field: “Notes Block”
Padding:
Top = 15px
Bottom = 0px
Right = 30px
Left = 30px
Step 21: Add a Column container to the Row container.
Style
Padding:
Top = 0px
Bottom = 0px
Step 22: Add a Text element to the Column container.
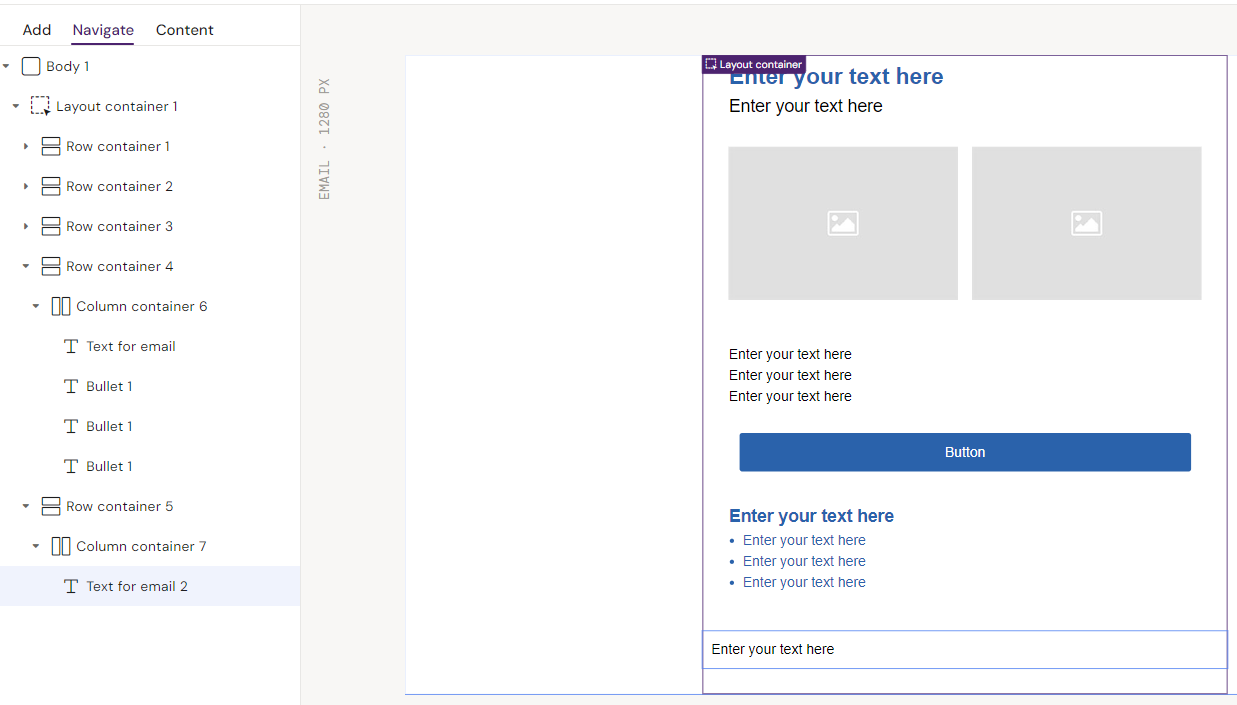
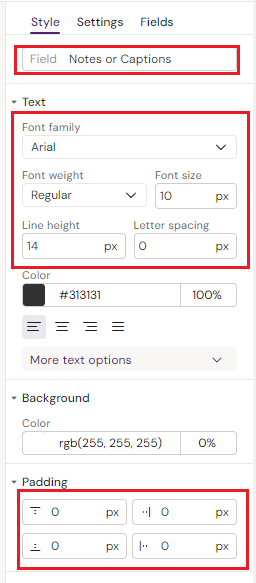
Style
Field: “Notes or Captions
Font:
Family = Arial
Weight = Regular
Size = 10px
Height = 14
Padding:
Top/bottom = 0px
Right/left = 0px
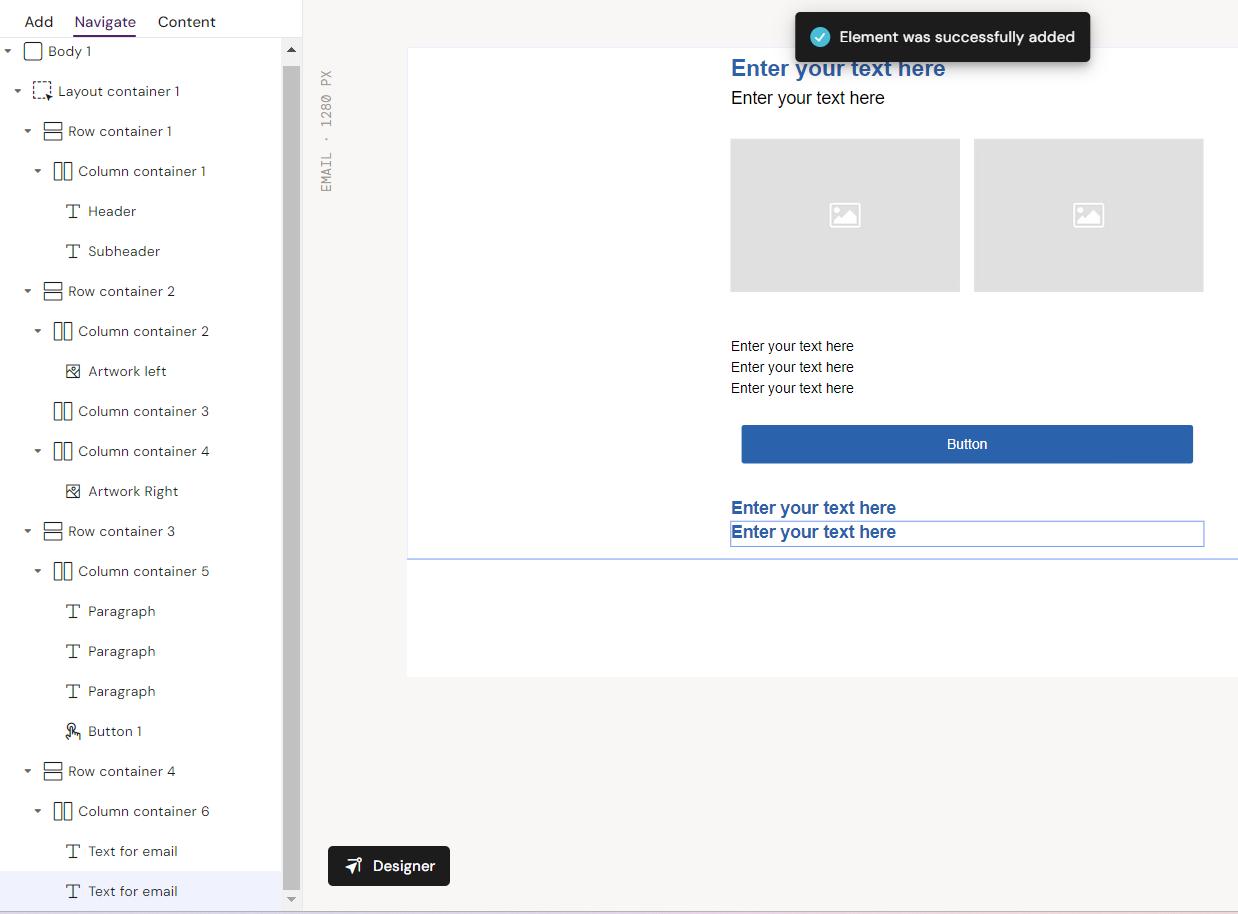
Step 23: Copy the Text element inside the same Column container.
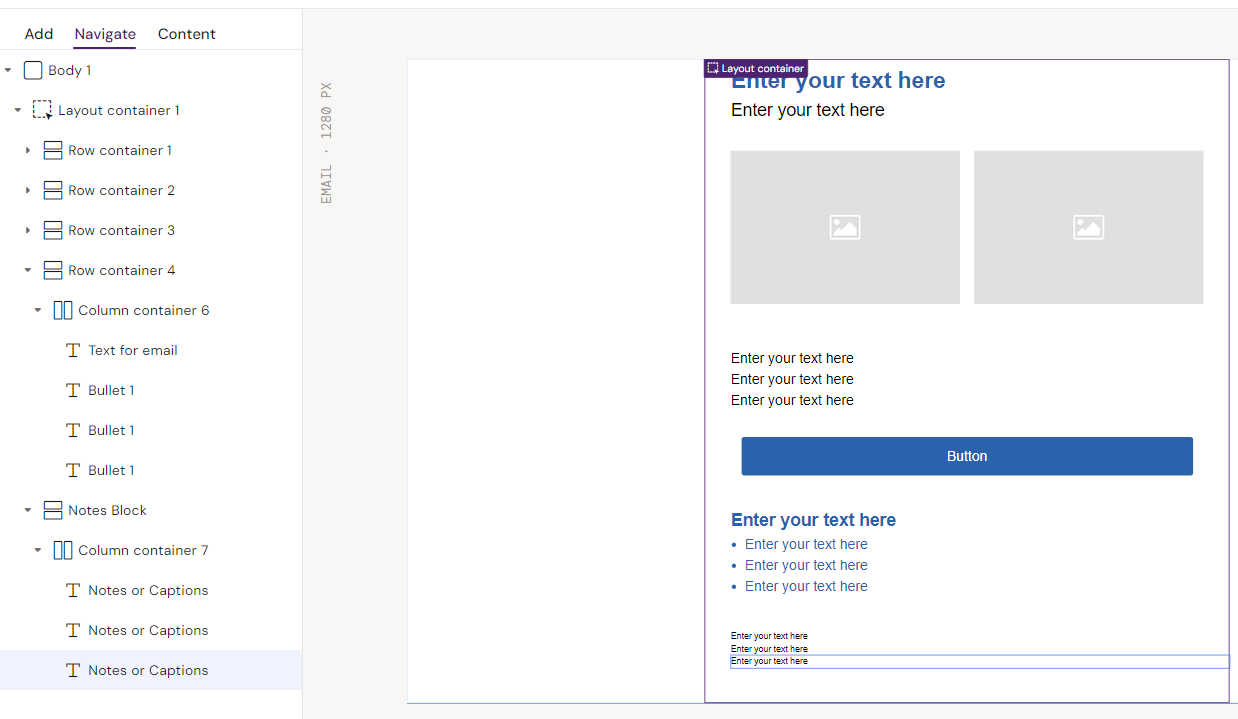
Make the first text element mandatory and the rest optional. This is done in the Settings menu:
Step 24: Final touches.
Add descriptive text or actual content to the text fields.
Ensure that the fields have suitable names
Ensure that mandatory fields are enabled if needed