
Adding new and existing Slides to a Binder
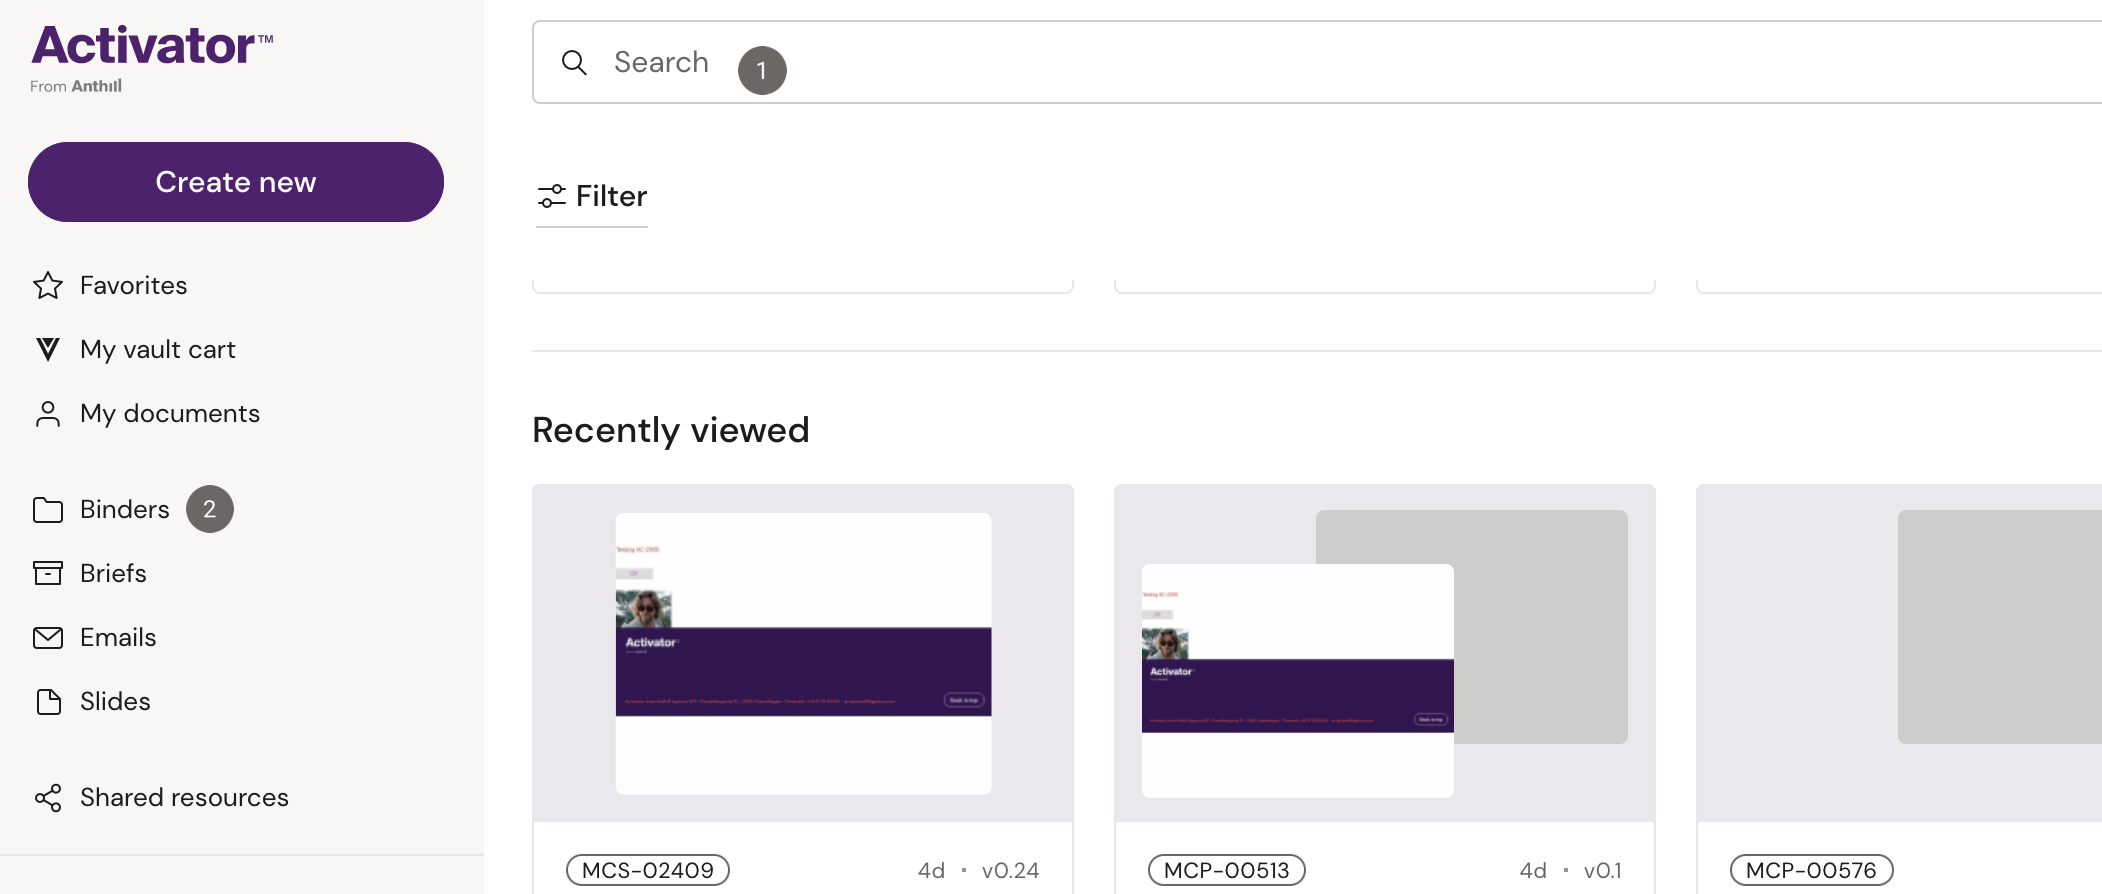
As a first step, you need to open the Binder. Go to Dashboard and choose the target Binder. You can find Binders by :1: searching or you open the :2: Binder document overview to quickly get an overview of all available Binders.
If you have not created a Binder yet, then learn how to create a new Binder here.
If you have opened the Binder and want to add an existing Slide or want to remove a Slide from the Binder then jump to the next section: How to add existing Slide to a Binder or how to remove Slide from Binder.
Continue reading if you’d like to add a new Slide.
You always have the possibility to add and remove Slides in Vault.
How to add a new Slide to a Binder
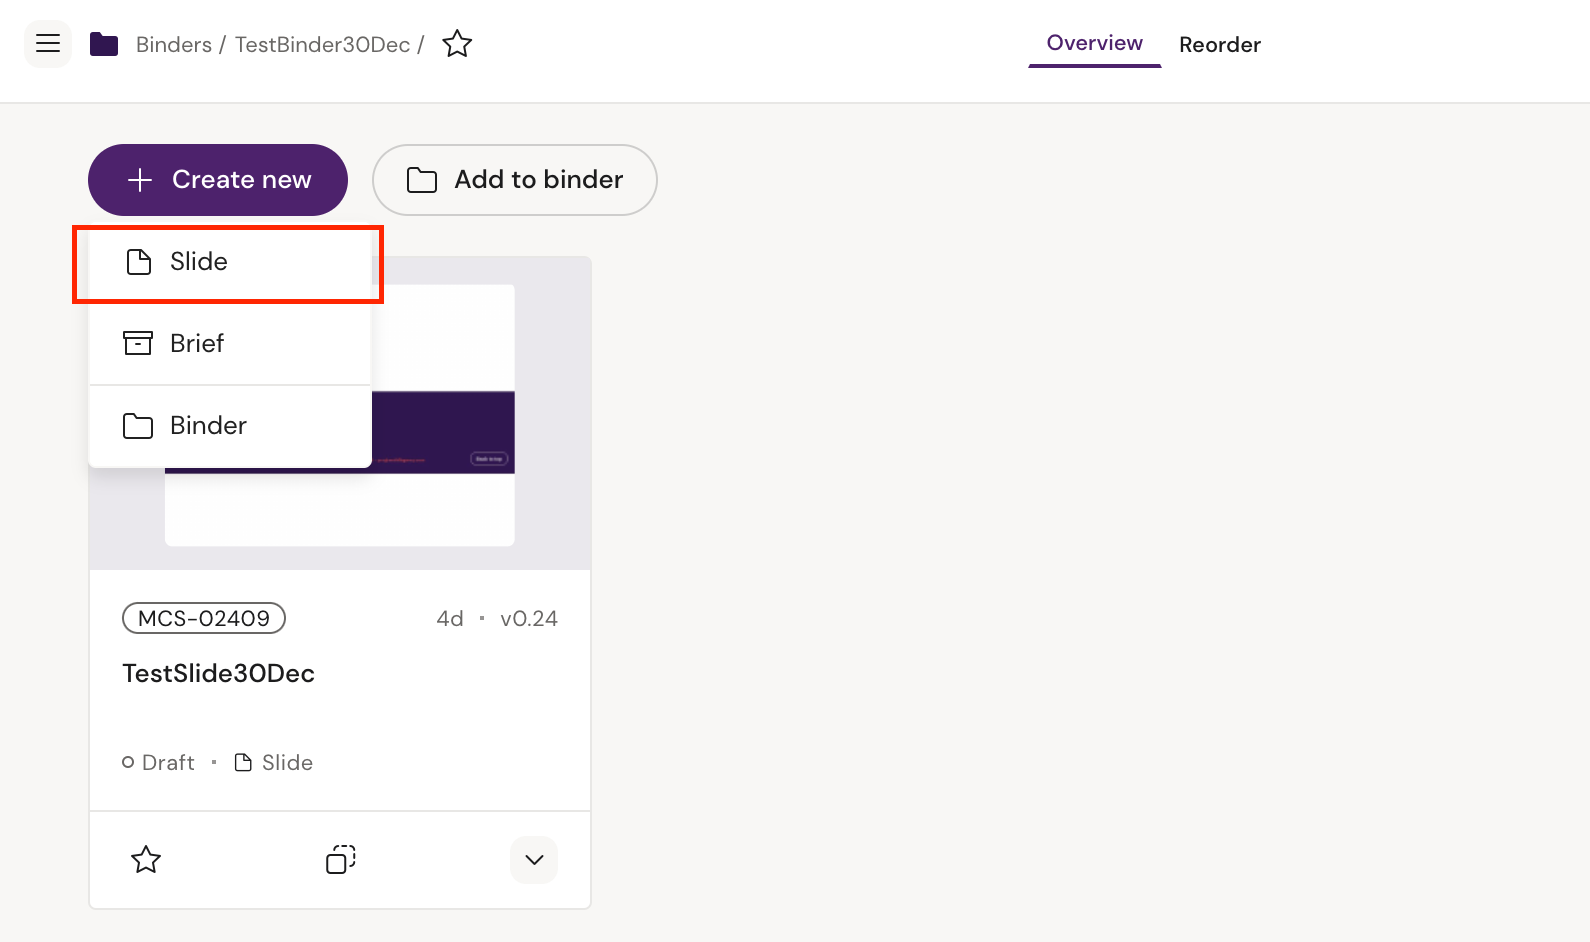
Click on ‘create new’ and a drop down opens giving you the option to choose between creating a new Slide, brief or Binder. Click on ‘Slide’, and follow steps below:
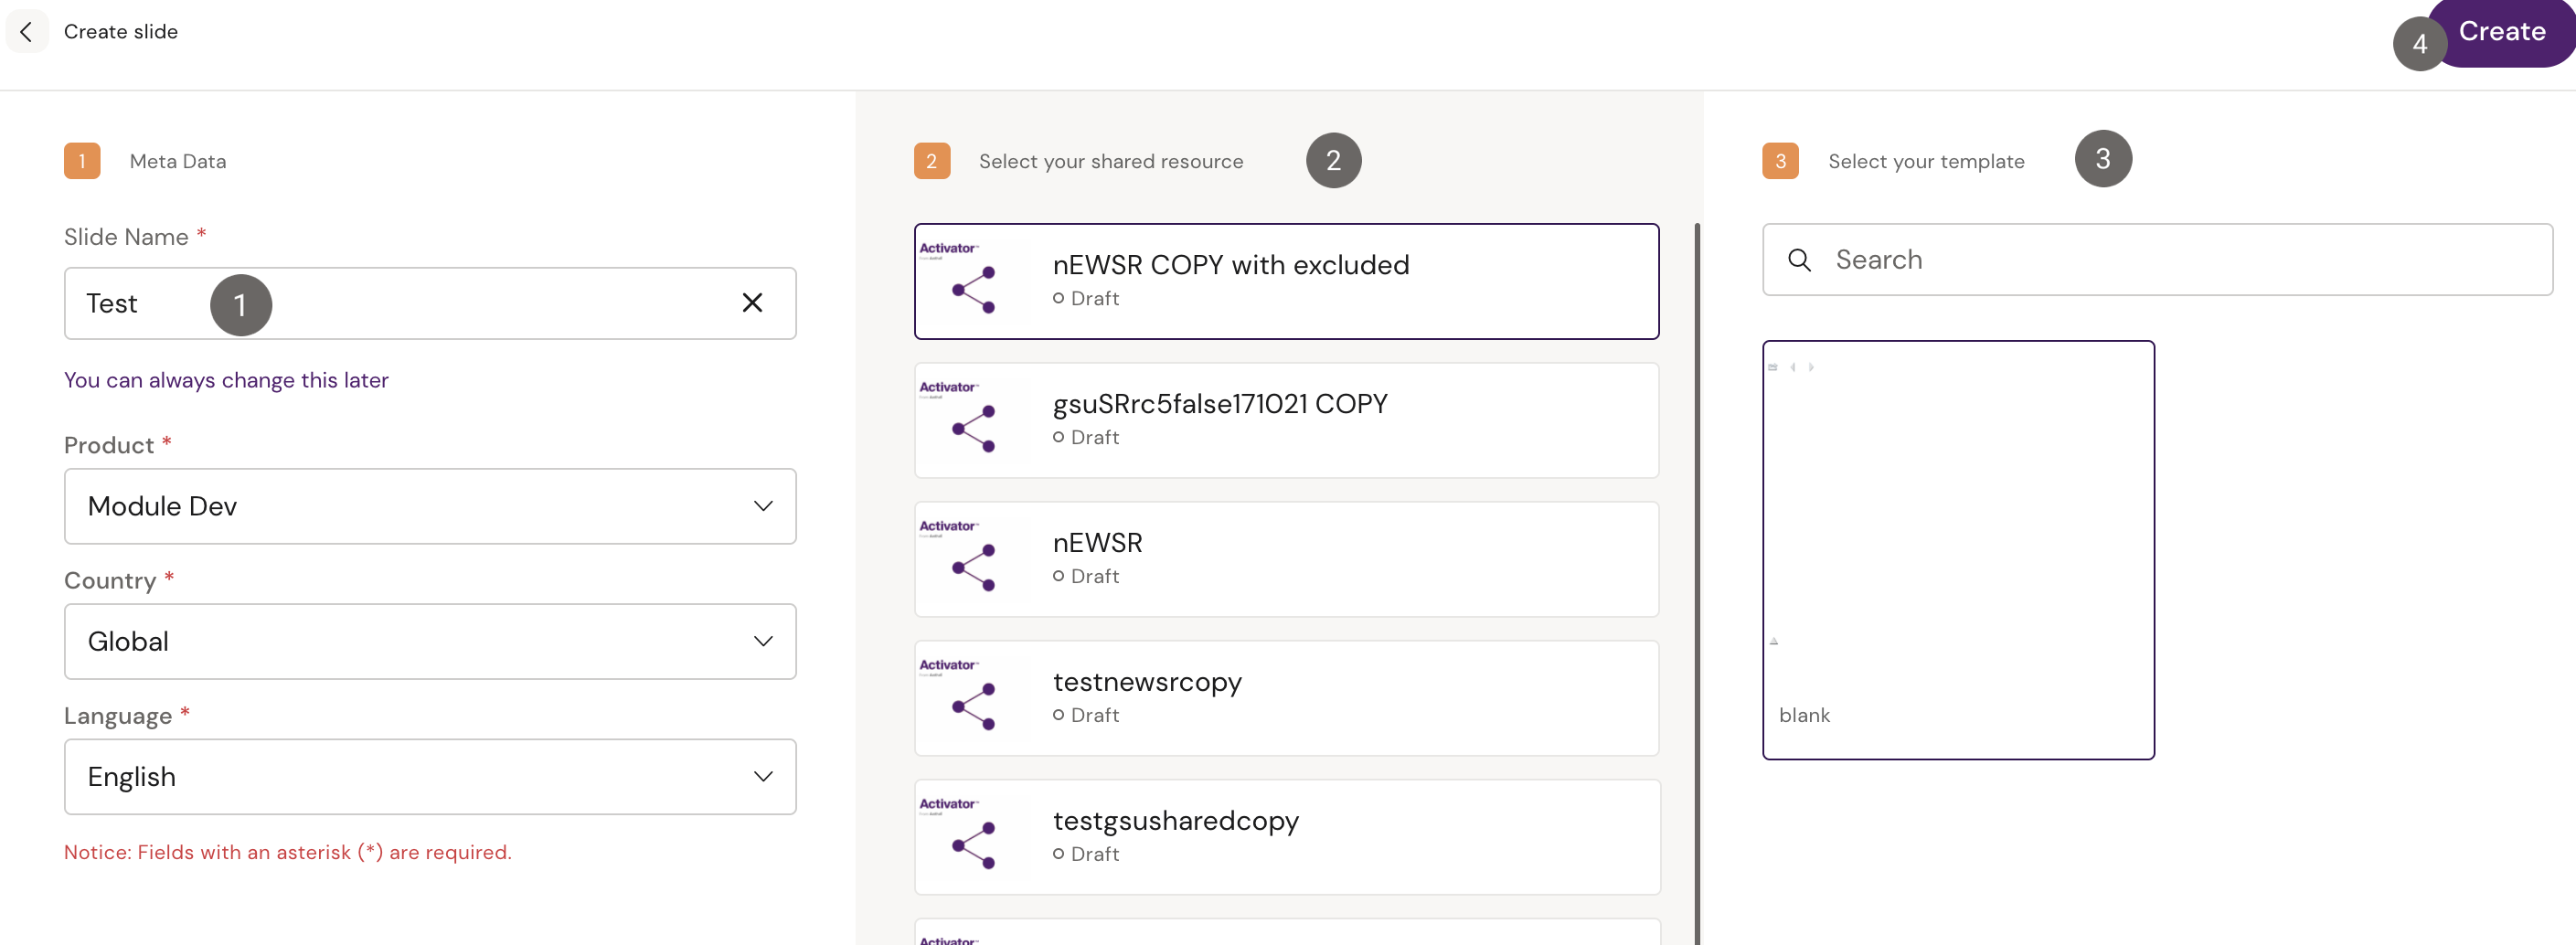
As a next step, enter the Slide’s meta data. Fill in a unique name , and check that Product, Country and Language are correct.
You cannot change Product, Country and Language as these fields are dependent to the specific Binder.
2. Select your Design System
3. Then select an available Template in that Design System
4. As a final step, click the ‘Create’ button!
In a few seconds, your document is created in Activator as well as in Vault and connected to your Design System. If you have selected a Binder to create the Slide in, it will be added there.
Click on the newly created Slide card and you can start adding content to your Slide.
You have created your first Slide and want to know more about how to add content?
Learn more here: https://anthill.atlassian.net/l/c/YMkrc1DX
How to add an existing Slide to a Binder
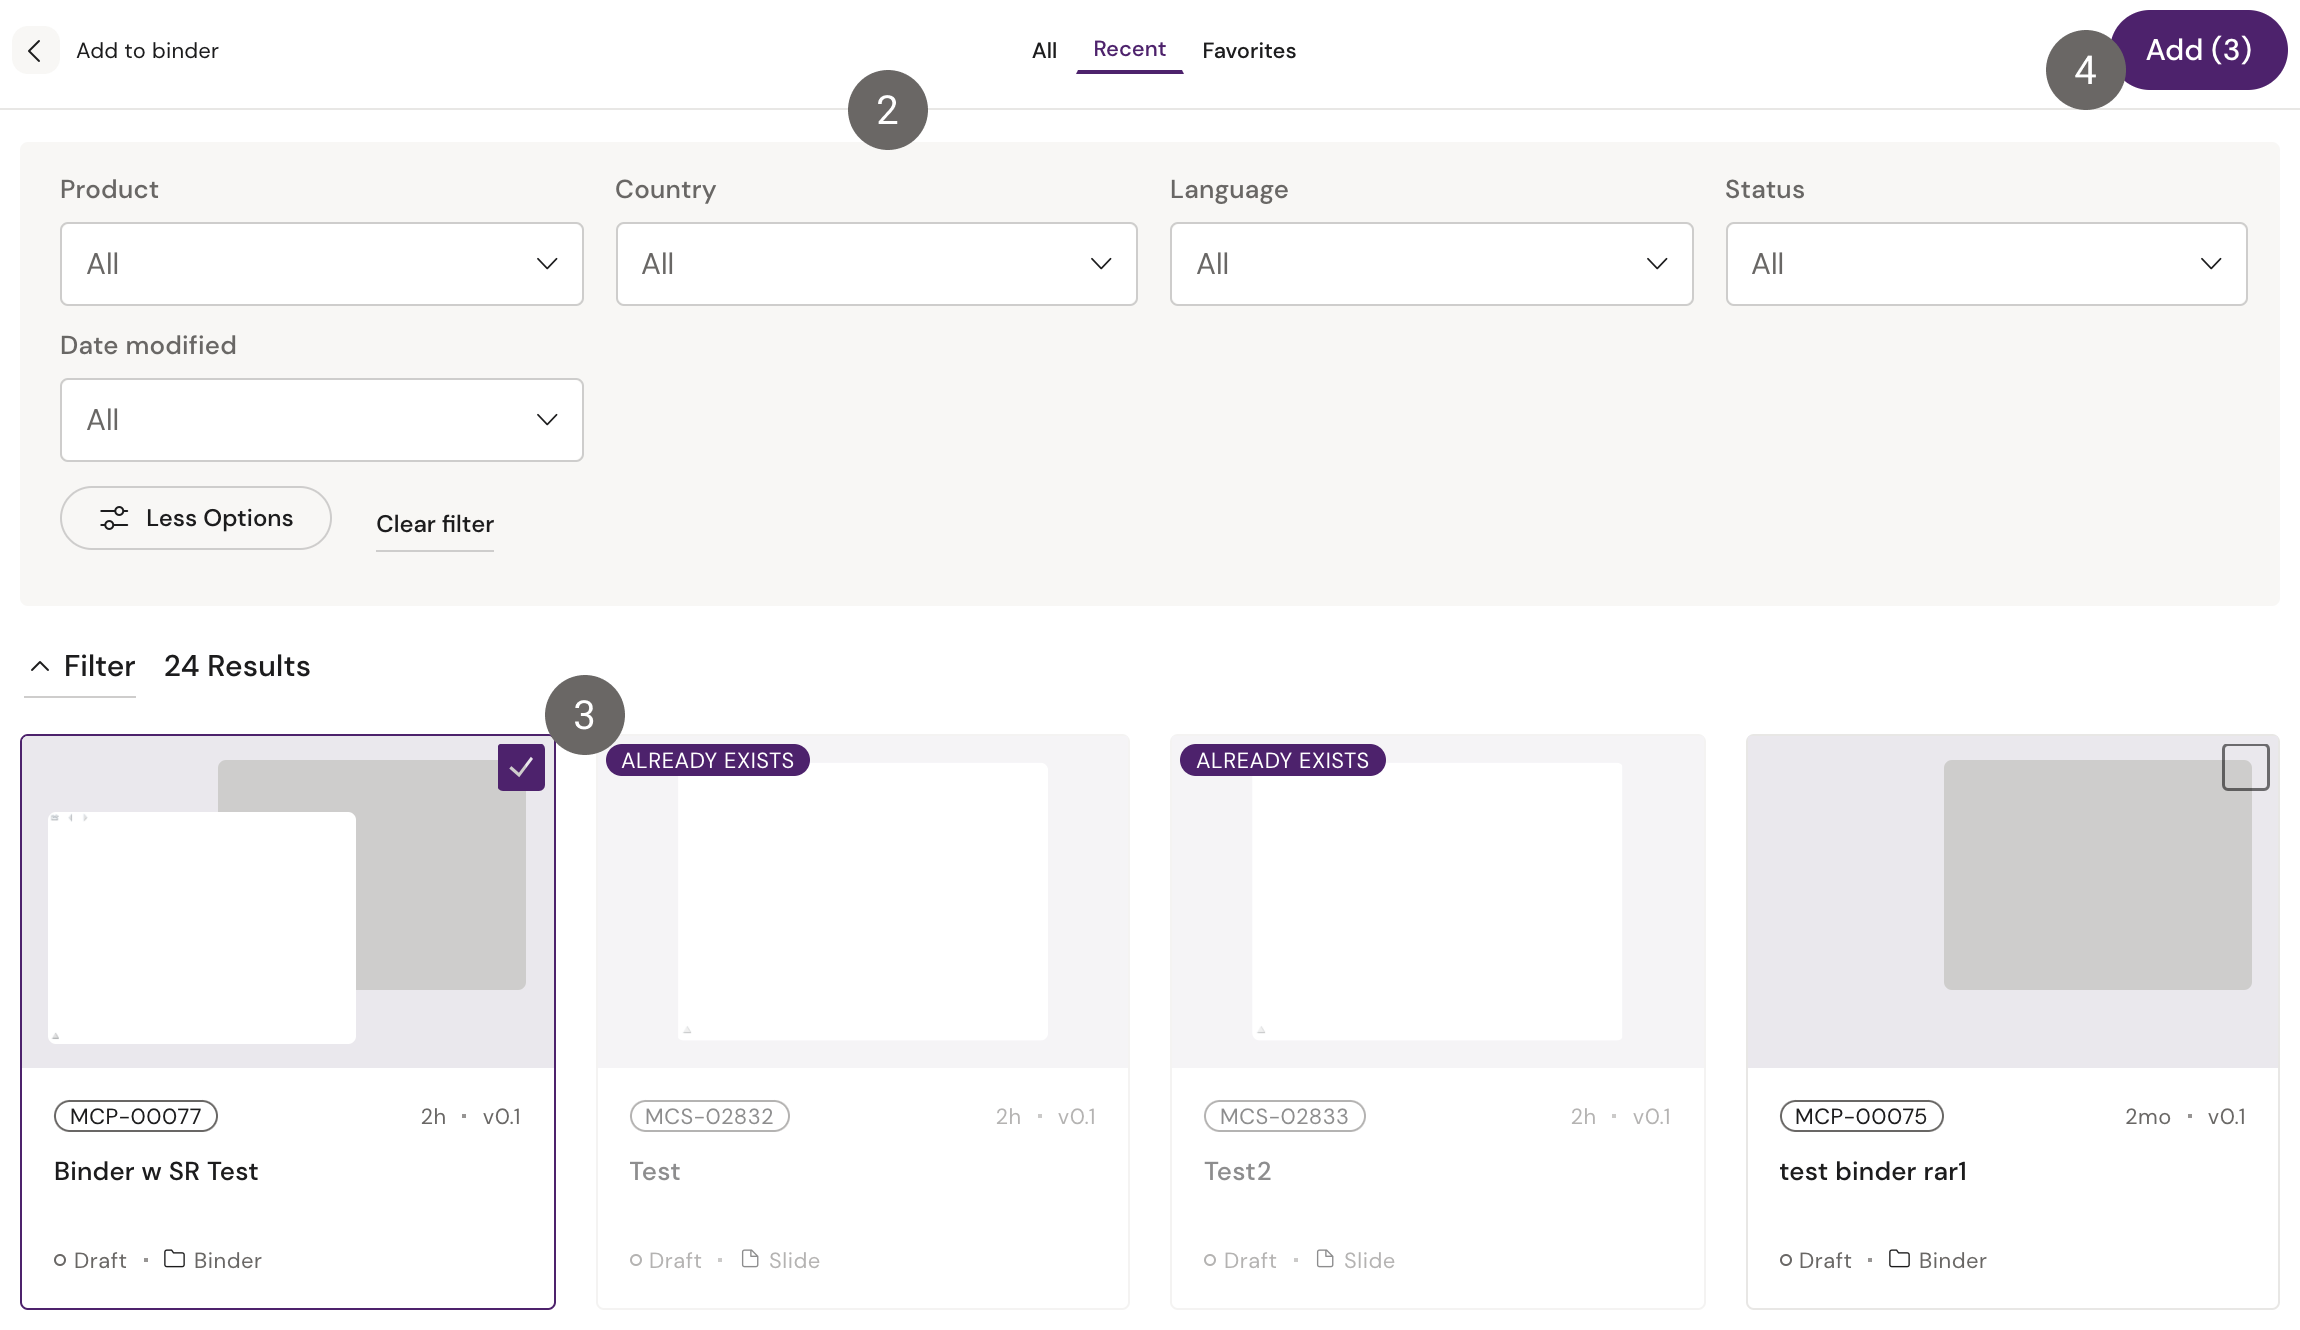
Click ‘Add to Binder’ and an overview of all your documents opens.
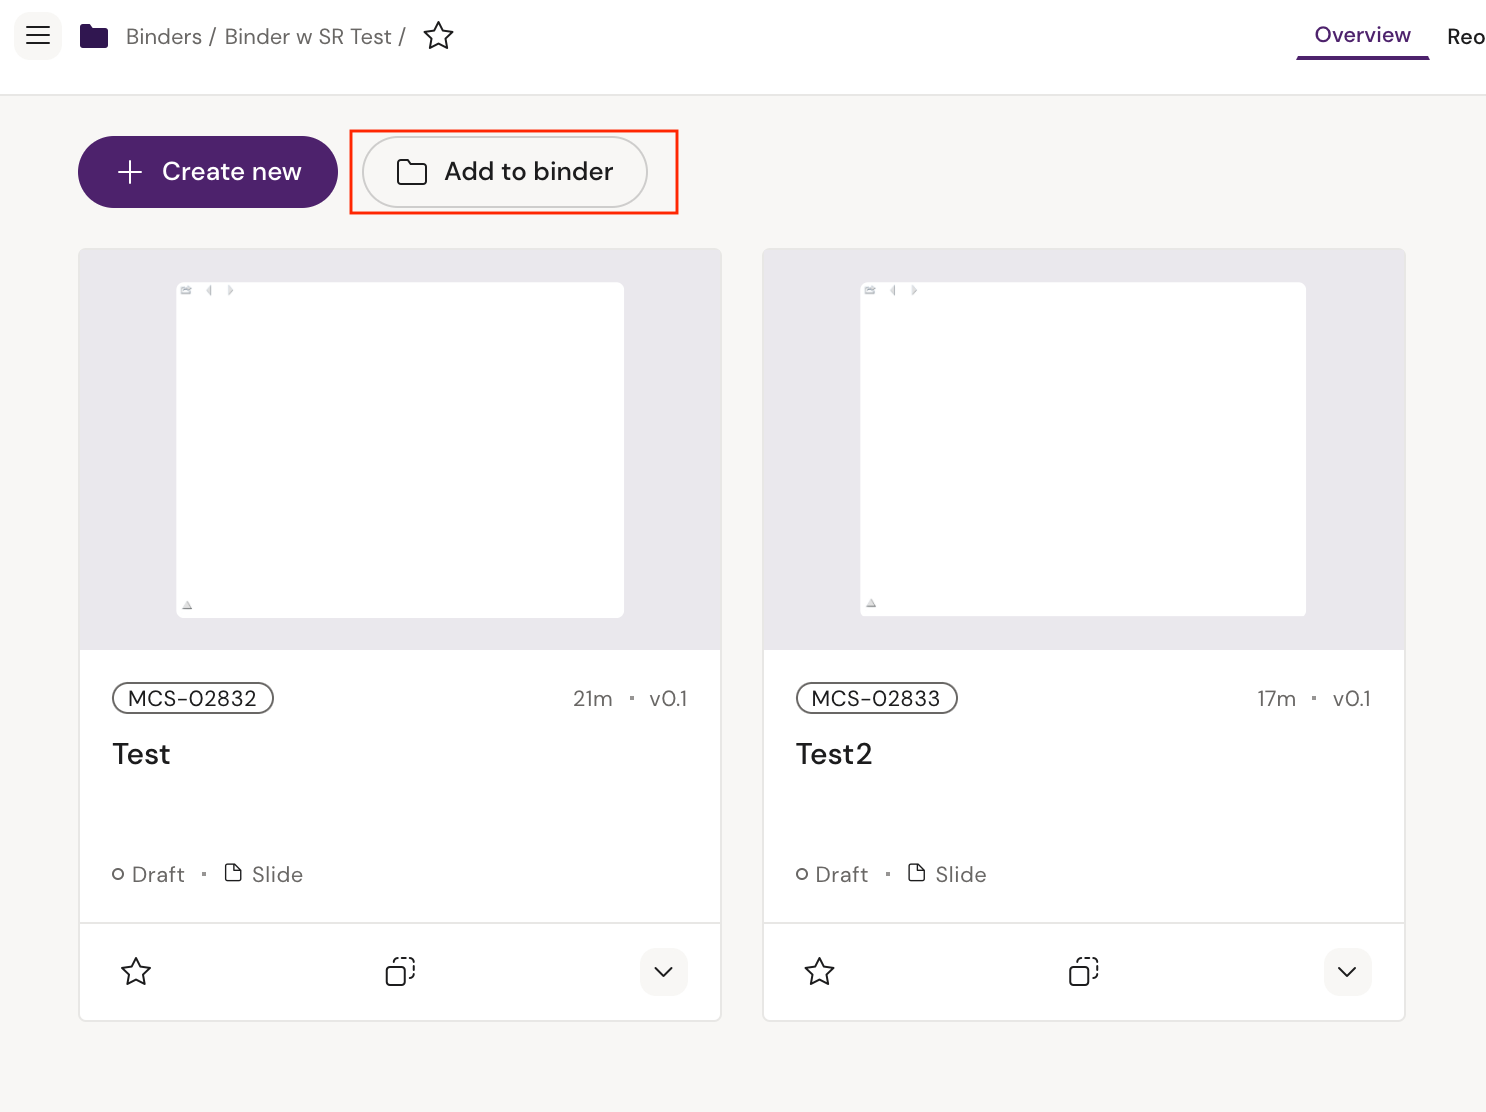
2. You can change the overview from ‘All’ documents to recently viewed documents or favorites.
Choose the filter to narrow your search further down.
3. Select the Slide you want to add to your Binder by selecting the checkbox.
A checkmark will appear when it is selected.
Deselect the document by clicking the checkmark. Documents that are part of Binder are marked with ‘Already exists’. You can select several documents to add at once. The number of selected documents are shown in the “Add” button in the toolbar.
4. When you are done selecting Slides you want to add to the Binder, click ‘Add’.
The documents are now added to the Binder. This may take a few seconds.
5. Click on publish to save changes of Binder to Vault.
How to remove a Slide from a Binder
In the overview of your Binder, choose the Slide you want to remove.
On the document card click on the arrow and a drop down will open.
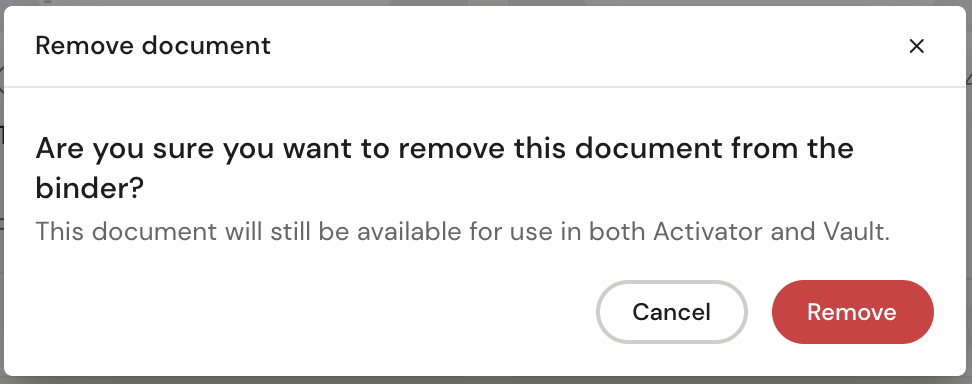
Click on “Remove from binder”.

4. A pop up will appear, asking you to confirm the removal of the Slide from the Binder.
Be aware that this does not delete the document, and it will still be available for use in both Activator and Vault.
Click on ‘Remove' and the Slide will be removed from the Binder.
5. Click on Publish to save your changes to the Binder.