Testing the content on iPad
The content should periodically be tested and verified on the end-devices it is intended for even before it is considered done. Doing this while building the content will enable you to catch errors before the materials are pushed out to the iPad end-users.
While you can see a preview of the content for the intended device in Activator by using Preview mode, it is not an actual representation of the end result. Read more about preview here Previewing my document
Verification of eDetailers for the Veeva CRM application for iPad is done by following the Veeva Vault approval process in the production environment. The workflow may differ from each Vault environment, but is it common to push the content to a test user by setting it to Staged.
General Considerations
Materials built on Activator are for the most part built using responsive design. This means it will scale and resize on different size screens. Test the content on different iPad devices (if relevant) to verify that it looks as expected.
Please check the internal processes for testing eDetailers for the environment you are working in. Rules, workflow and procedures in Veeva Vault environments are the responsibility of the owners and may differ.
The steps below guide you on how to make a CLM presentation available on the Veeva CRM app on IPad and test the Activator contents.
Prerequisites
In this example, we consider a new Binder is being created and the Activator Contents i.e., slides are added to this binder already:
When creating a binder from Activator UI, ensure that the following checkbox is NOT ticked
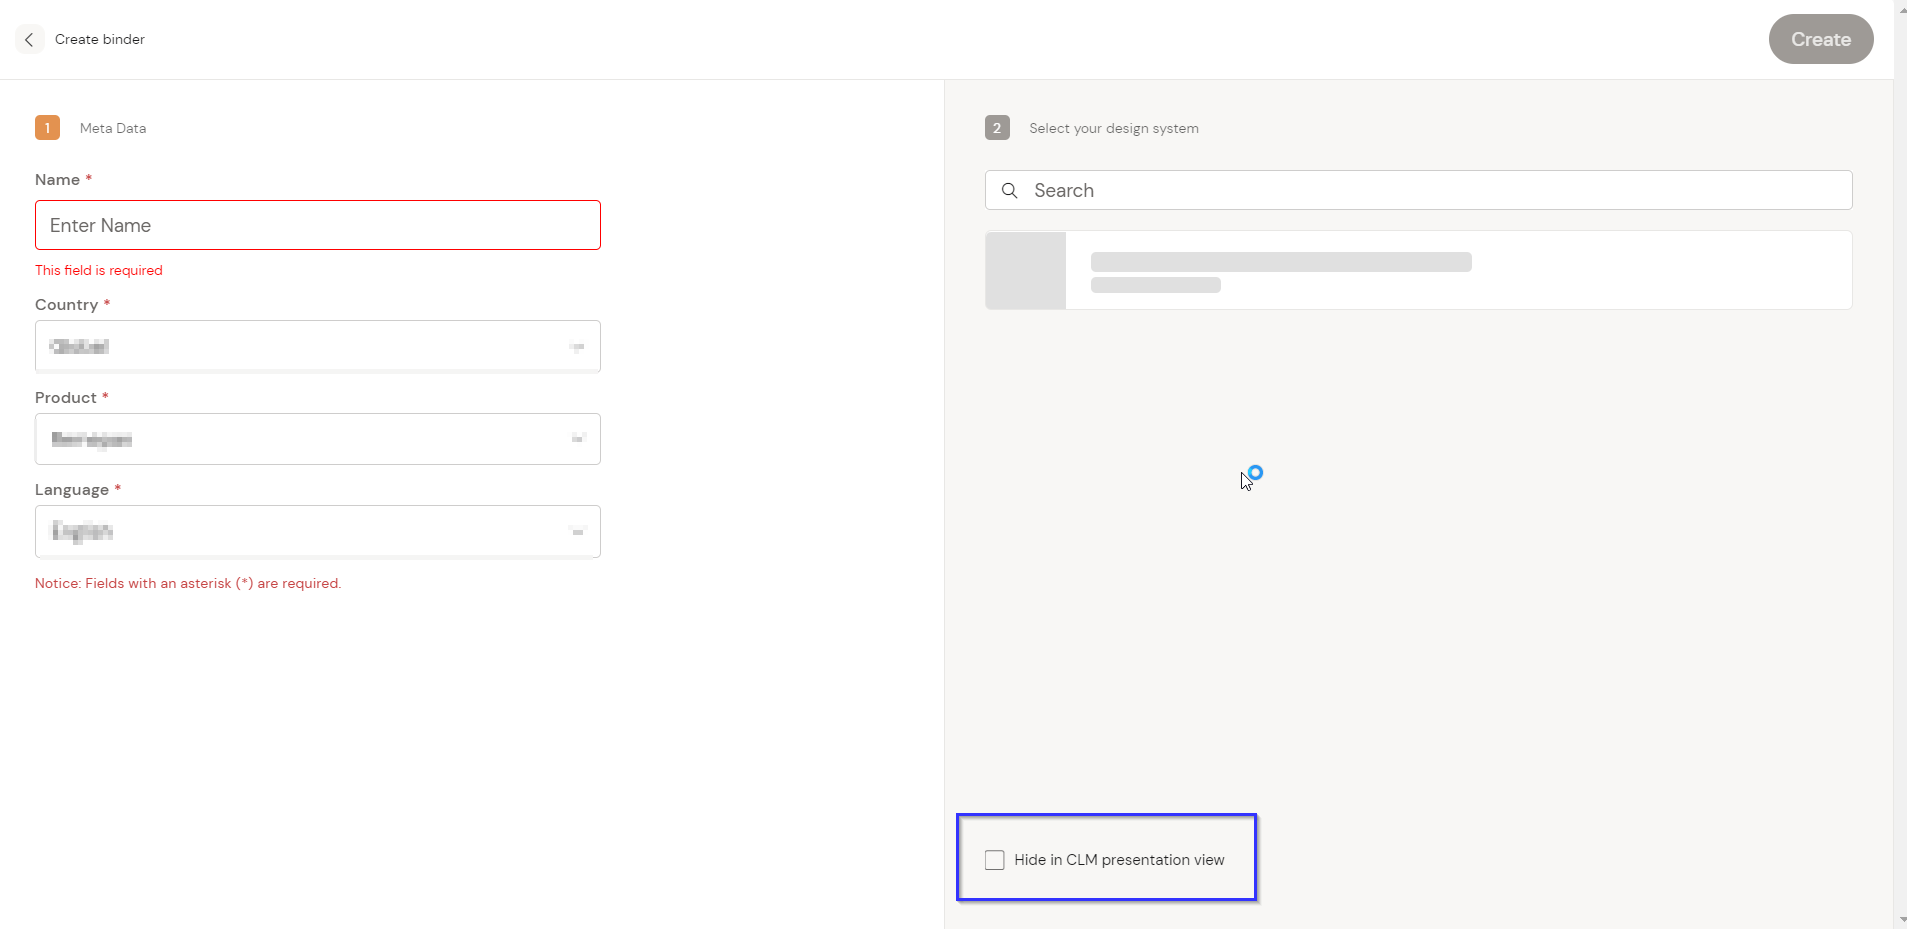
when clicking on the Create Binder Button
The binder should have the following set up in the Vault Meta Data. Check the field settings from Vault PromaMats.
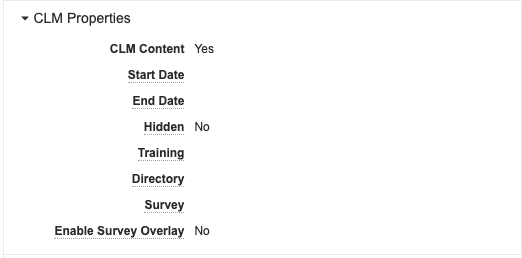
CLM Properties fields in Vault
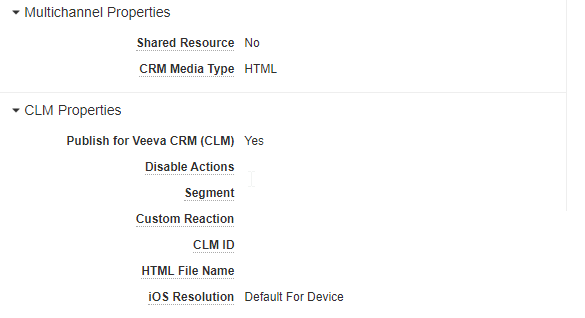
Slides inside the Binder should have the following set up in the Vault Meta Data
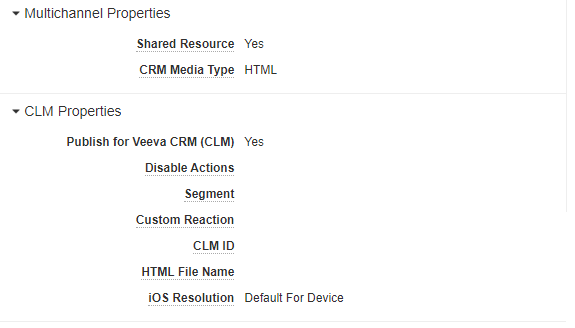
Shared Resource should have the following set up in the Vault Meta Data
How to make the content available in the Salesforce record
Now open and log in to Salesforce (Lightning). Use the URL and credentials used by the user-specific environment relevant to the Activator environment.
From there click on the “CLM Admin” Tab and then click on “Sync”.
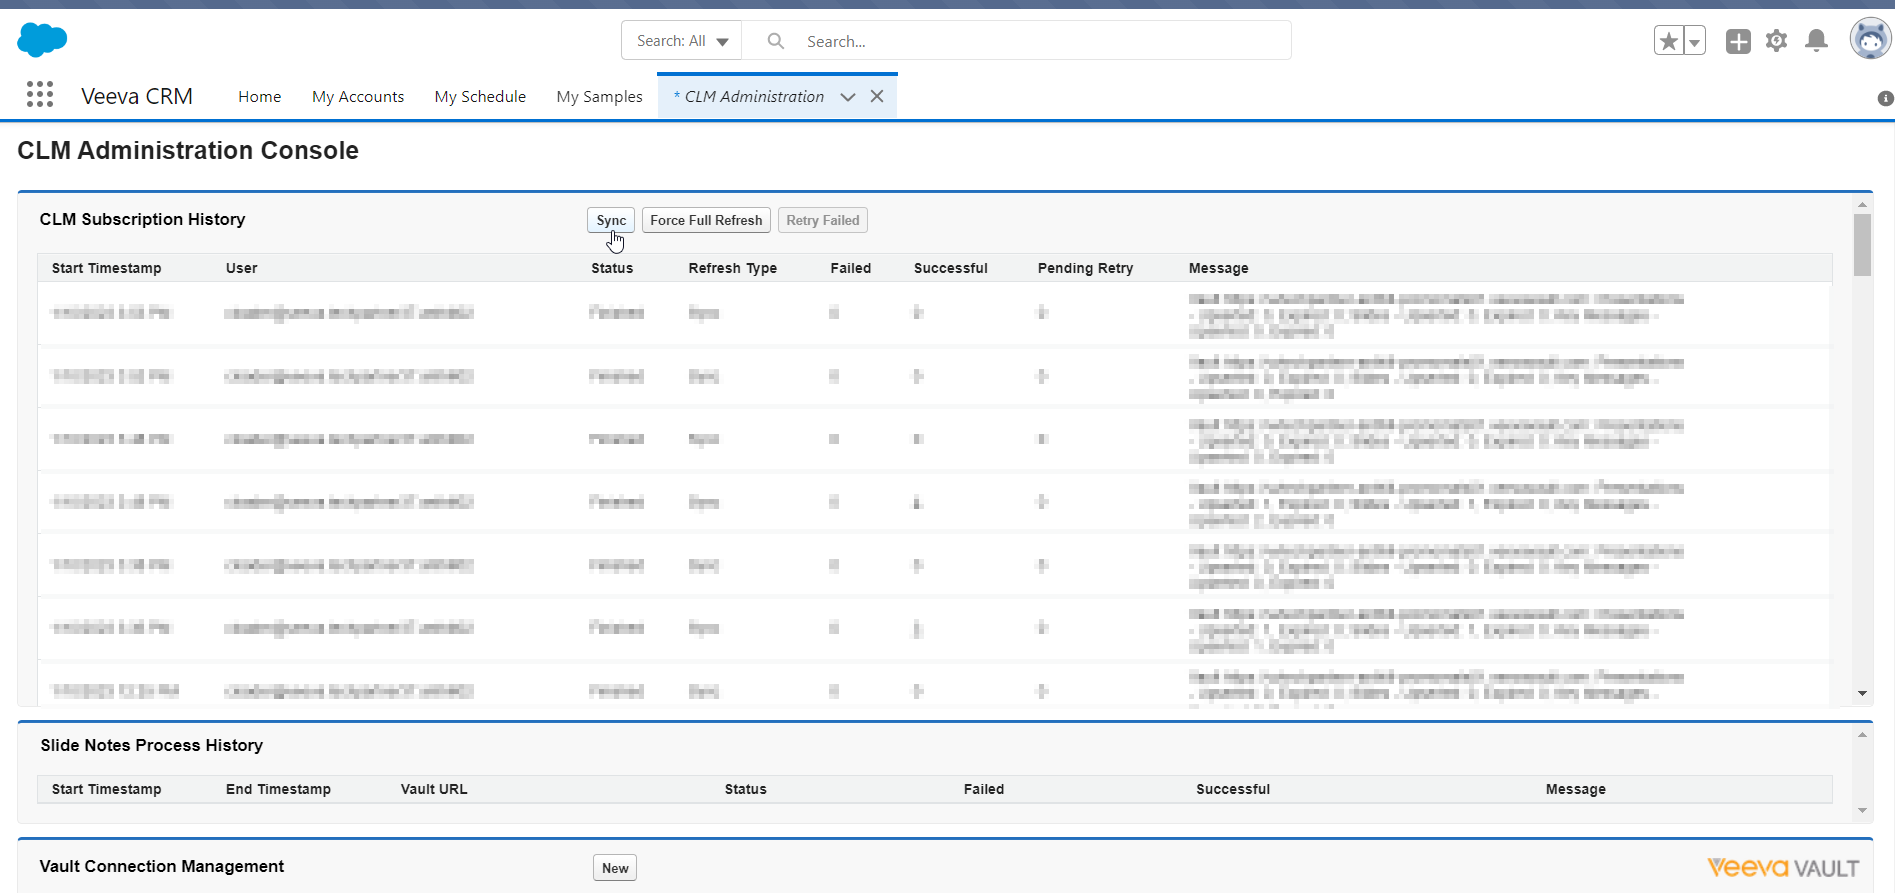
3. Use then the Search tab to look for the presentation - enter the name into the search field.
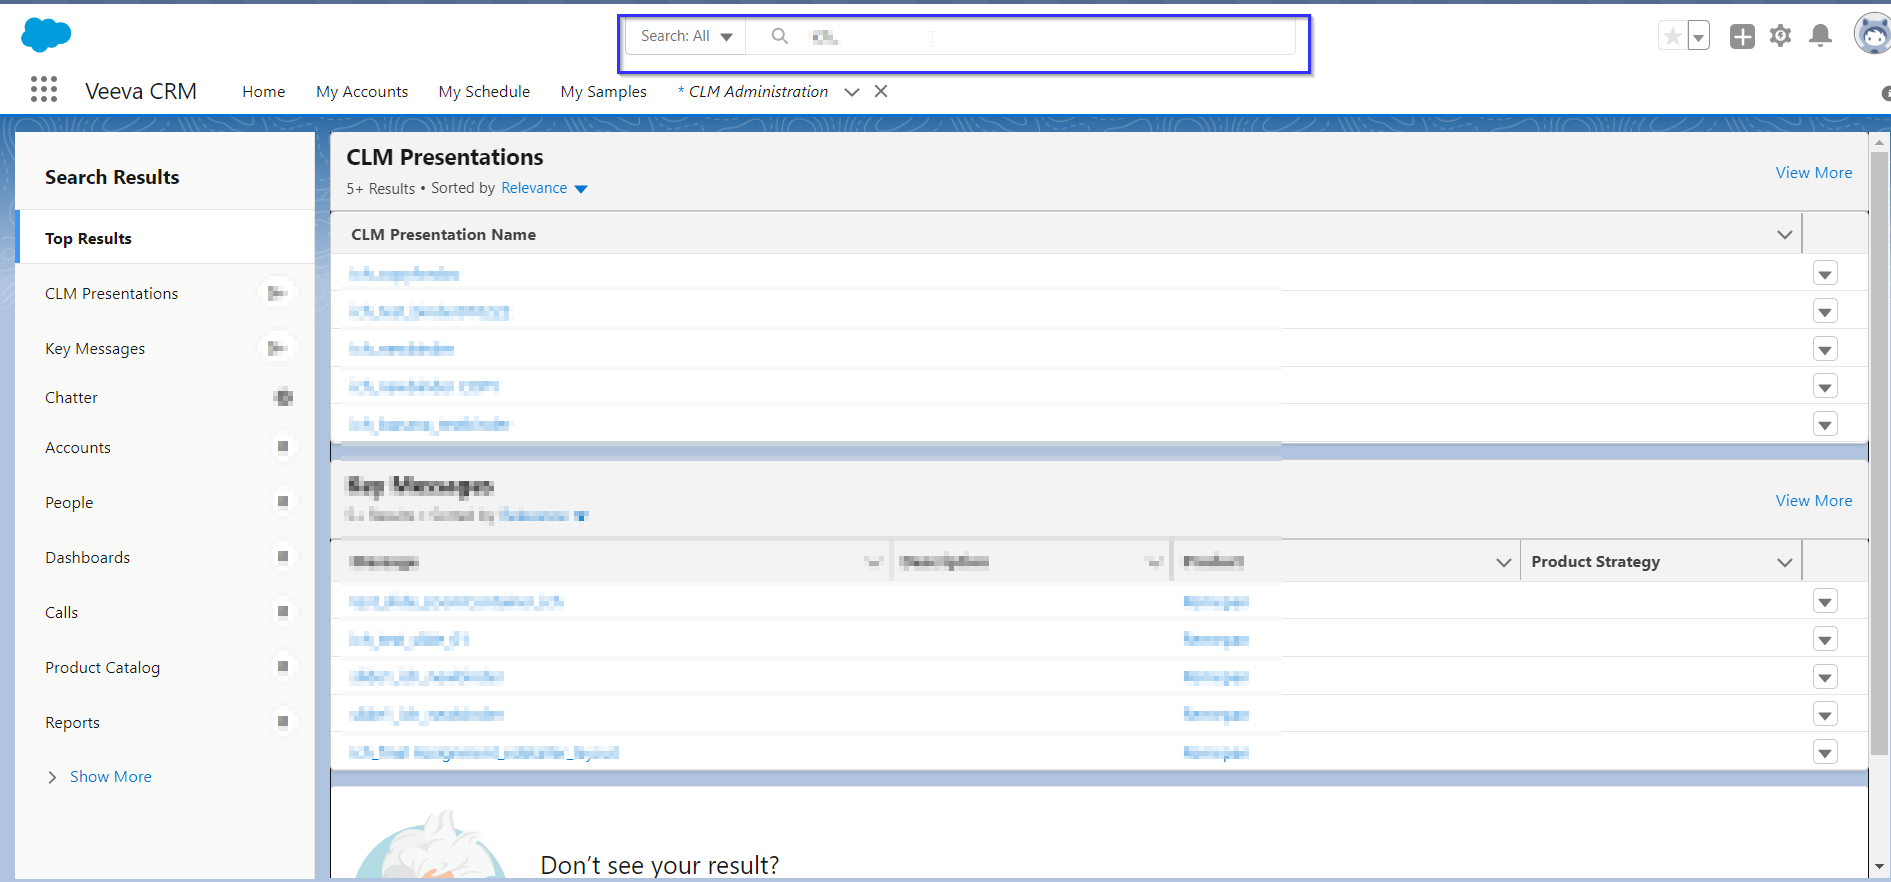
4. If the CLM Presentation is found, it needs to be shared with the user by clicking on the Sharing Button and adding the user from the search user providing the CLM Presentation Access level.
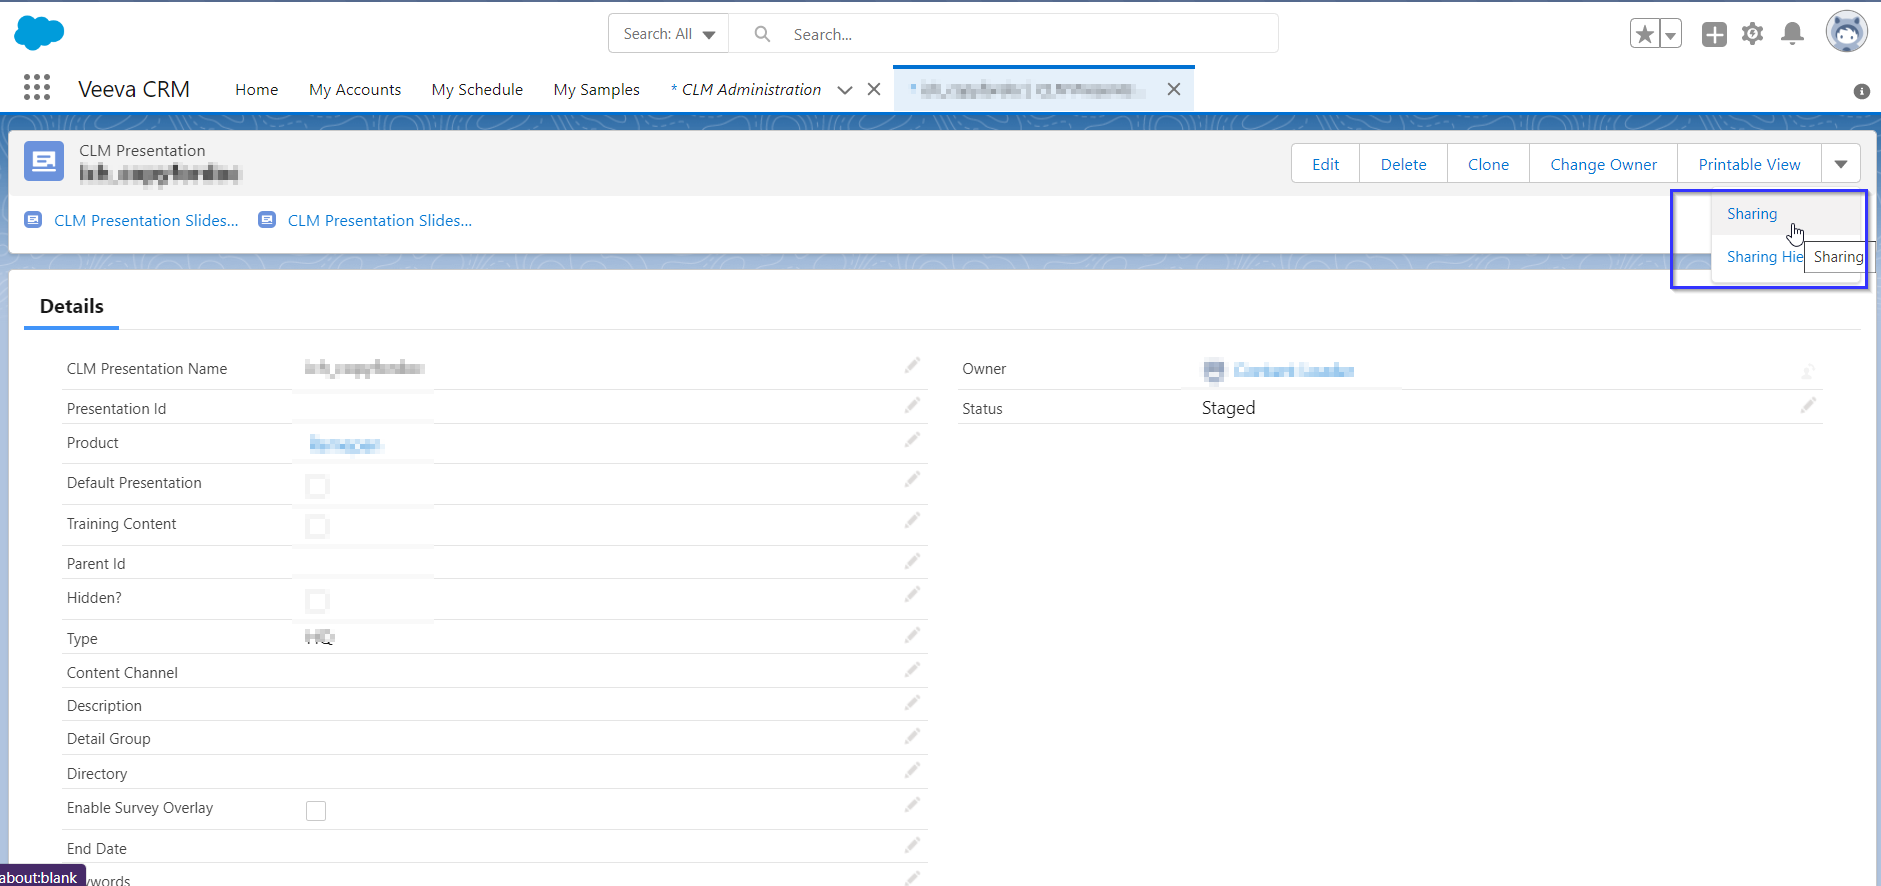
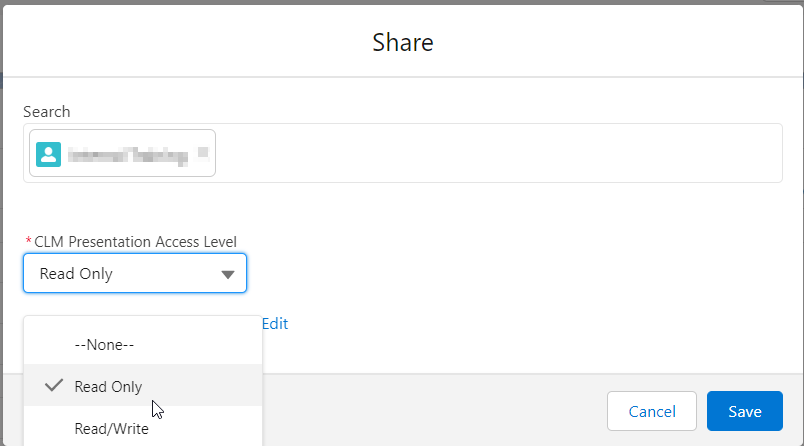
5. To check which users are associated with which product check the “My setup”.
You can search for the user by clicking on the magnifying glass icon next to the search field. And it will give you an overview.
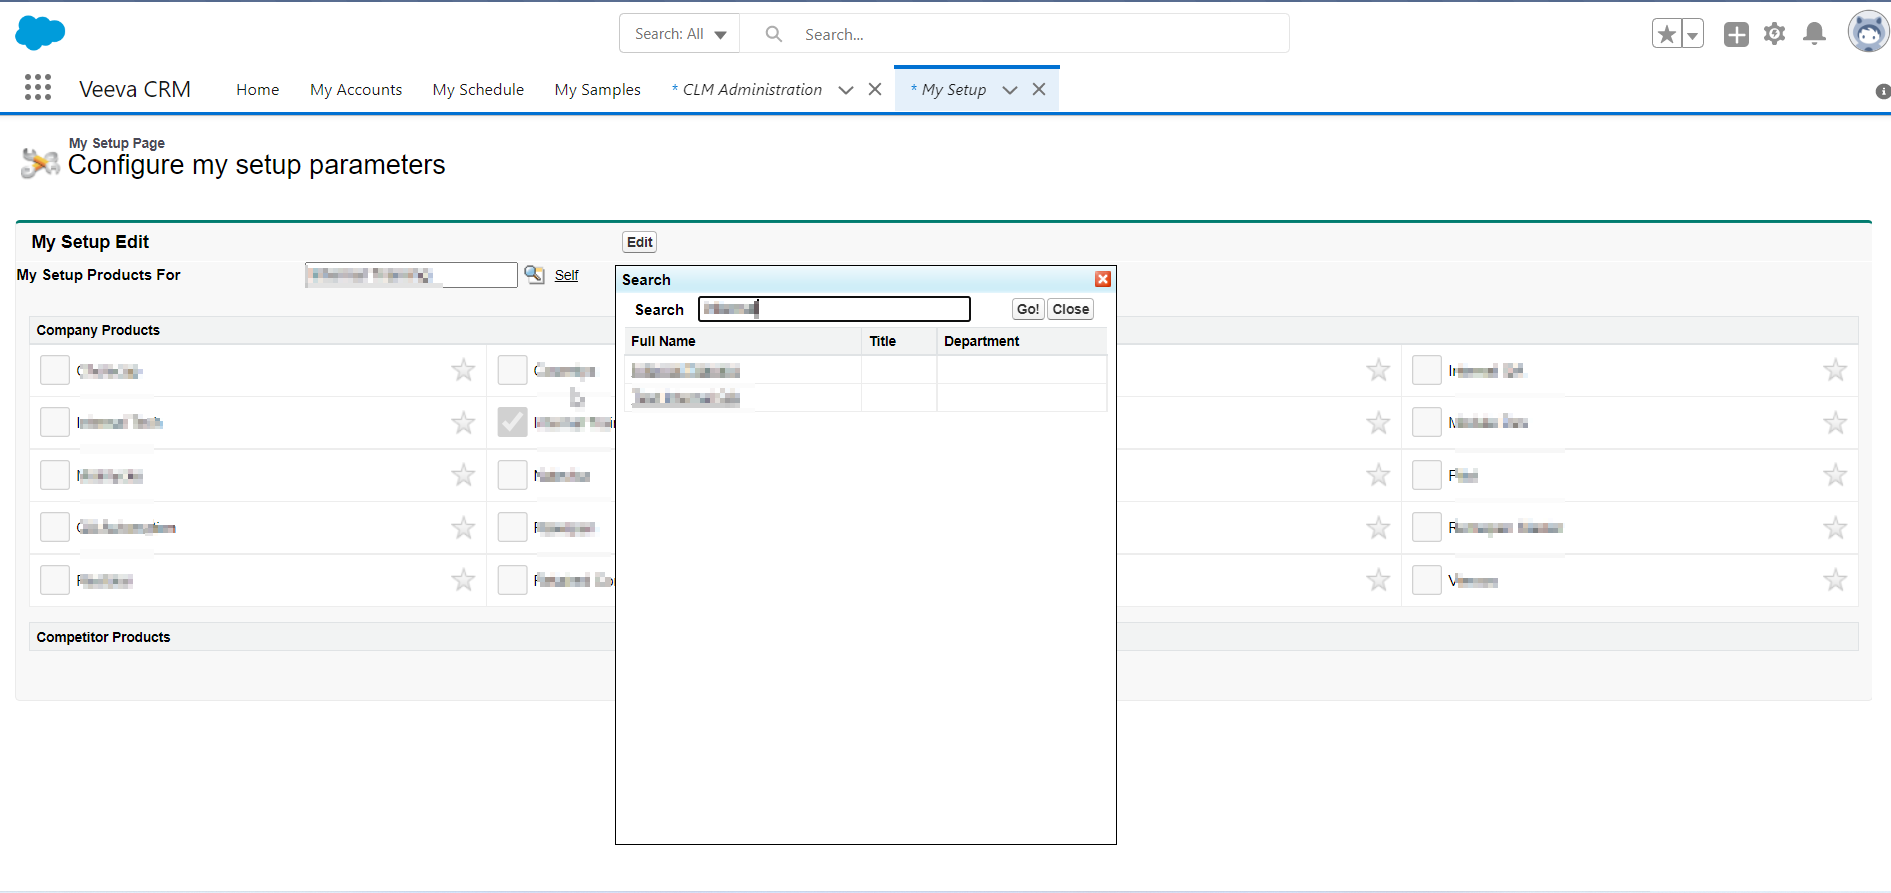
And, by clicking on the Edit Button on the top you can edit which products are assigned to which user
After conducting the changes simply click on save.
Testing the Content in Veeva CRM App
1. Test it from iPad on Veeva CRM App. Log in with the credentials (provided by the System Admin in Salesforce/Veeva) for the added user section 4.
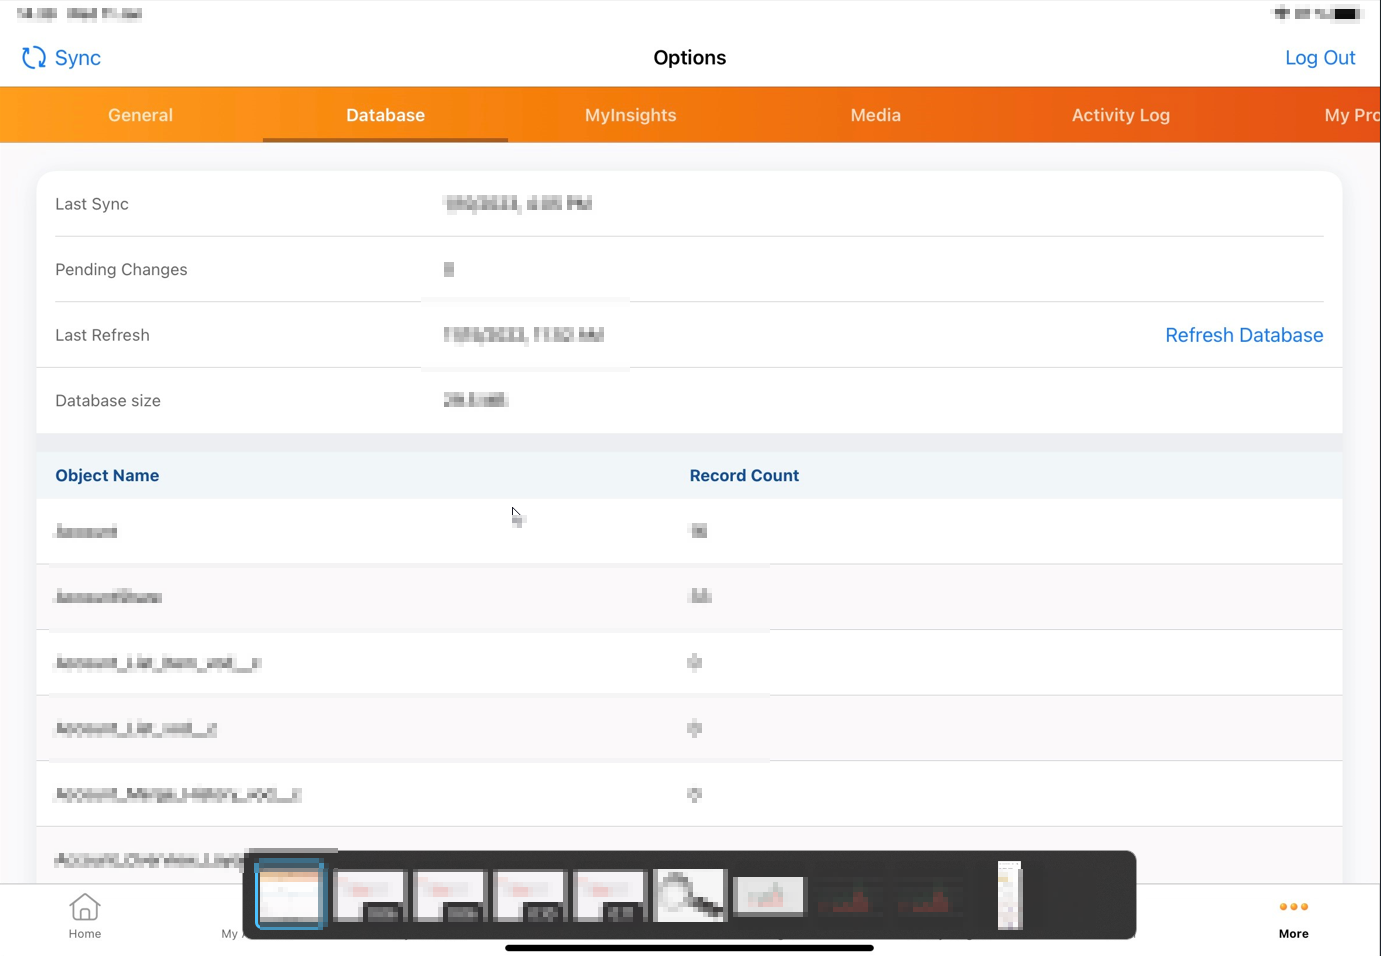
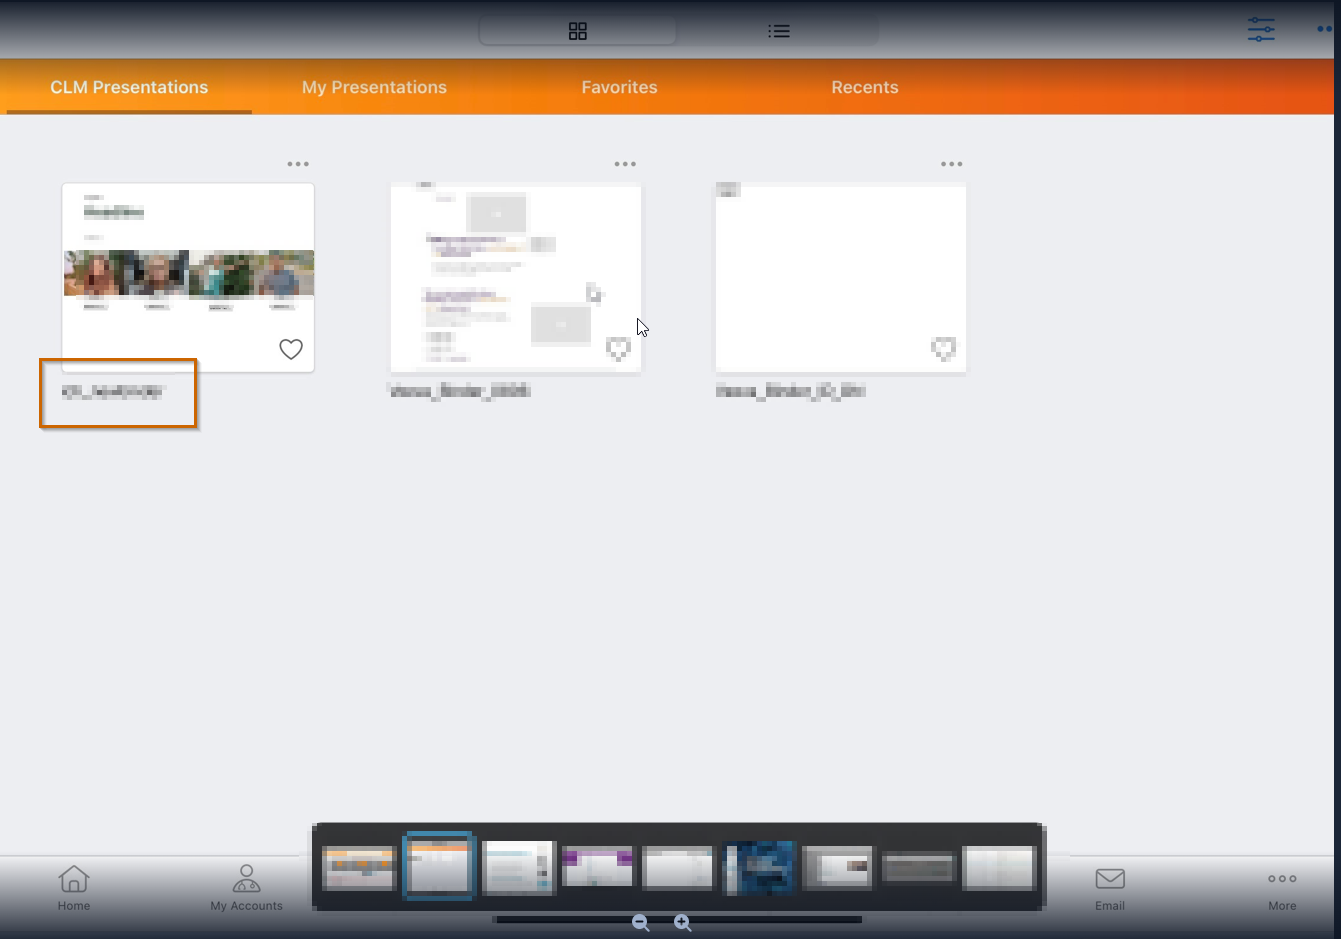
2. User should use Refresh Database from the iPad settings (Options-Database) and find the presentation in the CLM Presentation Tab.
