Creating new content for DS3
The following channel content can be created from the Design System 3 user interface
Colors
Layouts
Templates
Slide Fragments (slides channel only)
Menus
References
Group Options
Before creating content, make youself familiar with the options that are available for inherited and created groups. The options menu is located under the three dots to the far right of a group.

Note that it is not possible to create, delete or alter content in groups that have been inherited.
If the content needs to be altered, take a copy of the group. The DS being worked on now becomes the owner of the group and the contents inside.
Create a Group First
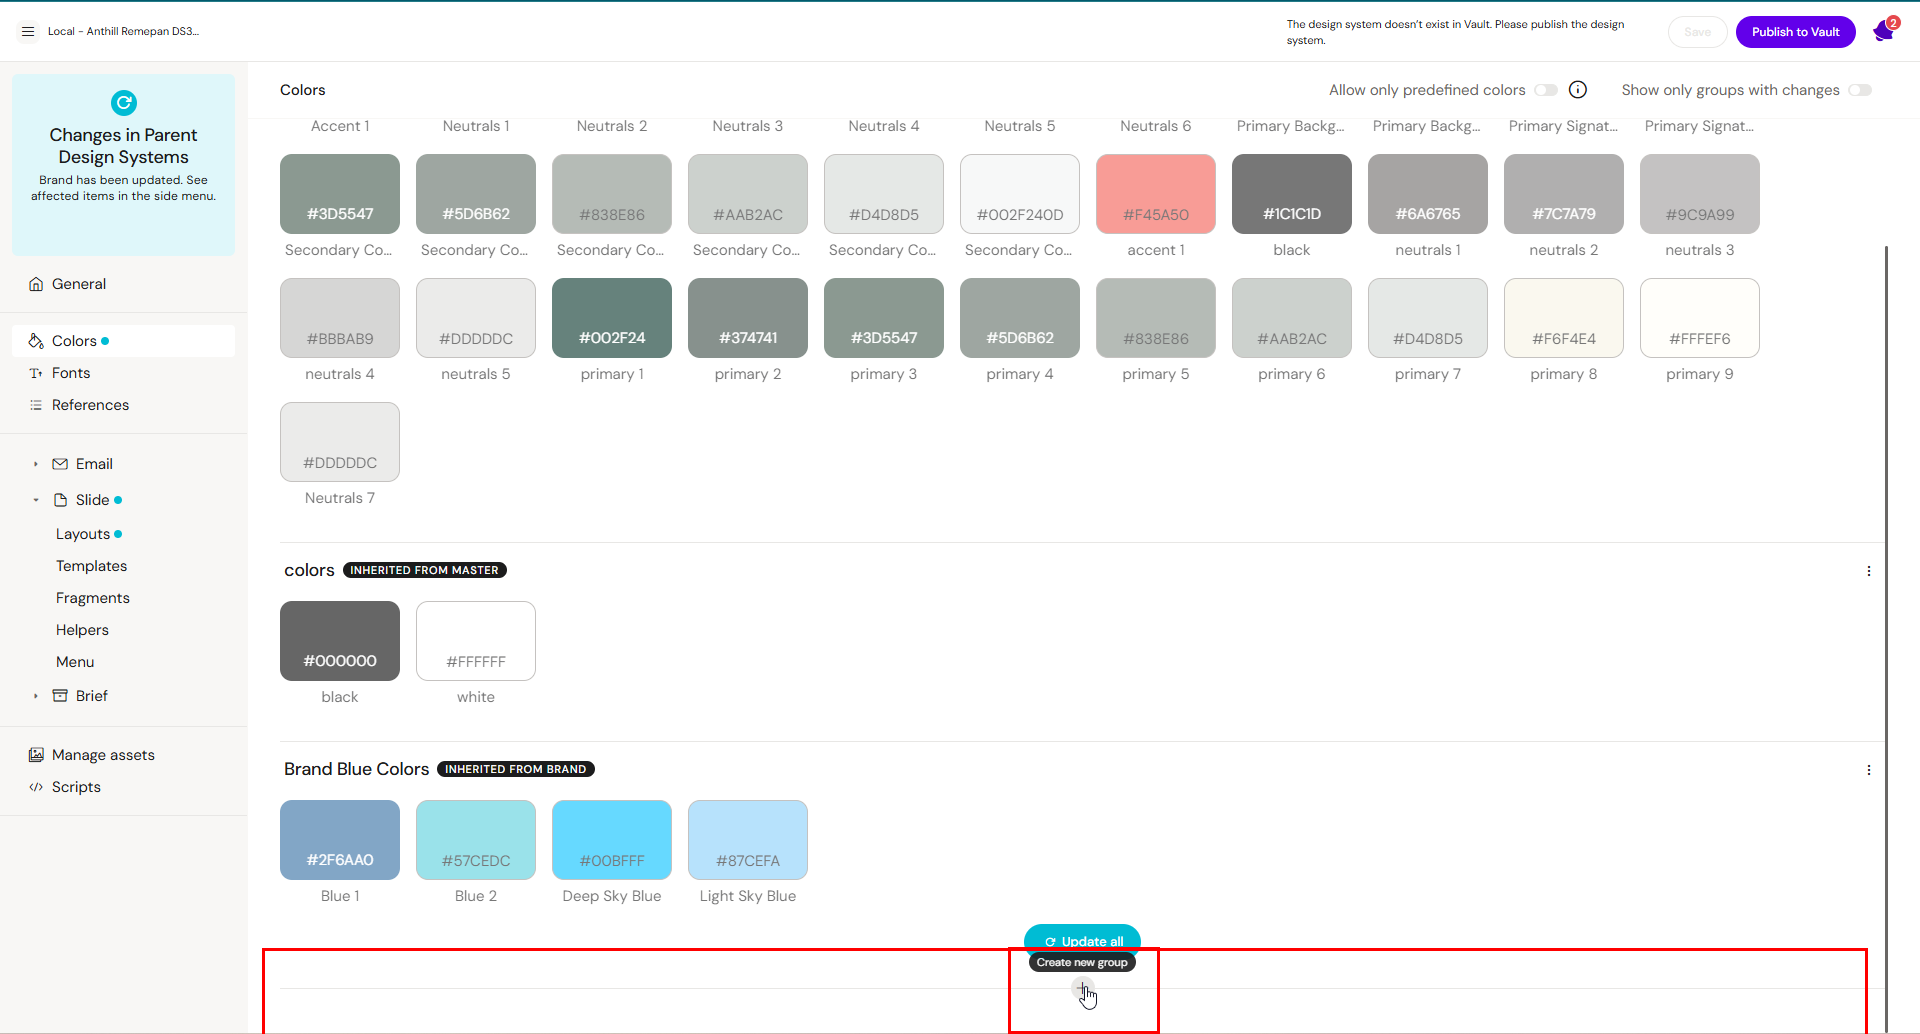
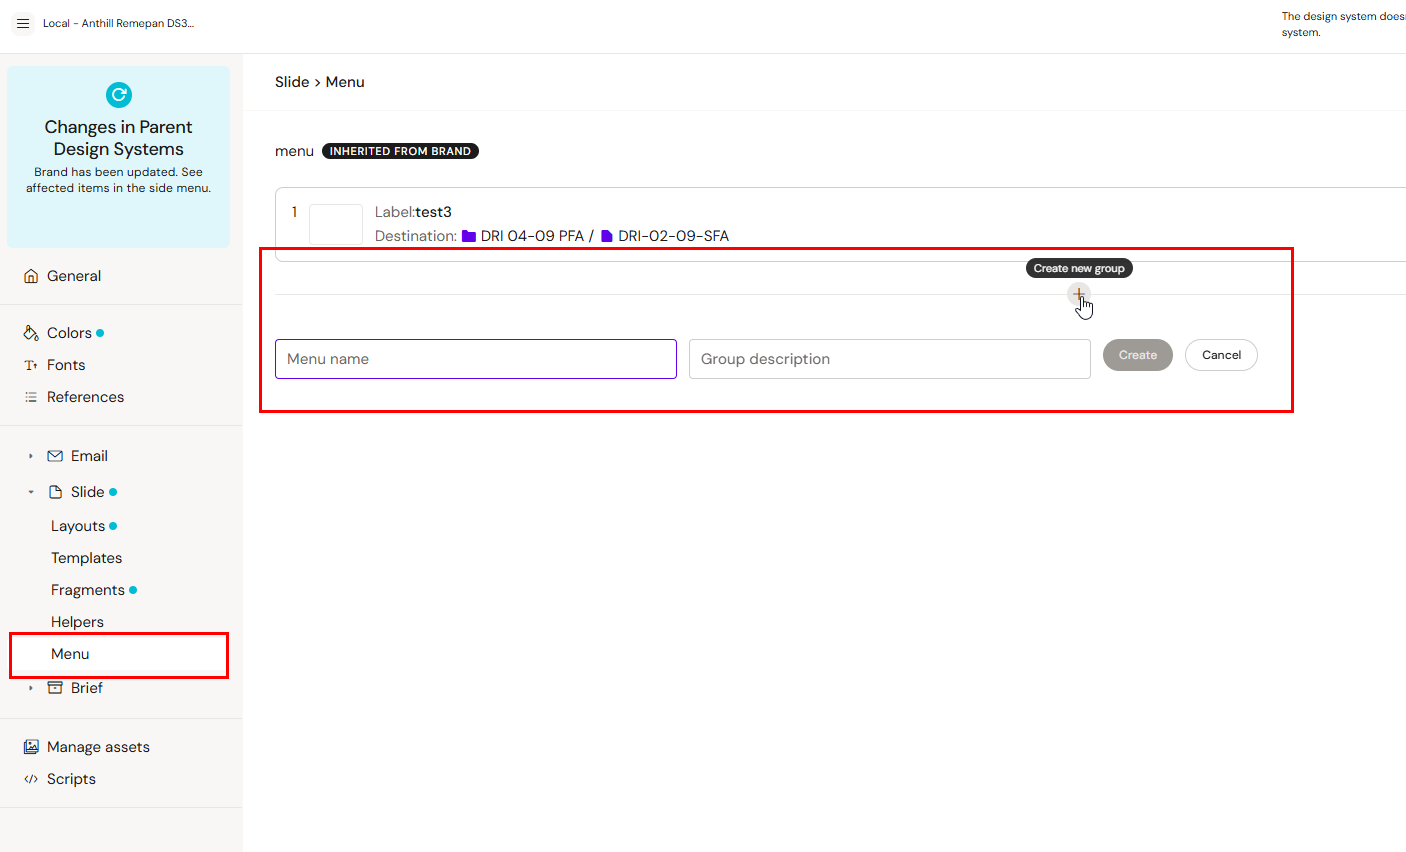
Click the Create New Group within a suitable category for the content.
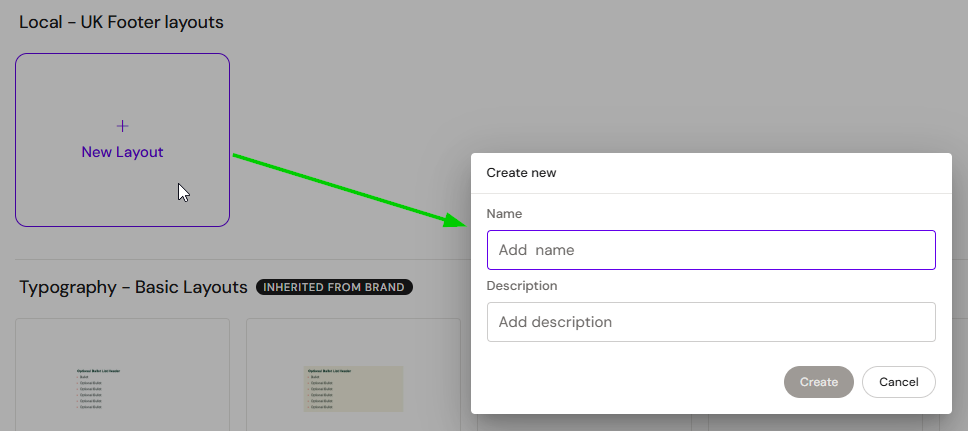
If the Design System already contains content, the Create New Group option is located at the bottom of the page. In this example, the user is creating a new color group.
Give the group a name and add a description. Click Create. This process is the same for the rest of the content (layouts, templates, slide fragments and menus)

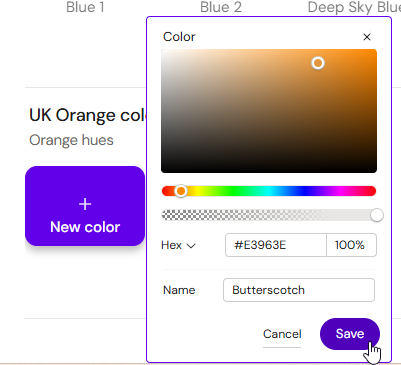
Adding and altering new colors
Once the group is created, click the New color button and define the color in either hex or RGB. Click save.
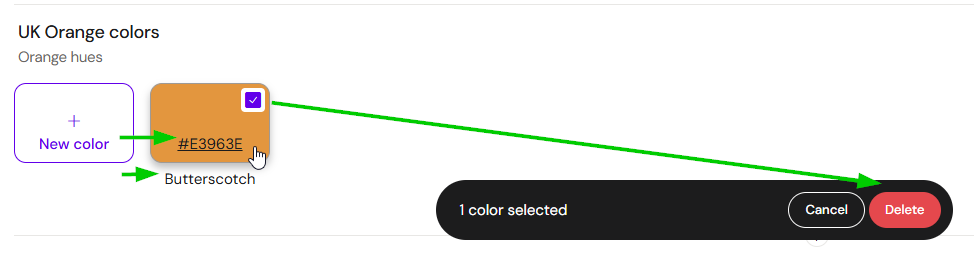
To change the name or color, click on the hex code or name. To delete the color, click on the checkmark when hovering your mouse over the color tile.
Layouts - Create new content
In the following example, we have a new Layout group.
Click on New Layout and give it a name and description.
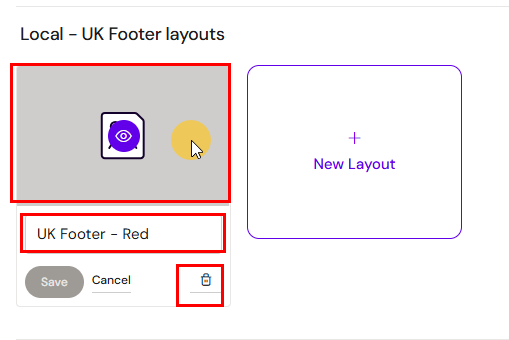
You can now either:
Click on the thumbnail to open the editor and build content inside.
Click on the eye-icon to preview content.
Click on the pen-icon to edit the name of the item.
Delete the item.
Building Layouts
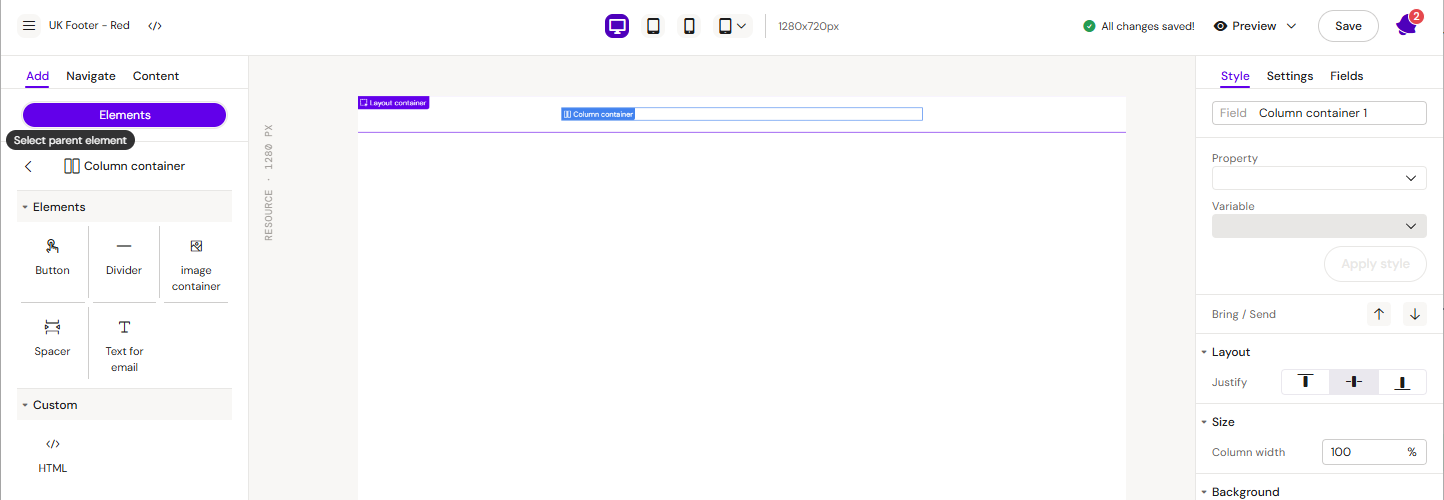
Double click the thumbnail (not the eye-icon) to open the Layout Editor.
For detailed information on how to build content inside a Layout, read the Content Building for Designers and Managing Templates, Layouts, Slide Fragments and Menus articles.
Building Templates
Create a new group and a template inside. The process is similar to that of creating a Layout, with one difference: Templates are usually created by using the Layouts that are already present.
The tools to build content are available from the Add->Elements menu, in case there is a need to build something from scratch that does not exist as a Layout, or to add a few elements to an existing Layout just for a specific Template.
For detailed information on how to build Templates, read the Managing Templates article.
Building Slide Fragments
Create a new group and a fragment inside. The tools available for building fragments are the same as for Templates. Both the Add->Elements and Add->Layouts menus are available.
For detailed information on how to build Slide Fragments read the Manage Slide Fragments article.
Creating a New Menu
Certain IVAs support multiple menus, allowing users to select different menus across your slides. For example, Menu 1 is added to two slides and Menu 2 to the remaining slides.
This provides greater navigation flexibility, expands the number of links that can be navigate to, and allows all menus to be managed centrally through the DS3 user interface.
From this tab, it is possible to:
Create new groups and menus
Hide menus
Duplicate inherited menus
Remove inhertied menus
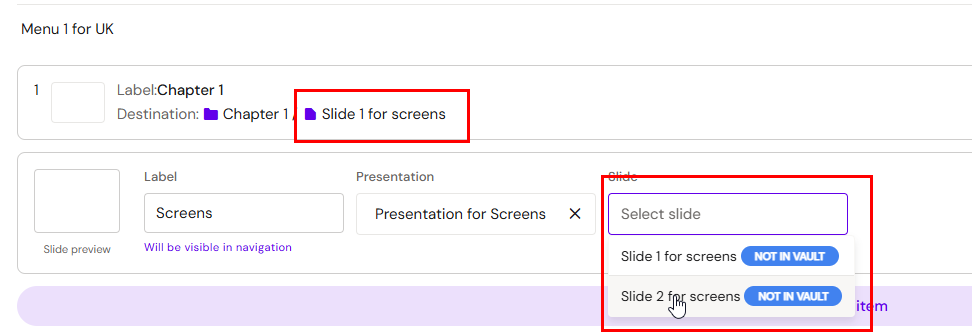
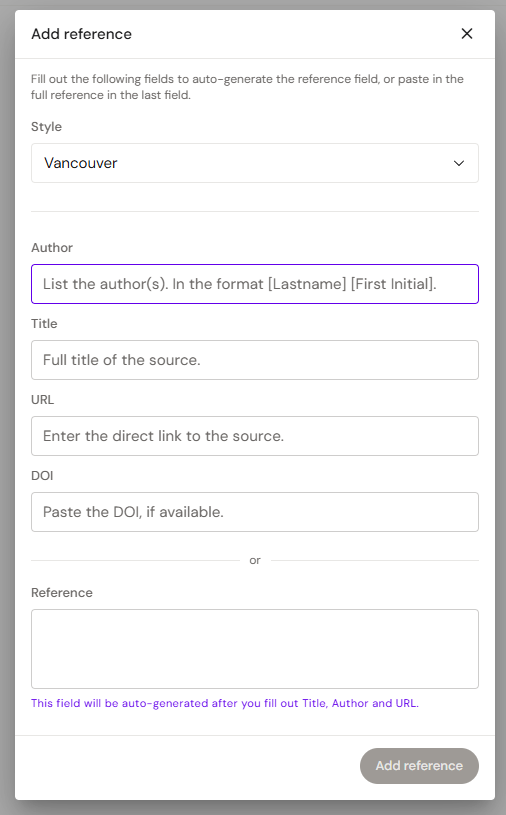
Once the group is created, click Create Menu Item

4 fields are available:
Thumbnail - a small image of the slide being linked to
Label - The text that will appear on the button used to link to a slide
Presentation - The Presentation it will direct to
Slide - The specific slide within the Presentation
To use this type of navigation, a Presentation must first be linked to the Design System. The slides to navigate to must be inside that Presentation, and both the Presentation and the slides must be linked to the same Design System.
If no Presentation is linked to the Design System, linking to a slide is not possible.
In the example below, the Presentation field is empty, indicating that no Presentation is currently connected.

Note: A Design System cannot be selected by content if it is not published to the DAM. Remember to publish if you want document creators to use your Design System.
When a Presentation(s) is linked to a Design System, it will appear in the dropdown menu, as shown below:

Select the Slide within you want to navigate to when the button is clicked:
When the bottom menu component is used on a Slide, or referenced within a Slide Fragment, it appears on the Slide as shown below - here the two buttons are visualized and when clicked on will navigate to the Slide within the specified Presentation
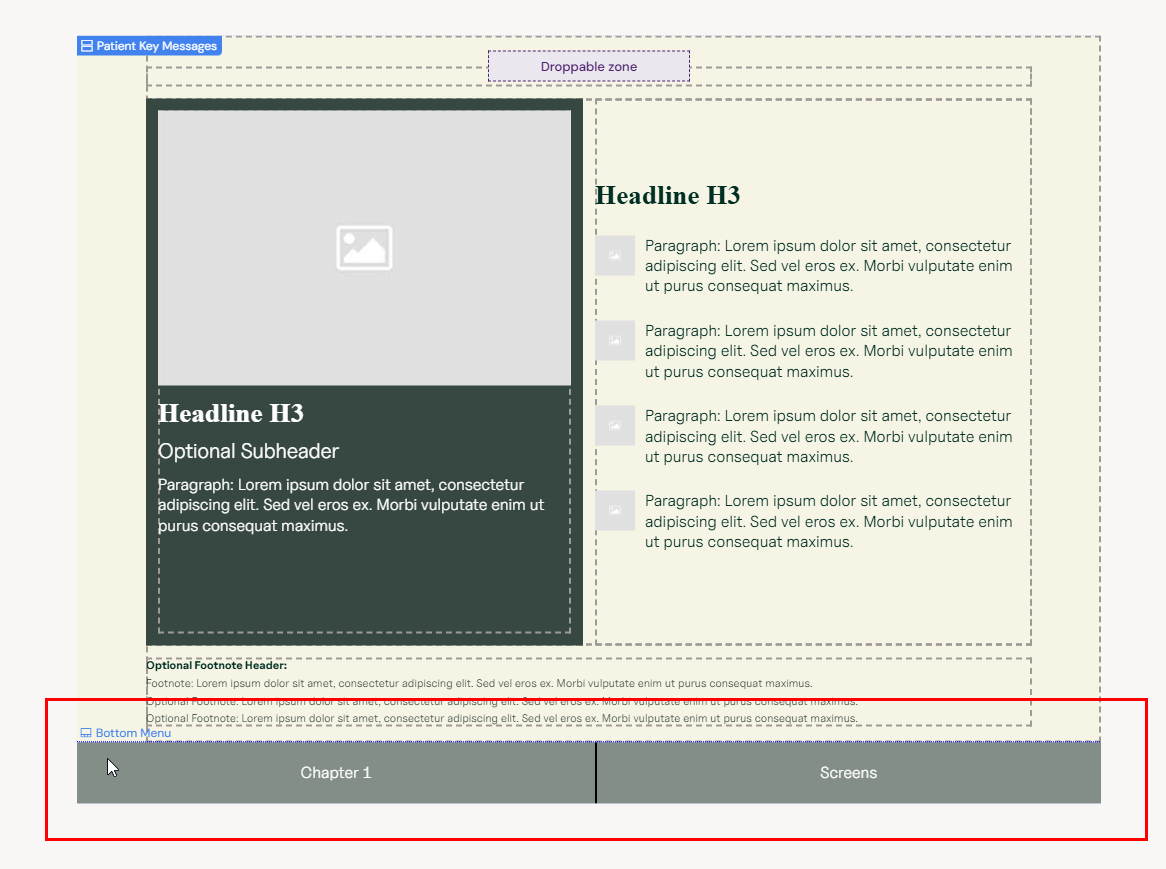
More information on how to use multiple menus on your Slides can be found in the article How to Use Navigation and Slide Fragments.
References
References are managed directly within the References tab of the Design System.
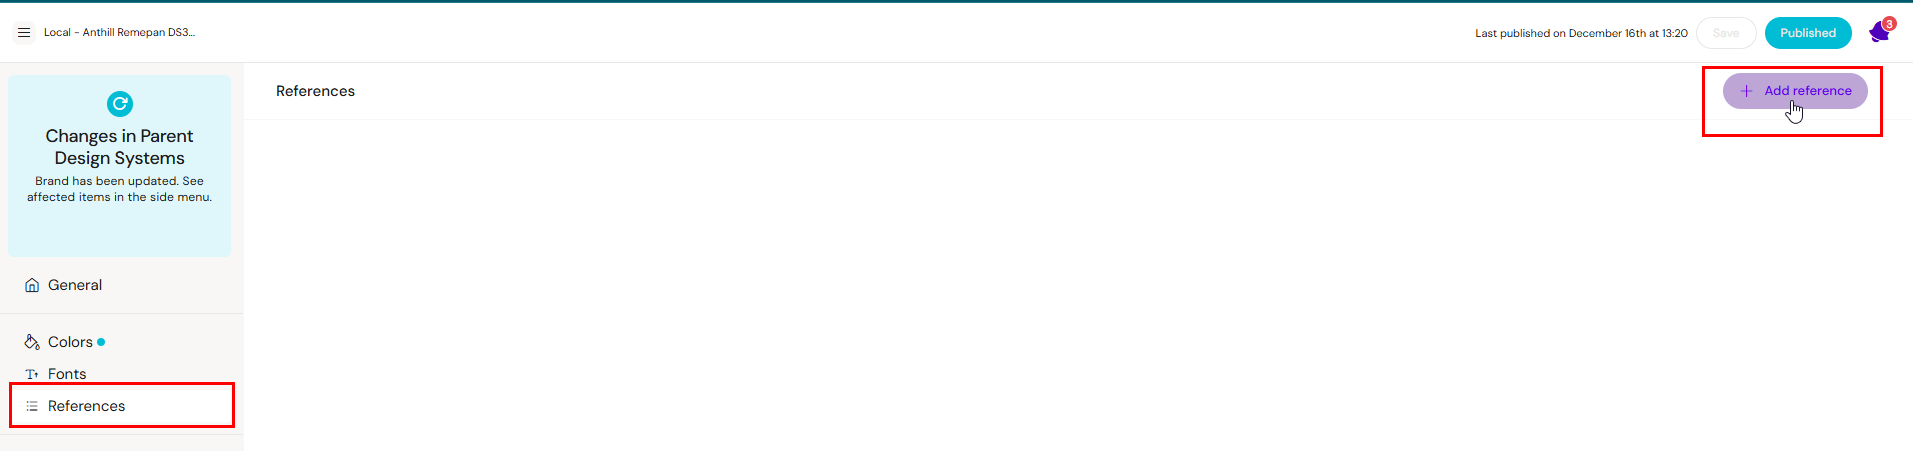
From this tab, the options are to:
Create new reference entries
Edit existing entries
Reorder references
Remove references
All references are stored as part of the Design System configuration, similar to components, layouts, or settings. This means reference content is centrally managed and governed within the Design System.
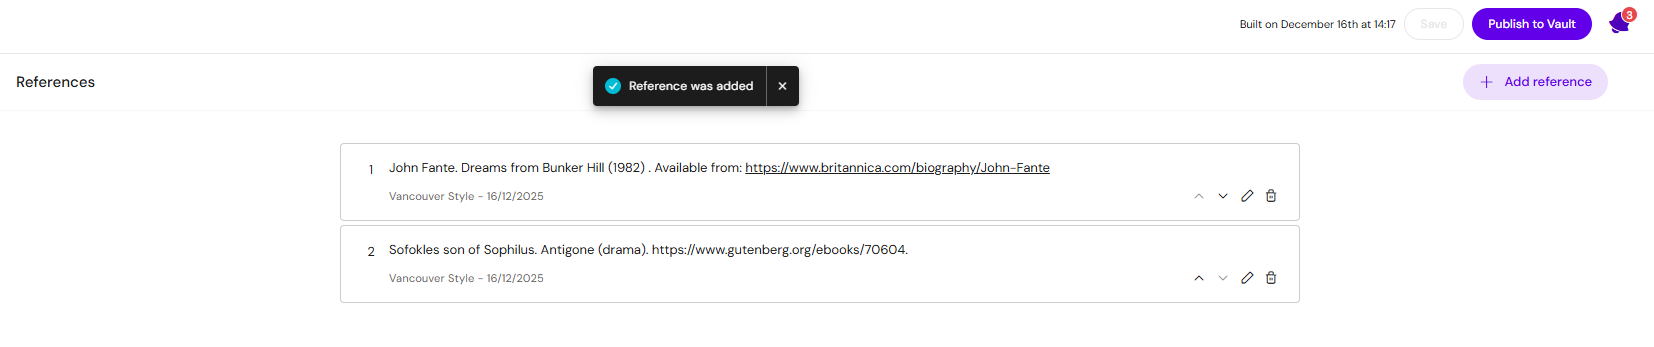
In the current version of Design System 3, references exist only as structured entries in the Design System and are not yet used directly in content documents.
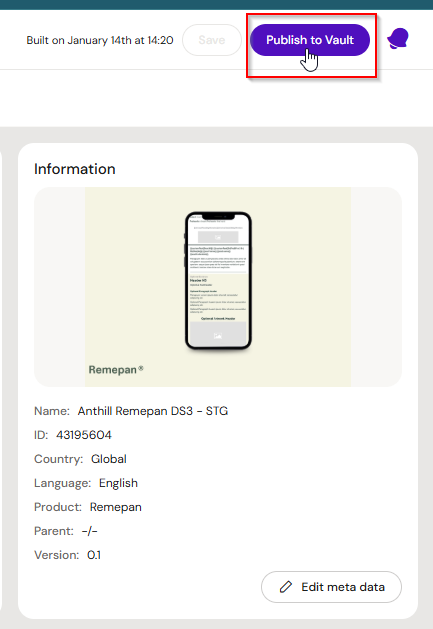
Publishing The Design System
A Design System cannot be selected by content if it is not published to the DAM. Remember to publish if you want document creators to use your Design System. The publish button can be found in the top right corner.