How to add Layouts and Helpers to your Slide
Adding content layouts to your slide
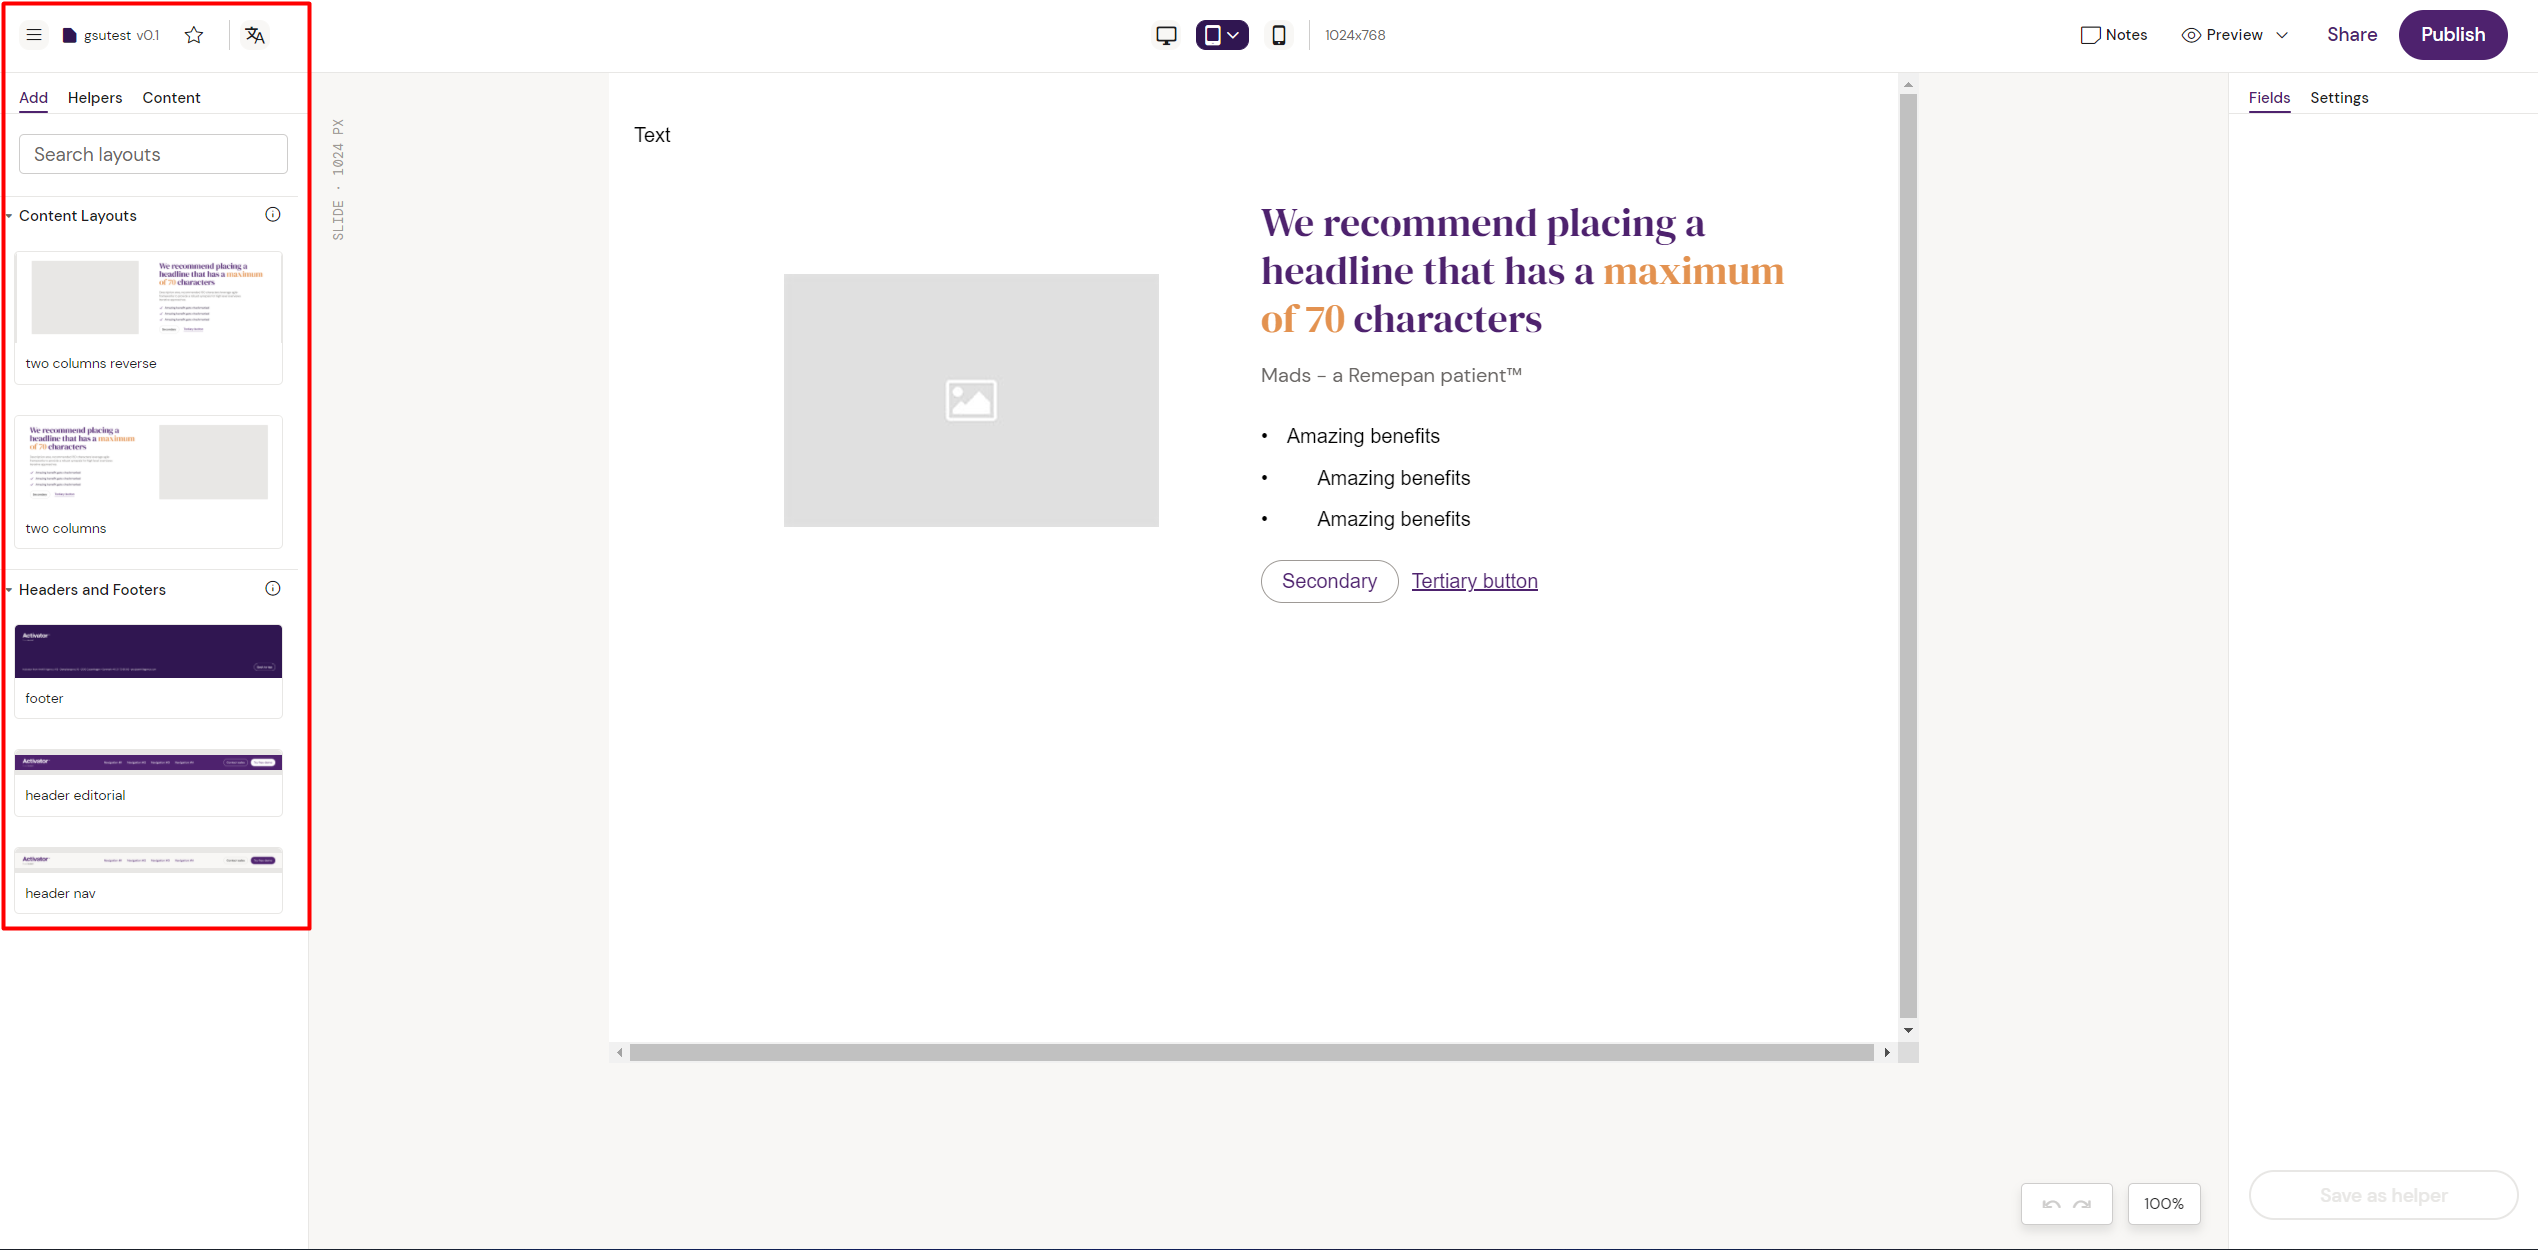
Just underneath the Burger Menu in the top left corner of the Slide Editor view, you will find 3 tabs: Add, Helpers, and Content.
Under the 'Add' tab in the left-hand menu you will find the layouts that you can add to your slide.

In this example you can see that the available layout are categorized into ‘Content Layouts’ and ‘Headers and Footers’ and displayed with their name. Thumbnails show a preview of how these layout look.
To add an existing layout to the slide, you can simply drag and drop any layout onto the slide canvas in the middle of the screen using your mouse. The layout should then be rendered out on screen.
Should you have a great number of layouts, you can use the search box above the layouts, just under the Burger Menu. Simply search by layout name to find the layout that you are looking for.
Want to know more about Layouts?
Adding Helpers to your slide
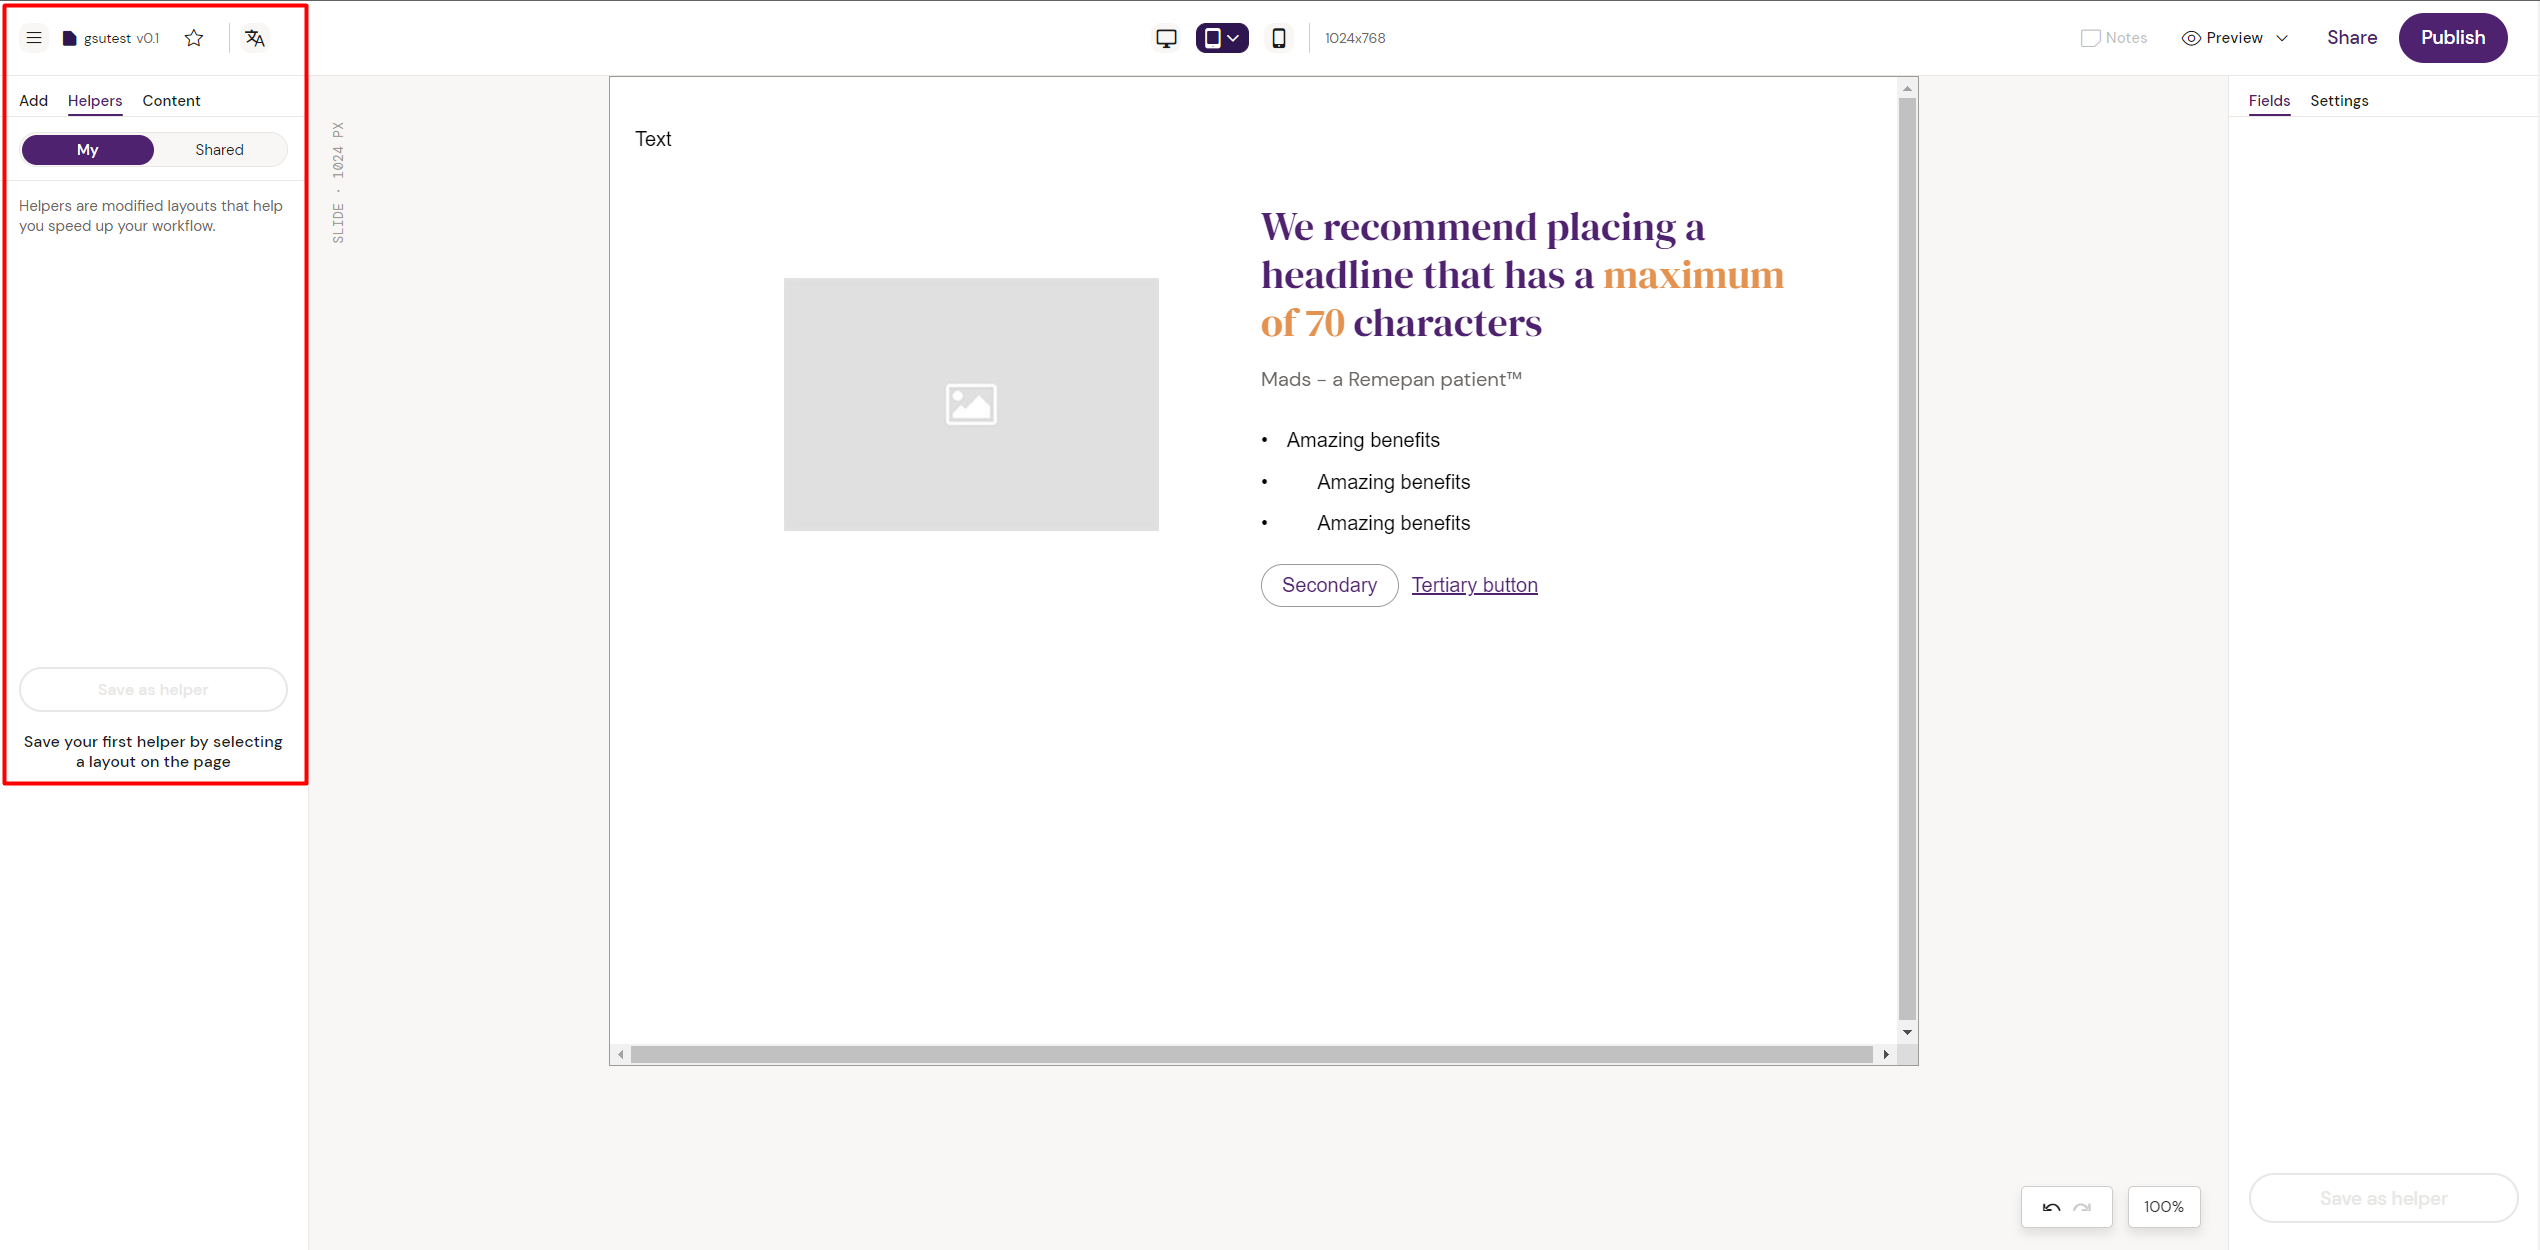
Under the 'Helpers' tab you can find both your personal Helpers, as well as shared Helpers.

Helpers are essentially layouts that you can personalize and save. This might be helpful when you find yourself using a certain combination of content often or in different formats.
Want to know more about Helpers in general? Activator Content Editor | The-Helpers-Panel
Per default the Helpers tab should highlight the ‘My’ button, meaning that Activator is currently showing you the Helpers that you have saved. From there, you can also switch to viewing the shared Helpers by clicking on the ‘Shared’ tab button. Use the search bar to quickly search for specific Helpers by name.
From both tabs you can simply drag and drop Helpers onto your canvas with your mouse to add them to tour slide.
