
Creating and Editing Slides in Activator
Here we will introduce you to the different UI elements and features of the Slide Editor. We will cover the different options available when trying to create, edit and delete slides and content for them, as well as how to work with Layouts, Helpers and Modular Content.
When you first create a slide, you are asked to attach it to a Design System. The Design System is what defines what content options are available to you. After you have selected a Design System, you can create your slide, which will open it in the editor view. You can also open any existing slide from the Dashboard or Search overview.
Read more about Design Systems here: Design System Basics
When you first open a slide you will find yourself in the Editor view, which looks like this:
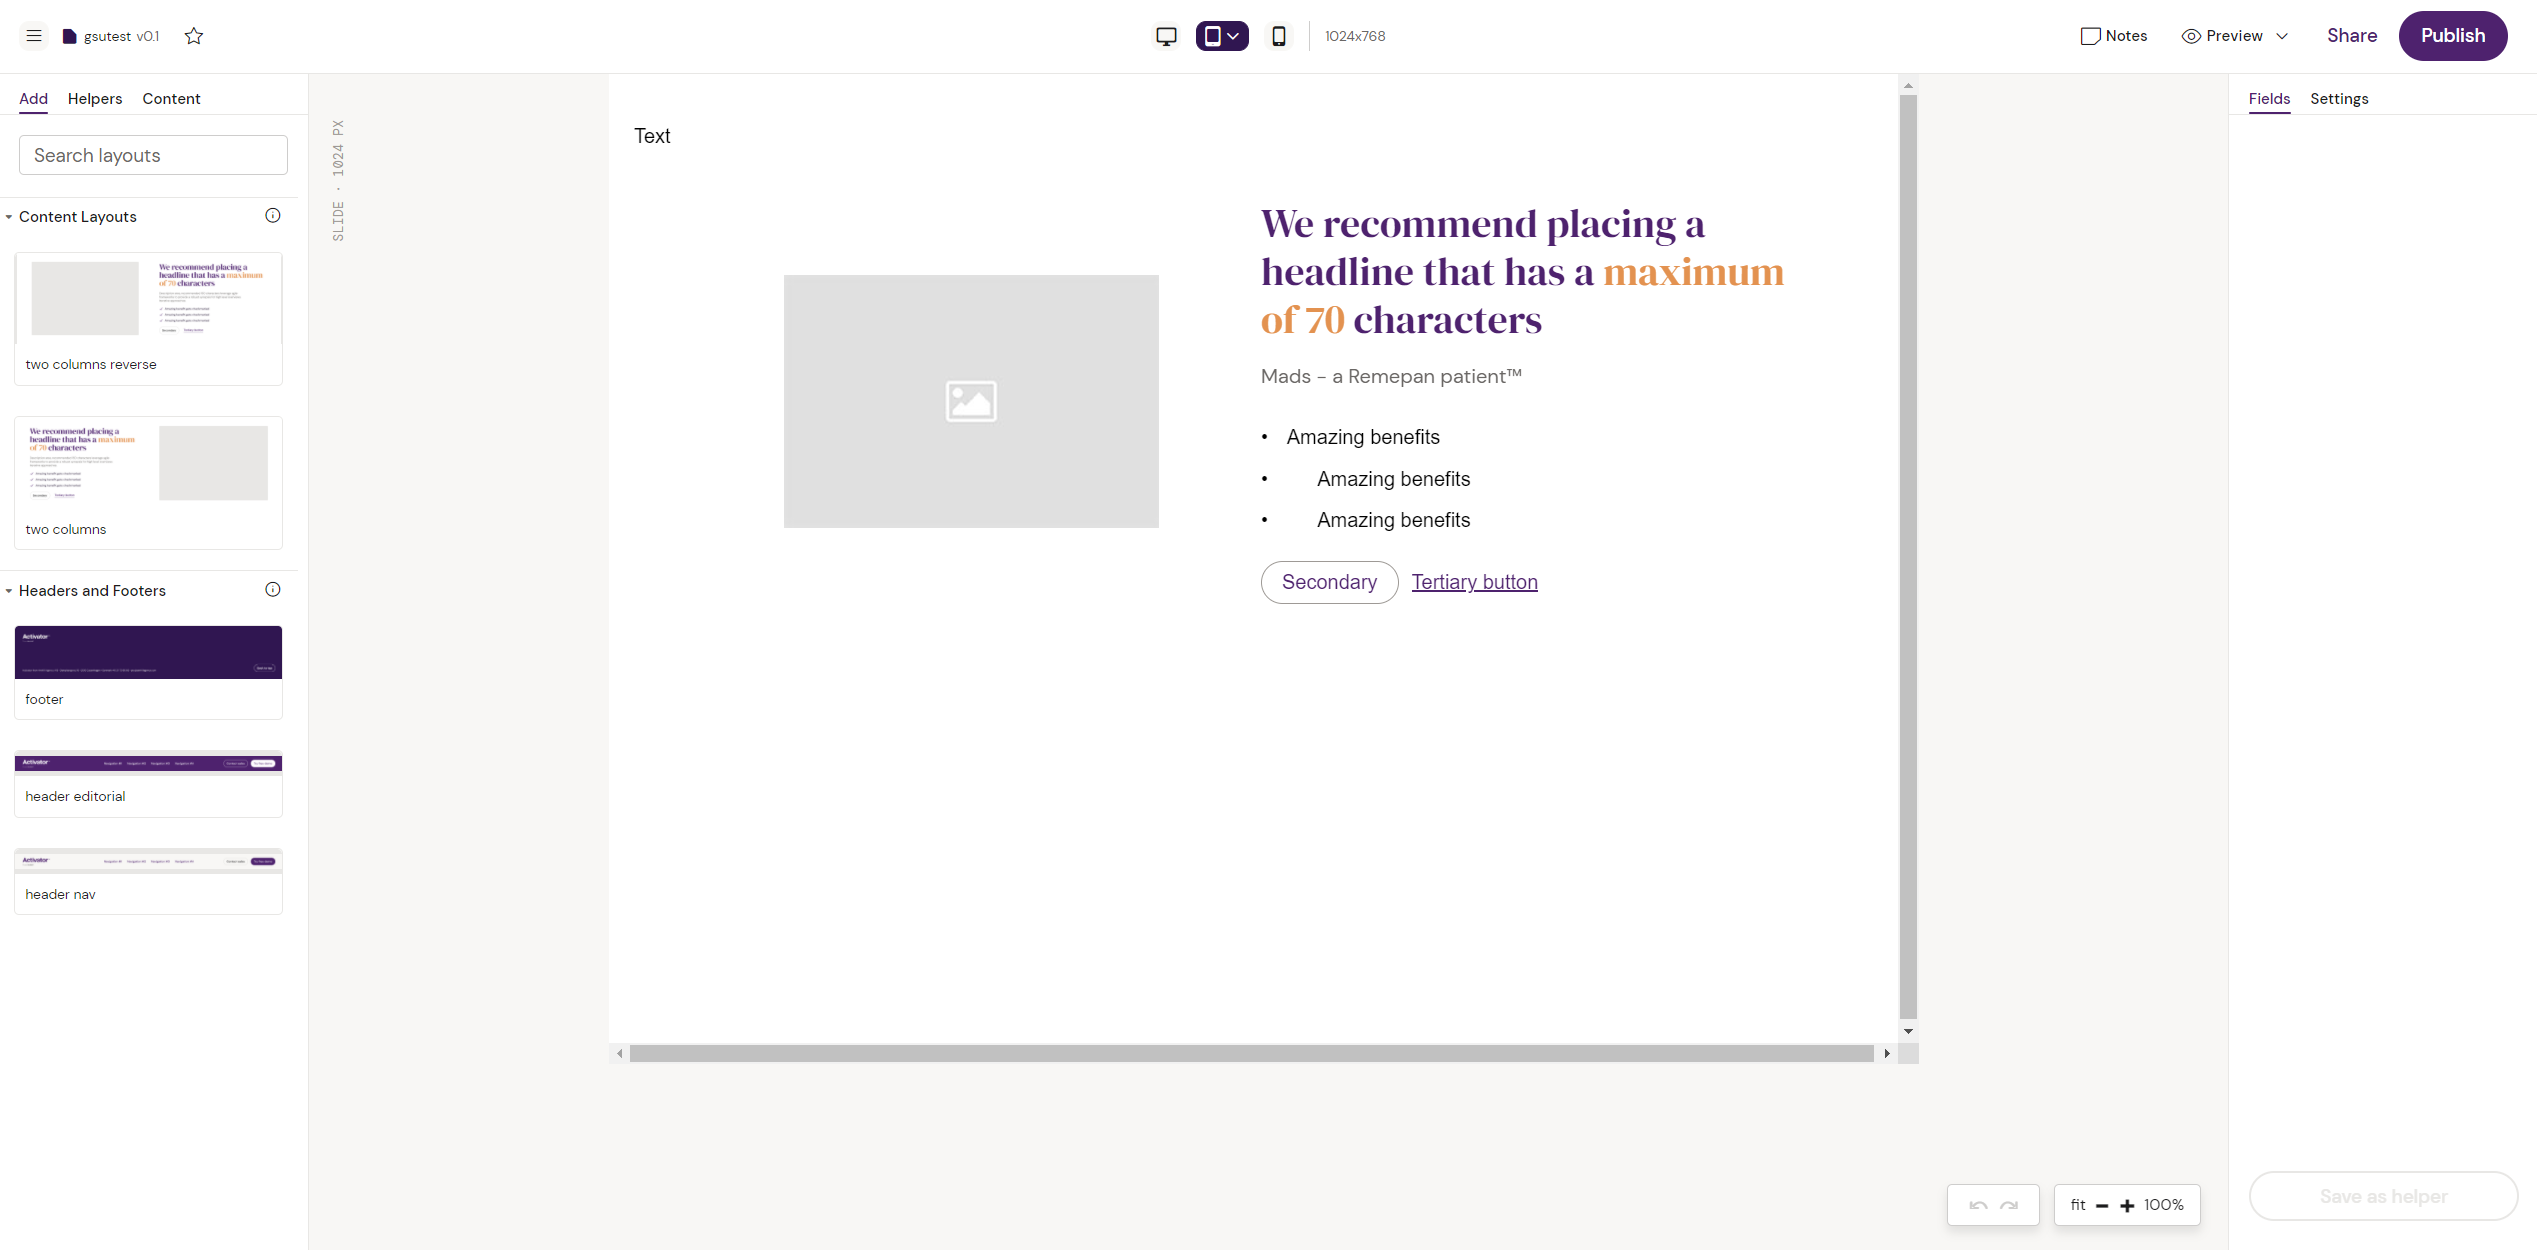
Follow this link to learn all about the Activator Content Editor !
The Dashboard Side Navigation
This is the left-hand menu that you see when first opening the slide editor.
The Burger Menu
Starting from the top left corner, we have the Burger Menu.
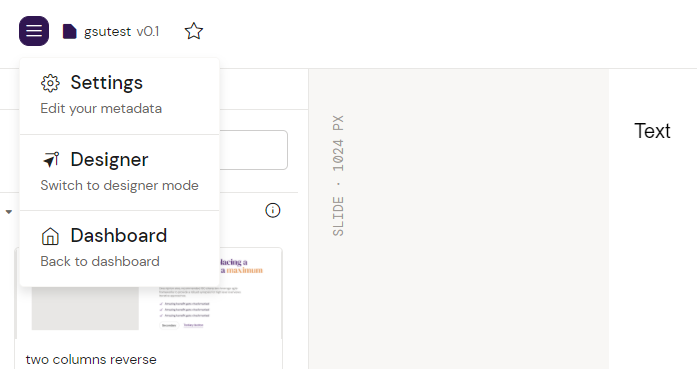
The Burger Menu (expanded)
Check the Settings of your Slide
All documents have a Settings panel that allows your to see and update properties, as well as giving you an easy way to open them in Promomats or see where they are used.
Visit The Settings Panel page to learn more!
Duplicating your Activator content
All of your content, such as Slides, Emails, Briefs, and Binders can be duplicated in Activator.
Visit Duplicating/Copy Content in Activator to learn more about the duplication options that you have in Activator.
Editing the meta data of a slide
While in the Slide Editor view, access the settings of your slide by clicking on the Burger Menu in the top left corner of the screen and then click on ‘Settings’. From here you are able to see the properties and meta data for the slide, which you can edit using the corresponding ‘Edit’ button in the bottom left corner of the modal. Remember to save your edits before you close the modal.
Switching between Slide Editor and Slide Designer view
You can always switch the between Slide Editor view and Slide Designer view by clicking on the Burger Menu in the top left corner of either view and selecting the opposite view from the expanded menu.
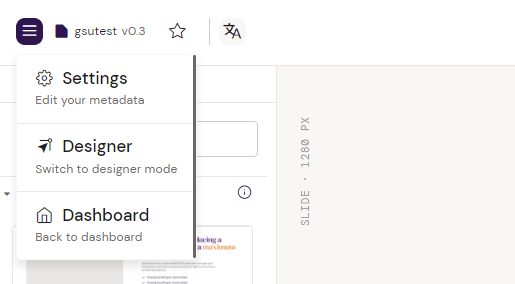
While viewing your slides in the Editor view, you will have the option to switch to the Designer view and vice versa.
Getting back to the Activator Dashboard from the Slide Editor
From the Slide Editor view, you can always get back to the Activator Dashboard by opening the Burger Menu in the top left corner of the screen and once it has expanded click on ‘Dashboard’.
Layouts and Helpers
Layouts and Helpers let you quickly create your document from predefined design assets that fit your Brand.
Visit How to add Layouts and Helpers to your Slide to learn more!
Modular Content
Modular Content allows you to take content from Veeva Vault and utilize it across your Activator content pieces, such as Slides, Emails and Briefs. This quickly lets you populate your Activator layouts with pre-approved content.
Visit Modular Content to learn more about Modular Content and how to work with it in Activator.
Media Assets and the Media Library
Visit Media Assets and the Media Library to learn how to import the Media you need for your content.
Previewing your slide
Learn about how to preview your slide via a QR code or opening it in a new window or another device here: Activator Content Editor | Previewing-Content
Previewing slides at different break points
Find out more about switching your display to check your content as it will appear on different displays here: Activator Content Editor | Responsive-controls
Working with Notes
You can use Activator’s Notes feature in Slides to collaborate with your teammates and share additional context as needed.
Find out more here: Activator Content Editor | Notes
Sharing options for your slide
Learn more about Sharing options here : Activator Content Editor | Share-Content
Comparing content between different versions of a slide
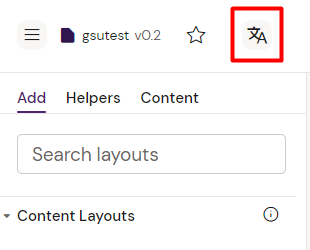
If you find yourself opening a new version of a slide and you want to compare the latest version’s contents to contents of a previously published version of the same slide, you can do so by clicking on the 'Compare and Translate' button in the top left corner of the Slide Editor view.
Doing so will open a new overlay called 'Compared and Translate' that compares the two slides side by side.
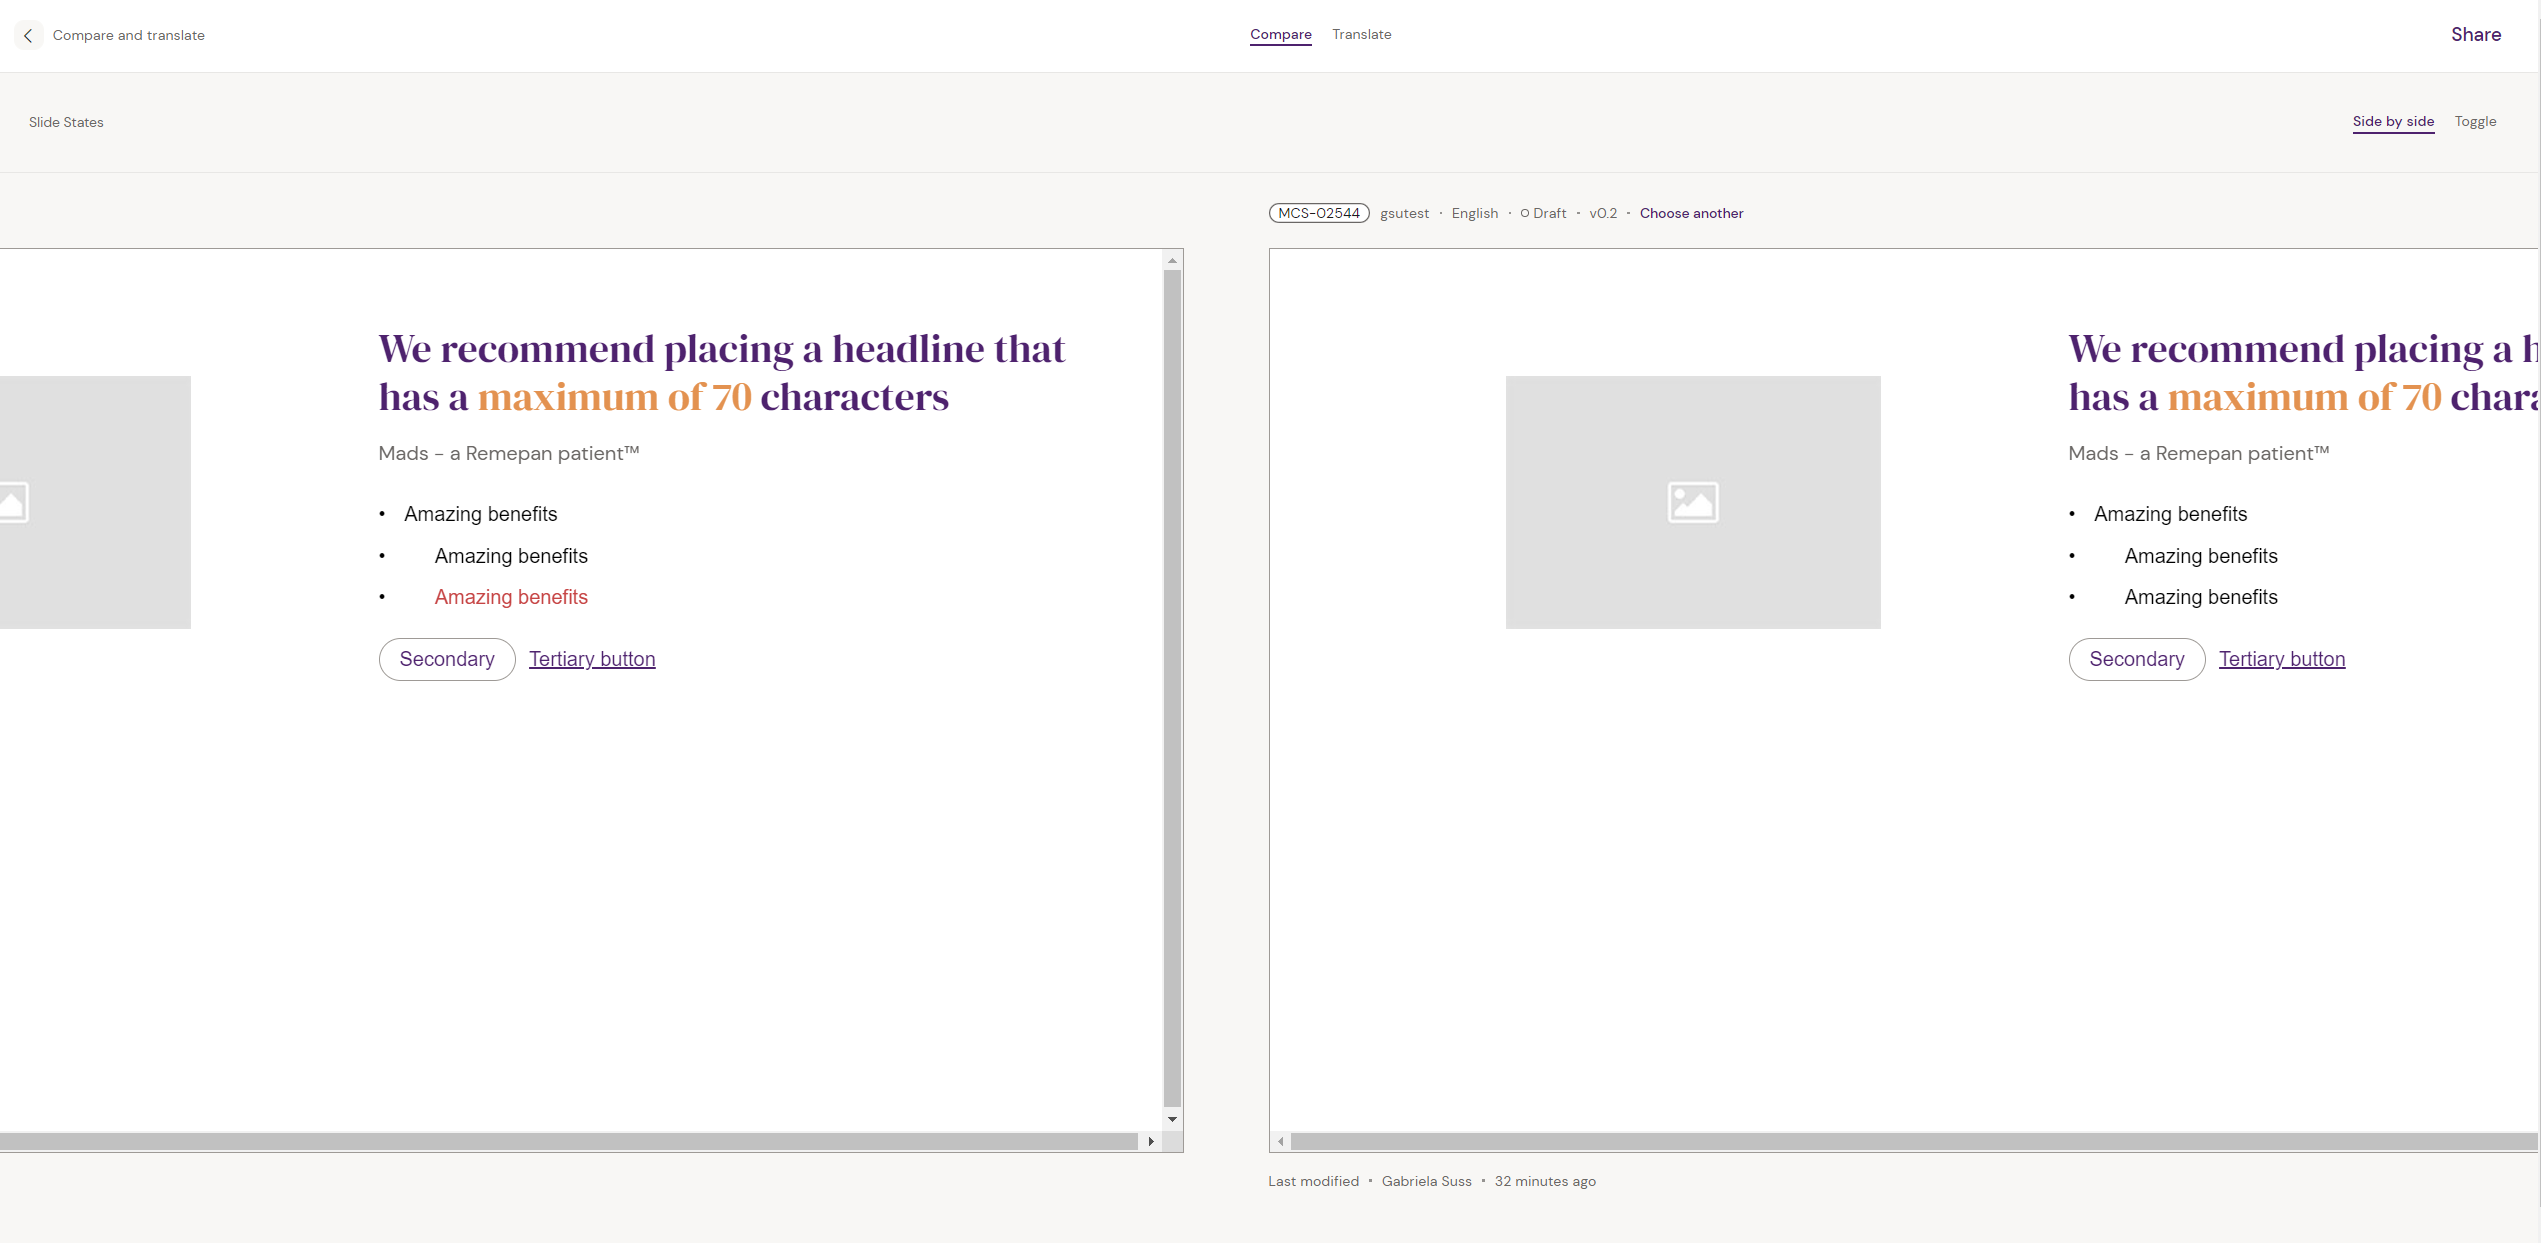
You can also click on ‘Toggle’ in the top right corner of the overlay to change the view to where you can toggle between one slide at a time to compare the differences of content between both versions of the slide.
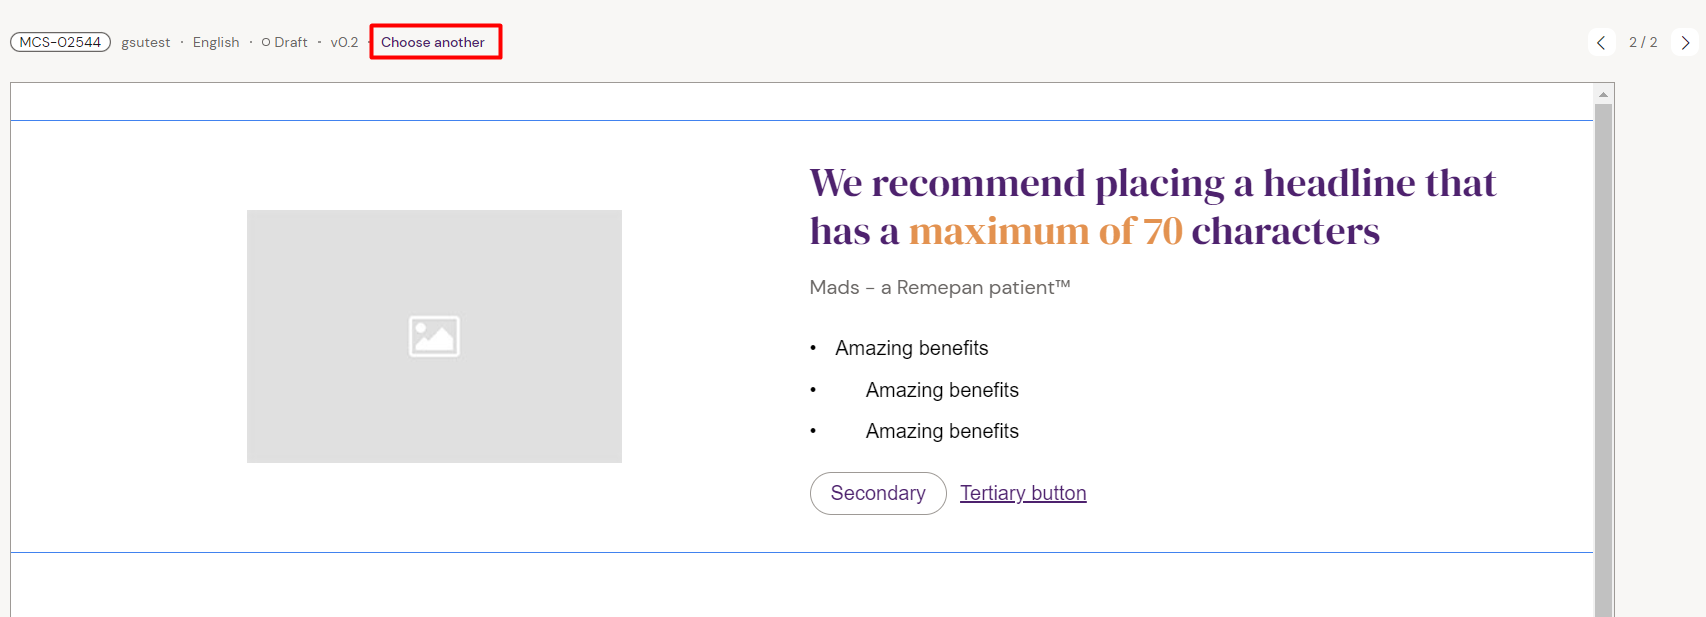
You will always compare the latest version of a slide to a chosen previous version of your choice. To change the version of the slide that you want compare to the latest version, click on ‘Choose another’ next to the version number of the slide.
When you are done comparing the states of the two slides, you can get back to your slide using the arrow in the top-left corner of your screen.
Translating your slides
You are able to translate Slides in several ways. One way is to make a copy and simply change the text directly in the editor.
Another option is to translate your Slide using the built-in Translation feature in Activator - for more info, visit the page here Compare and Translate
If you have a project with a heavy amount of text that needs to be localized, Activator supports export and import of translation files. Please visit this page for more information. Using Translation Files for Localization of Content
Undoing and redoing edits on your slide
When working with your slide in the Slide Editor view, you can undo and redo the latest edit you have made by using the ‘step back' and 'step forward’ buttons at the bottom of the slide area.
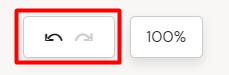
You can use keyboard shortcuts to achieve the same.
Use ctrl+z and ctrl+y on Windows, and command+z and command+y on Mac to toggle between your latest edits.
Editing your Content
In Content Editor mode you work with Layouts to compose your final content piece through a simple UI.
Visit Editing Slide Content with Layouts to learn how to use Layouts to build and customize your content.
Working with approved content for your slide
Visit Working with approved Modular Content for your slide to learn how to link Modular Content to a Layout.
Saving your populated layout as a Helper
If you have customized the content of your slide either with custom or pre-approved modular content, you can save the state of the layout as a Helper, should you have in mind to reuse the populated layout on a different slide, brief or e-mail.
You can do so by clicking the ‘Save as Helper’ button. This will open a prompt where you can give your Helper a name and subsequently save it. The saved Helper will appear under the 'My Helpers' list in the left-hand pane of the Slide Editor.
Need to know more about Helpers? Click here: Helpers