
This page covers how to find, import, link, and review existing Modular Content in your slides, emails, and briefs. For creating new modules, see Module Creation (MCM).
Importing Modular Content
Using modular content involves four steps:
-
Open the insert/add flow for modular content.
-
Browse or search the available content modules.
-
Insert the content module into your document.
-
Edit only where the module is intended to be editable.
For details on linking Modular Content to Layouts, see the section below.
You can import Modular Content into different document types in Activator — Slides, Briefs, Emails — and the flow works the same way for all of them. Both Editor and Designer roles can import Modular Content. In the example below we use the Editor view for a slide.
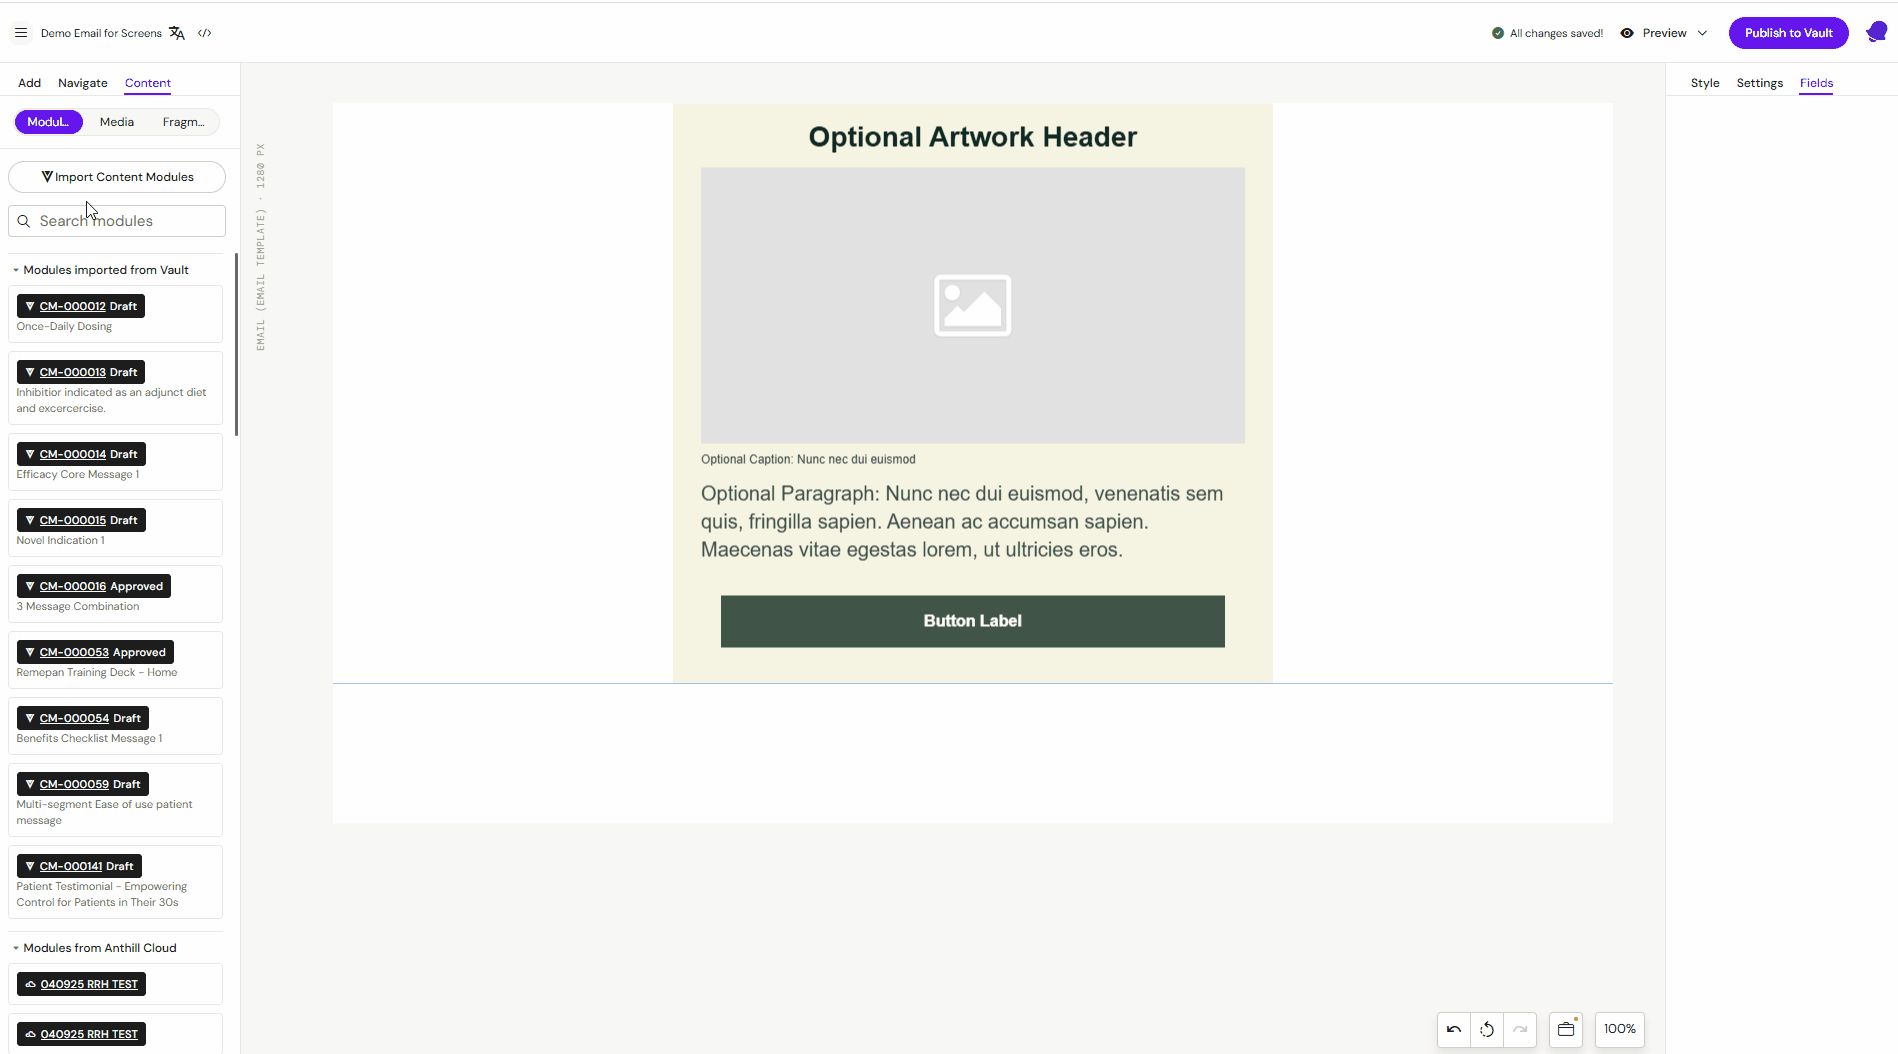
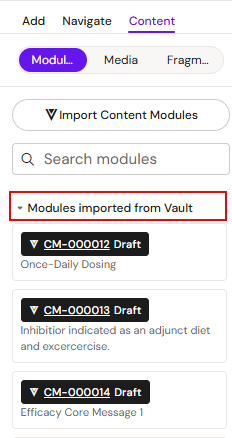
The Content tab in the Slide Editor view lets you browse the Content Modules available for import. Just underneath the Content tab, you have two sub-tabs: 'Modules' and 'Media'. The Modules sub-tab is shown below.
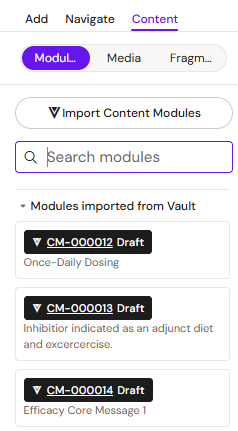
From the screenshot above, you can see that some Content Modules are already available for import in the second pane. If you do not have any modules listed, or you do not see the module you are looking for, you can use the Import modules button. Clicking it opens an overlay with options for importing Content Modules.
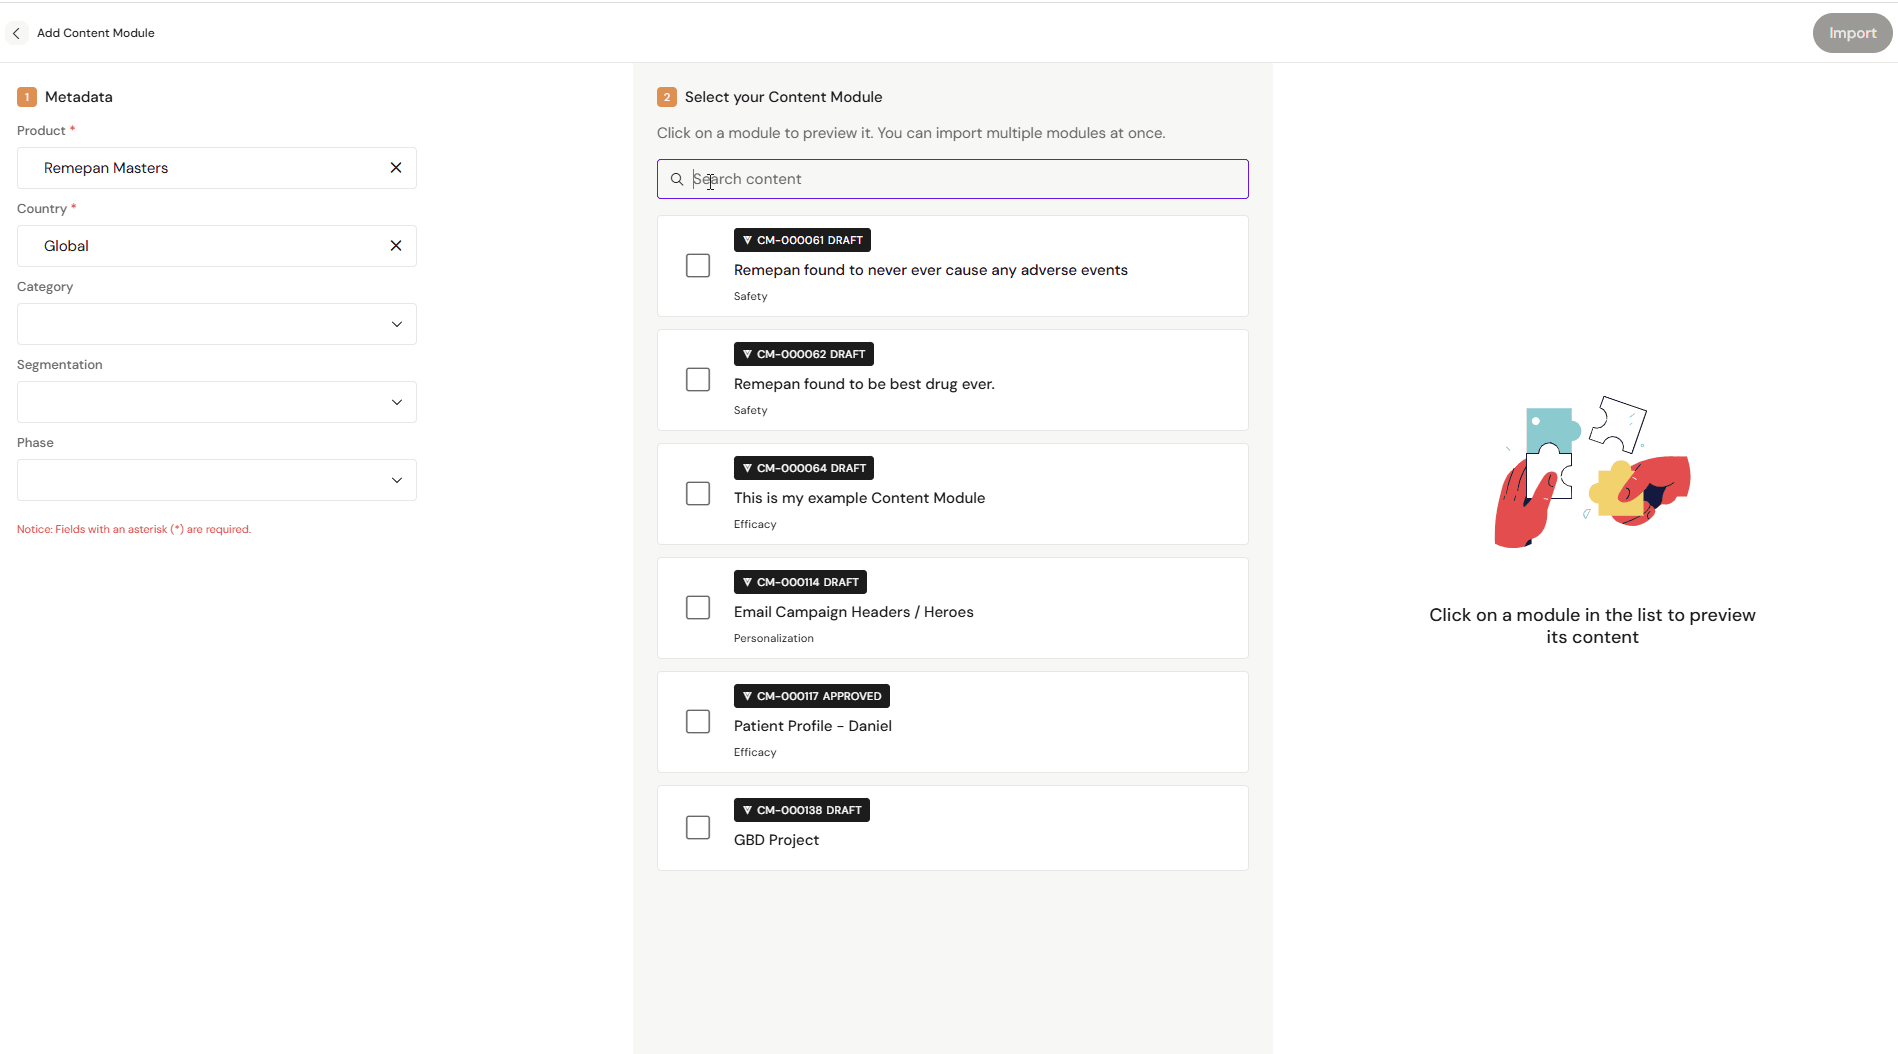
Here you can select product and country as filters for the modules you want to import. Content Module results for your filters appear in the second column.
In the second column you can also search for Content Modules by name, or select from the listed modules. To get a preview, click on a Content Module's card and it will display in the preview area to the right of the module list.
Make your selection of Content Modules to import by ticking the relevant boxes in front of the module names. Select the modules you want and finish by clicking the Import button at the top right of the overlay.
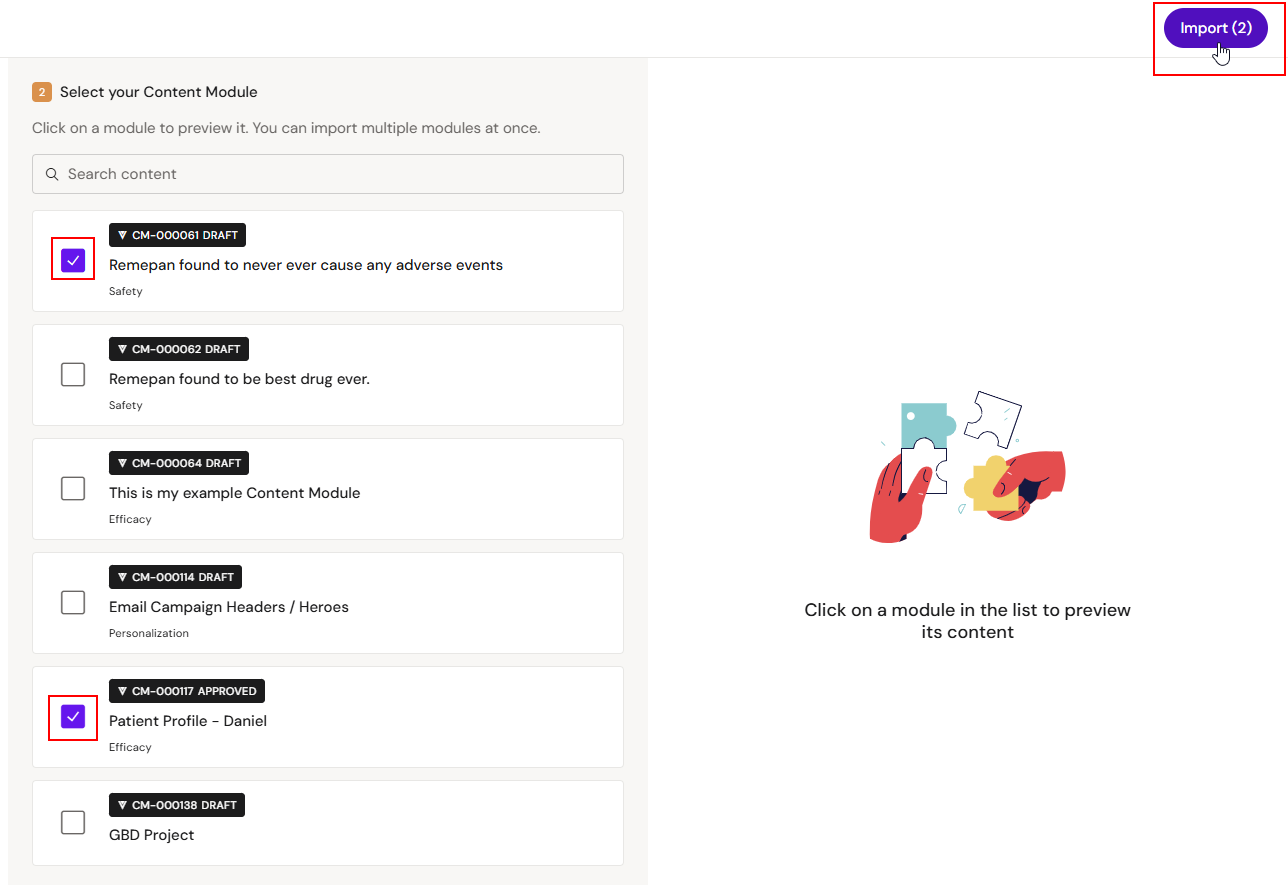
You can always go back to your slide without importing anything by clicking the back arrow in the top left corner of the screen.
After the import process, the modules you imported are now listed under the 'Modules' sub-tab.
Linking Modular Content to Layouts
To add approved Modular Content to your Layout(s), you first need to have created a slide, email, binder, or brief and added a layout to it. You should be editing the content type either in the Editor or Designer view of Activator. Double-click on a Layout to start editing it.
Each Layout element has a Modular Content button next to it in the right-hand pane, indicated by the stacked layers icon. Click on the button next to the Layout element you want to add content to. This opens a pop-over that lets you select from the available Modular Content.

Click on any Modular Content piece to associate it with the selected Layout element and import it to your slide, email, or other document. You can also click 'show more' to view the full extent of the content, or click the info icon to get more information about that piece of content.
Only one module can be used per layout. You can not link several module to a single layout.
Activator supports Content Rules that can be applied to the layout you are working with. This is a way to restrict content editors to work with content in a certain way and ensures that the output adheres to company policies. If any Content Rules have been applied to a content element in the layout you are using, the rules show on the pop-over:
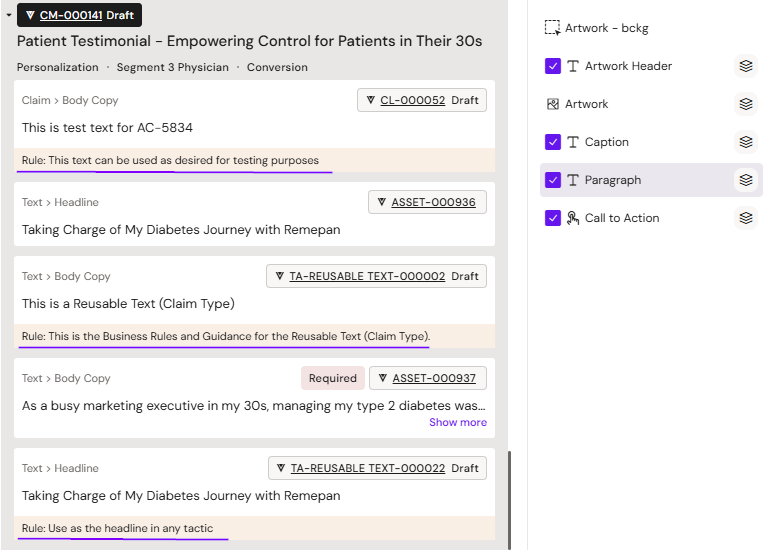
A Content Rule for the Title/Headline defines in this case that only one headline may be used in the layout at any given time.
If there's a long list of available content pieces, you can use the Search bar to search for specific content.
If you are not seeing the Modular Content piece you are looking for, you can import it into your project from your DAM (e.g. Veeva Vault).
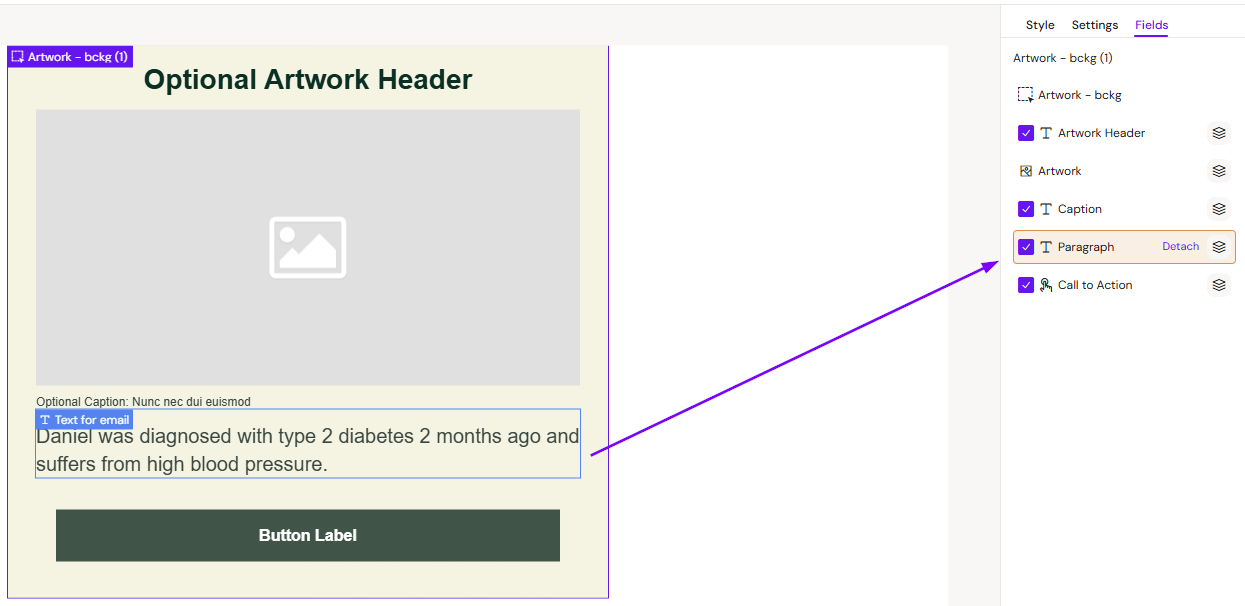
You can tell that Modular Content has been added to a Layout element by the different colour of the content button — it turns from purple/white to orange/white.
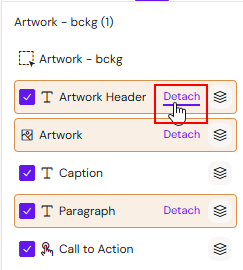
Removing Modular Content from your layout element
You can click the 'detach' button next to the layout element to remove all modular content pieces from the layout element again. This will not clear the imported text or image, but simply removes the link to the modular content.
Previewing and deleting Modular Content from your imports

While in the Slide Editor view, you can hover over any of the modules listed in the left-hand pane to reveal options to preview or remove them from your imports.
Click the eye icon to preview the module, or the recycle bin to delete the module from the list of your imported modules for the project you are working in.
Previewing your content for MLR review
MLR preview mode
Carrying out the Medical, Legal and Regulatory (MLR) review process is not possible directly in Activator. However, you can generate a helpful report over approved and unapproved content, which can be sent to your MLR review peers.
To initiate the review of your content, open the content you want to review in the Editor view. You can do so by finding and opening the content from Search or the Activator Dashboard.
The example below uses an email.
[Screenshot to copy: image-20220222-085555.png — Editor view for example slide]
In the image above, the slide contains placeholder content. If this slide was due for MLR review, you would click the preview button in the top right corner. This opens the preview of the slide.
For more on the different ways of previewing content, see Preview content.
Once the preview button is clicked, the slide opens in preview mode, where you can toggle between Design and MLR review modes. The MLR view is selected below.
[Screenshot to copy: image-20220222-090144.png — MLR preview mode]
The example slide is composed of a single layout. In the right-hand pane, all used layouts and their respective content elements are listed. Click on the layout name to expand the view and reveal the elements that the layout is composed of.
[Screenshot to copy: image-20220222-090908.png — Expanded layout view]
The layout used in the example slide has 7 unapproved content elements (graphic, title, blurb, 2 list items, and 2 buttons). Since the slide uses only placeholder content, none of it has previously been pre-approved in an MLR review — hence why it shows as 'unapproved' from the pane. This holds true for any content that has either never been MLR reviewed before, or pre-approved content that has been altered in Activator.
You have two options: get new content approved by MLR reviewing it, or use pre-approved content in Activator (which should significantly speed up the review process).
With pre-approved content, modules show up as 'approved' in the overview pane. For demonstration purposes, the headline in the example slide has been replaced directly in the Activator Editor with a pre-approved headline from Veeva Vault, which reads "Promotes glucose and controls hyperglycaemia".
Going back into MLR review mode, the headline is now marked in green as 'approved', indicating to a reviewer that there is no need to spend further time on this content element — instead, the reviewer can focus on the unapproved items above.
[Screenshot to copy: image-20220222-113322.png — Approved headline shown in green]
Content elements can have three MLR review states:
-
Approved (green) — content linked from your DAM that has been previously approved through an MLR review.
-
Unapproved (purple) — content that is either completely new or has not undergone an MLR review previously.
-
Modified (red) — content linked from your DAM where the original has been modified.
[Screenshot to copy: image-20220222-120541.png — Examples of each MLR state]
In the image above, the headline is approved, the graphic and the button are unapproved, and the blurb has been modified from the pre-approved import. The pane on the right also highlights modifications in red so they are easy to spot and review. In this case, the editor has added the word 'greatly' and removed the word 'adult'.
Creating an MLR PDF report for your content review
Once you have finished editing your content piece and it is ready for MLR review, you can pull the MLR report by clicking the Get MLR Report button next to the right-hand pane.
[Screenshot to copy: image-20220222-094429.png — Get MLR Report button]
This generates a PDF report for download. Note that the report may take a while to prepare, depending on how many layouts and content elements your content piece uses.
You can continue working in Activator — the system will notify you via a small notification at the top of your screen once the report is ready to download.
[Screenshot to copy: image-20220222-094659.png — Report ready notification]
Click the link in the notification to download it in your browser.
For a complete overview of the changes made to MLR functionality from Activator version 2.6.0 onwards, see Updates to Activator's MLR functionality.