
Main Rules and Mindset
The main goal of this article is to explain how to prepare image assets before using them in slides or emails.
Main considerations when working with images:
-
Make sure the resolution of your images is big enough for a Retina display https://anthill.atlassian.net/wiki/spaces/AC3SUP/pages/edit-v2/4239327277#Image-Resolution-and-iPad-Retina-Display
-
Use the correct file format for each Image https://anthill.atlassian.net/wiki/spaces/AC3SUP/pages/edit-v2/4239327277#How-Image-Formats-Affect-File-Size-and-Quality
-
Always optimize your image assets https://anthill.atlassian.net/wiki/spaces/AC3SUP/pages/edit-v2/4239327277#Image-Optimization
-
Always keep track of the file size of your images https://anthill.atlassian.net/wiki/spaces/AC3SUP/pages/edit-v2/4239327277#Why-Image-File-Size-Matters
-
Keep your Design System clean by removing unused images. This reduces its size, speeds up iPad synchronization, and improves slide loading performance.
Note 1: These rules ensure that your image assets maintain high quality on Retina displays while remaining optimized for fast loading times.
Note 2: The main focus of this article is to explain the importance of keeping image file sizes small to ensure fast loading and a smooth user experience.
How Image Formats Affect File Size and Quality
It is important to understand that different image formats use different compression algorithms and store data in different ways.
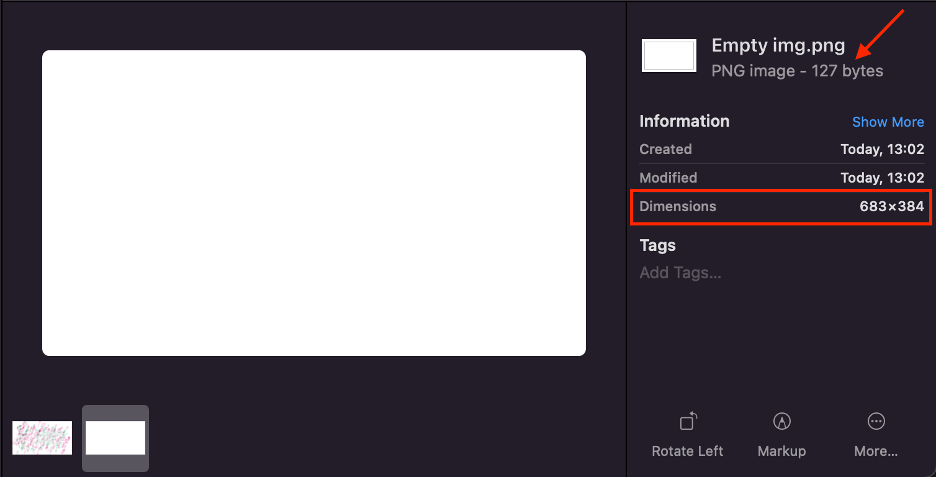
Focus on what an image contains rather than its dimensions, since the content affects file size more than resolution.
For example, create a simple image with a white background only. Notice that this image takes up very little space, only 127 bytes, even though its dimensions are 683 × 384 pixels.
Add content to the white background. With the same dimensions (683 × 384 pixels), the image size increases to 149 kilobytes.
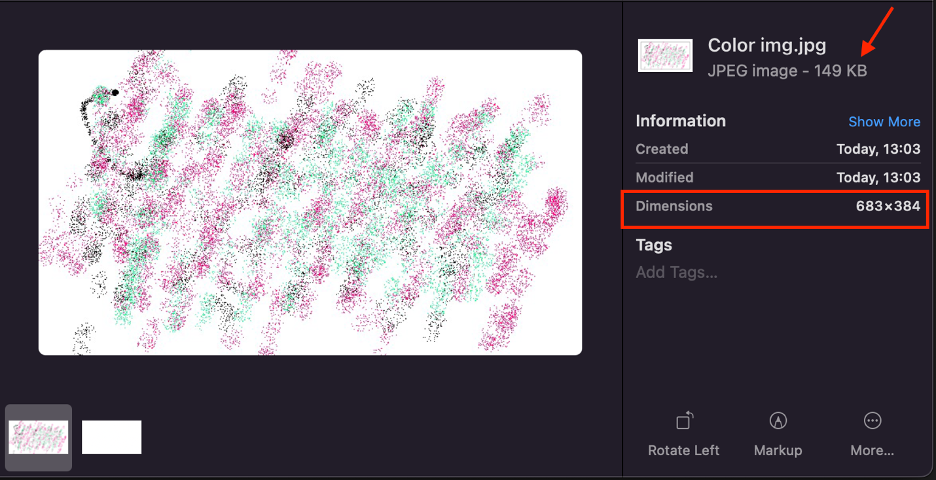
Note that an image’s file size depends primarily on its content rather than its dimensions.
JPEG
JPEG uses a compression algorithm that partially removes visual information that is barely noticeable to the human eye, which significantly reduces the file size.
It is recommended to use for photographs, gradients, complex scenes with a large number of colors and details.
File Size
The more visually complex an image is, the more effectively a JPG image is compressed.
Consequence: A large photograph in JPG format can have a significantly smaller file size than the same image in PNG format.
Limitations and Disadvantages
-
No image transparency
-
Possible appearance of artifacts with heavy compression
-
Loss of quality with repeated saves
PNG
PNG uses a lossless compression algorithm, in which all visual data of the image is preserved without changes. The format does not remove information, so it ensures stable quality regardless of the number of saves.
It is recommended to use for icons, UI elements, screenshots, text, and simple graphics.
File Size
PNG is most efficient for images with solid color areas, sharp edges, text, and simple geometry.
Consequence: Small icons or UI elements in PNG format can have a smaller file size than similar images in JPG format.
Limitations and Disadvantages
-
Inefficient for photographs
-
File size increases significantly with the growth of colors and details
SVG
SVG is a vector format that stores images as mathematical descriptions of shapes, lines, and curves, rather than pixels. An SVG file is essentially a text document in XML format.
It is recommended to use for icons, logos, diagrams, and UI graphics.
File Size
Since SVG describes graphics with formulas rather than pixels, the file size is usually very small and does not depend on the display size.
Consequence: SVG maintains high quality at any scale without increasing file size.
Limitations and Disadvantages
-
Not suitable for photographs
-
Complex SVGs (large number of paths, filters, masks) can have large file sizes
-
Poorly optimized SVGs can negatively impact performance
Why Image File Size Matters
Heavy images (1mb and larger) increase loading time. The larger the image size, the longer it loads and the later it displays on the slide. This can slow down performance and worsen content perception.
For example, if we use a 15 megabyte image next to a 500 kilobyte one, the user will see that the first image appeared earlier, while the second image appeared with a delay.
Note: Keep your images under 1mb file size. The bigger the image, the longer it takes to load. 1.5mb file size is an absolute max for images.
Image Resolution and iPad Retina Display
Prepare all your assets in the 2x resolution compared to your design.
Export images from Figma at a 2x scale to ensure proper display on high-density (Retina) screens. On such displays, one logical pixel is rendered using multiple physical pixels.
Retina displays use pixel density that's roughly double (or more) that of standard displays. Instead of one physical pixel representing one point in your design, retina screens use multiple physical pixels per point.
For iPads specifically:
-
Standard displays: 1 point = 1 physical pixel (1x)
-
Retina displays: 1 point = 2 physical pixels in each direction (2x)
-
This means a 100x100 point image actually needs 200x200 physical pixels on retina screens
Apple measures this as "points" vs "pixels" - points are the logical measurement you design with, while pixels are the actual physical display elements.
Why Export at 2x
When you export an image from Figma at 1x for a 100x100 point space on an iPad retina display, here's what happens:
-
Your 100x100 pixel image gets stretched across 200x200 physical pixels
-
The device must upscale the image to fill the extra pixels
-
This upscaling creates blurriness, softness, and loss of detail
By exporting at 2x, you're providing the native resolution the display actually needs - giving it real pixel data instead of forcing interpolation.
Note: if your design is already adapted for retina and has a resolution 2048 × 1536 for each slide or bigger, then you don’t need to export assets using a 2x multiplier.
If slide resolution in your design is 1024 × 768, then use a 2x multiplier for all assets.
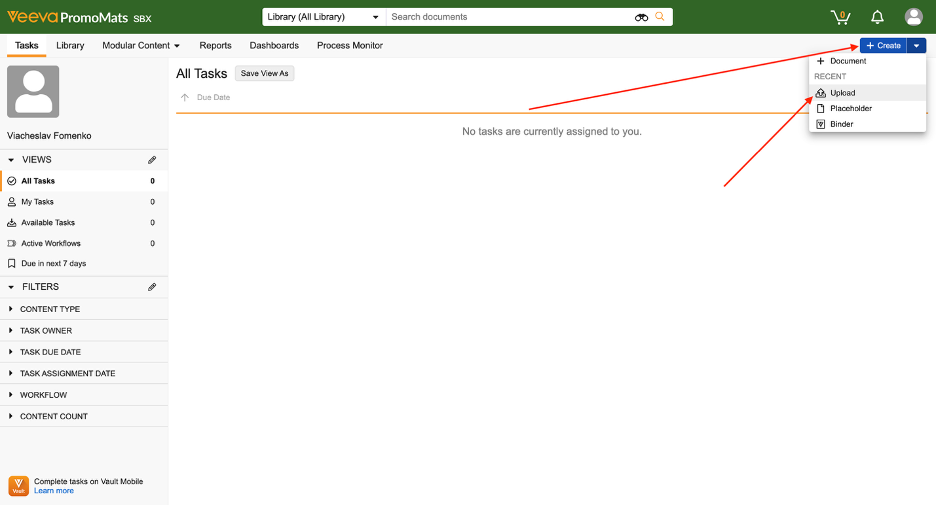
How to Upload Images to Vault
Click the "Create" button and select "Upload".
In the "Document Type" field, select "Component › Images › Photos".
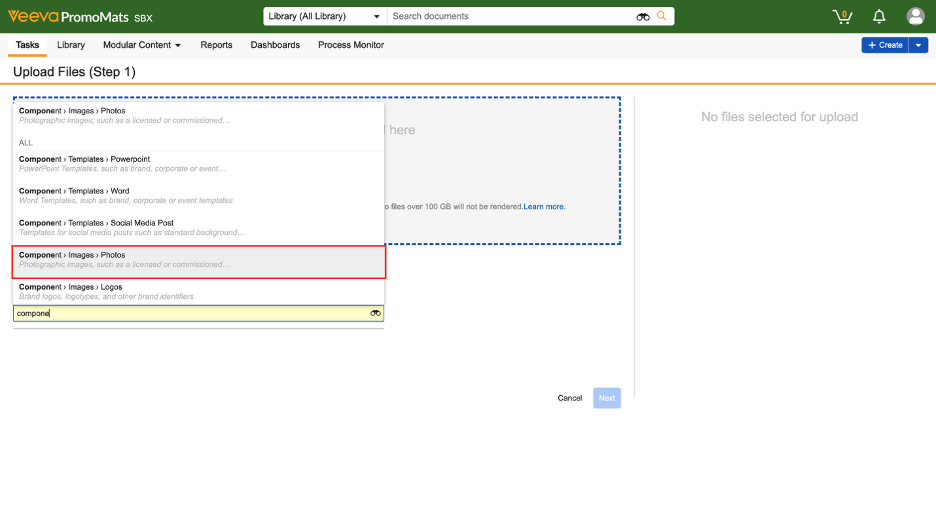
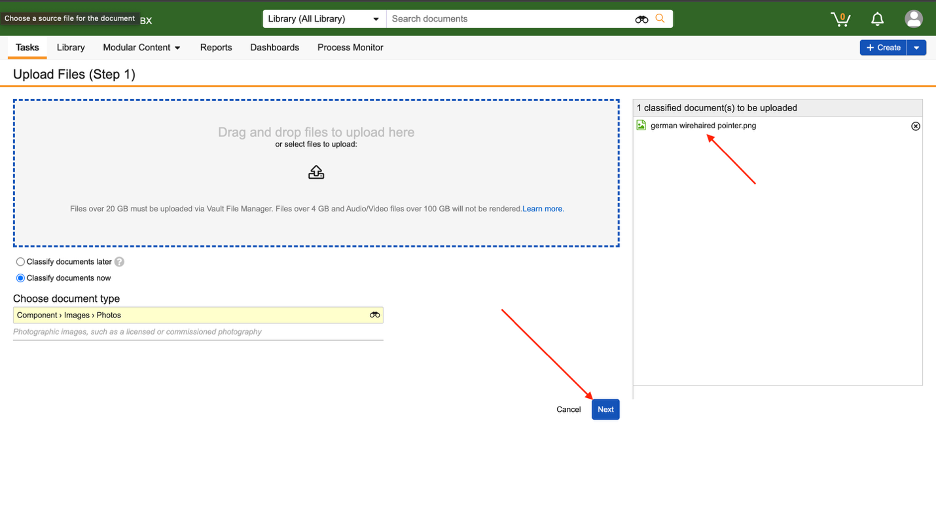
Then drag and drop the image into the drop zone or click the arrow to select an image from the computer.
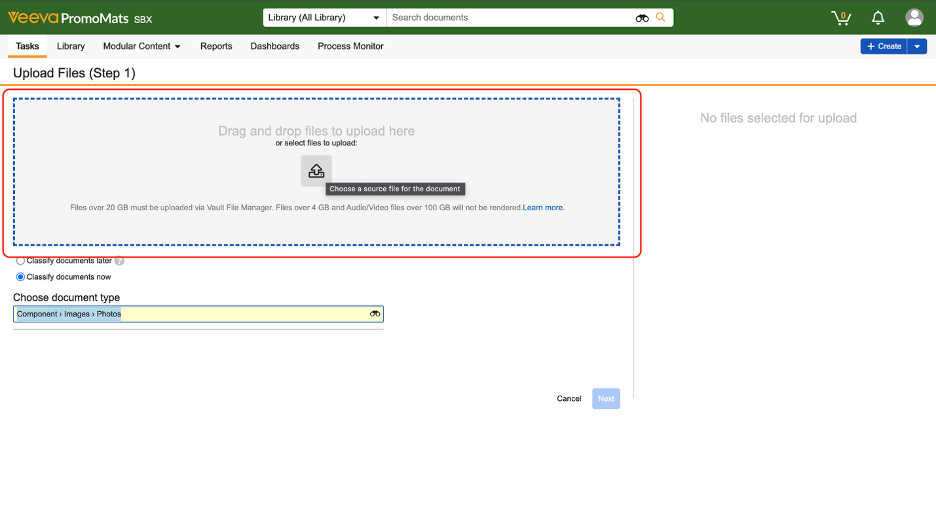
After that, the image should appear on the right side.
Once the image is added, click the "Next" button.
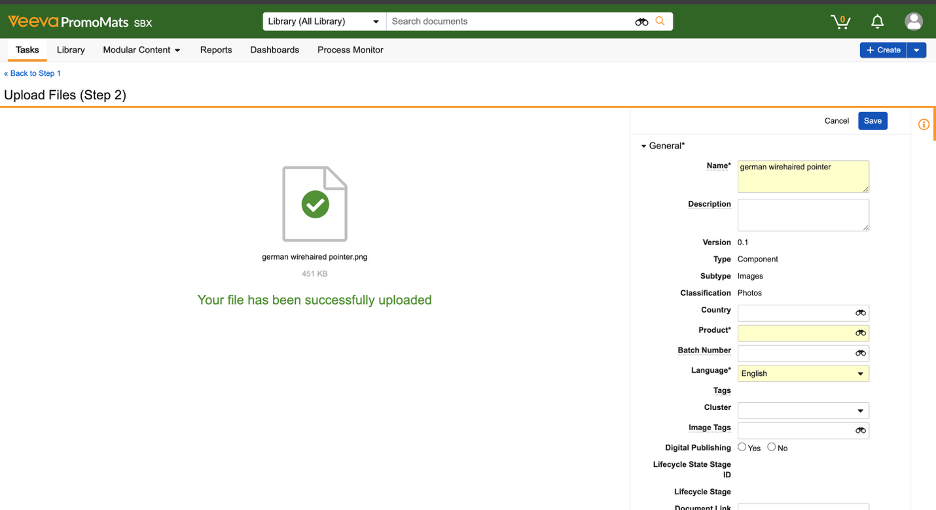
Required Fields
-
In the "Name" field, enter the image name
-
In the "Product" field, select a product
-
And the language (English by default)
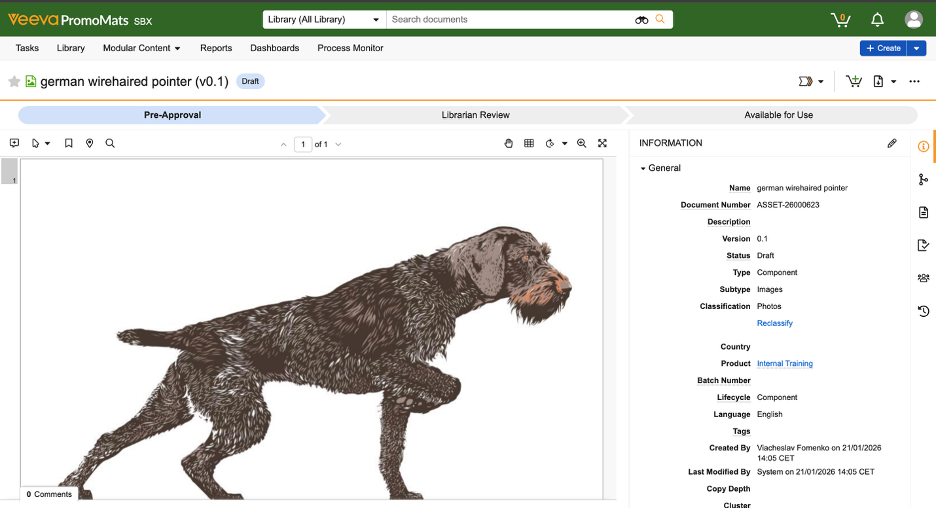
After the fields are saved, a thumbnail of the image will be generated.
How to Use the Image
In the "From Vault" tab, find the image.
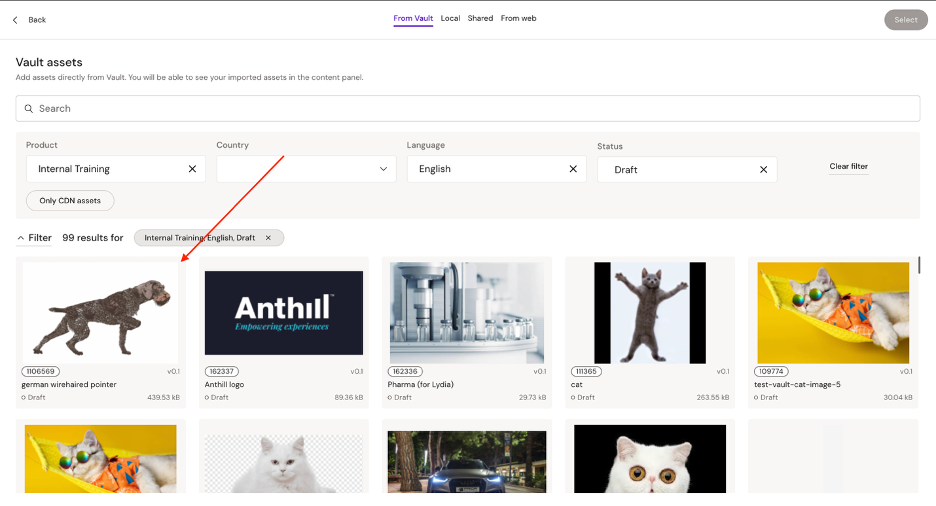
By clicking the "Filter" button, find the image using the parameters that were specified when saving.
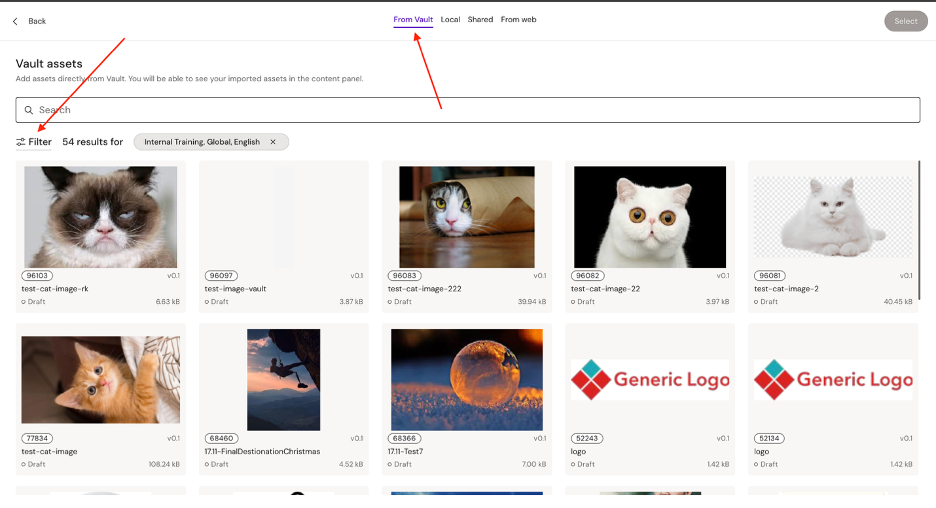
Apply filters using the properties specified during image creation to find the image.
To remove filters, click on the cross next to the filters.
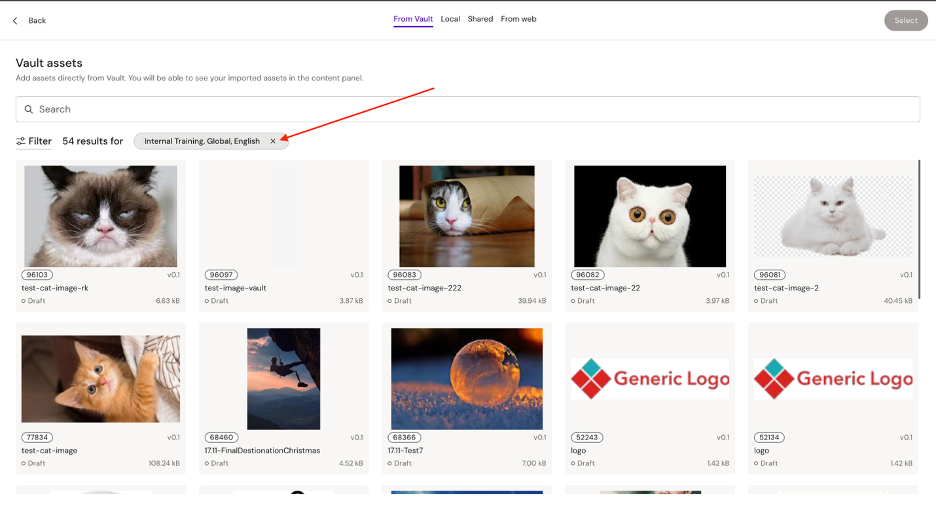
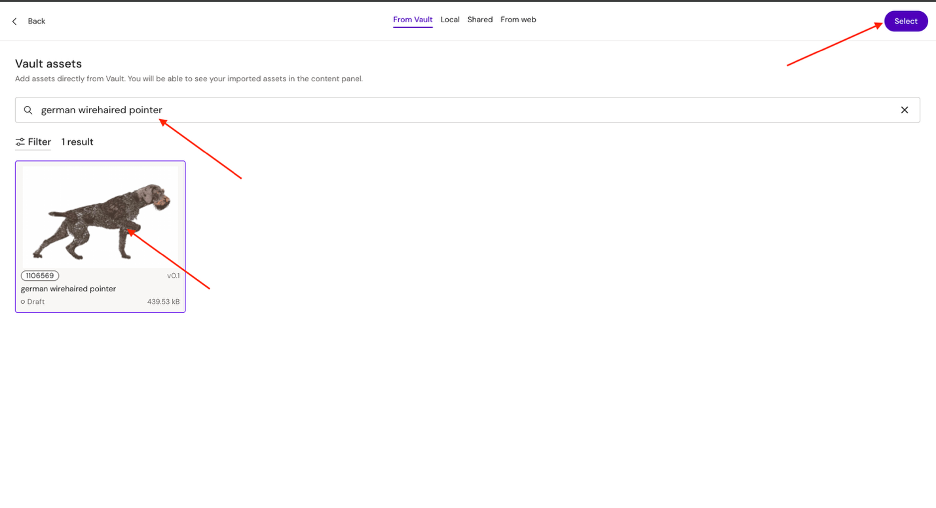
It is also possible to search by image name.
To select an image, click on the image and press the "Select" button.
How to Upload an Image to Aprimo
Click the button with "+" and then on "Content Item".
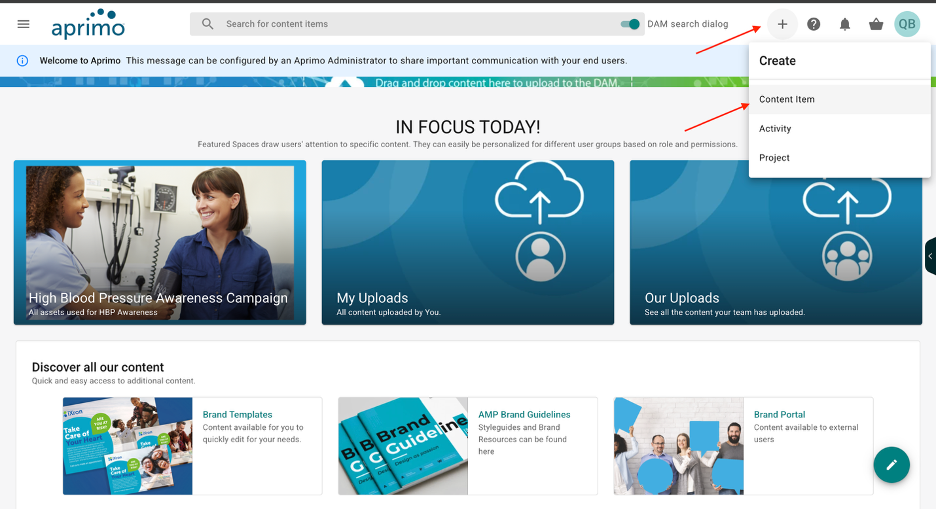
Select the "Asset" option and click the "Create" button.
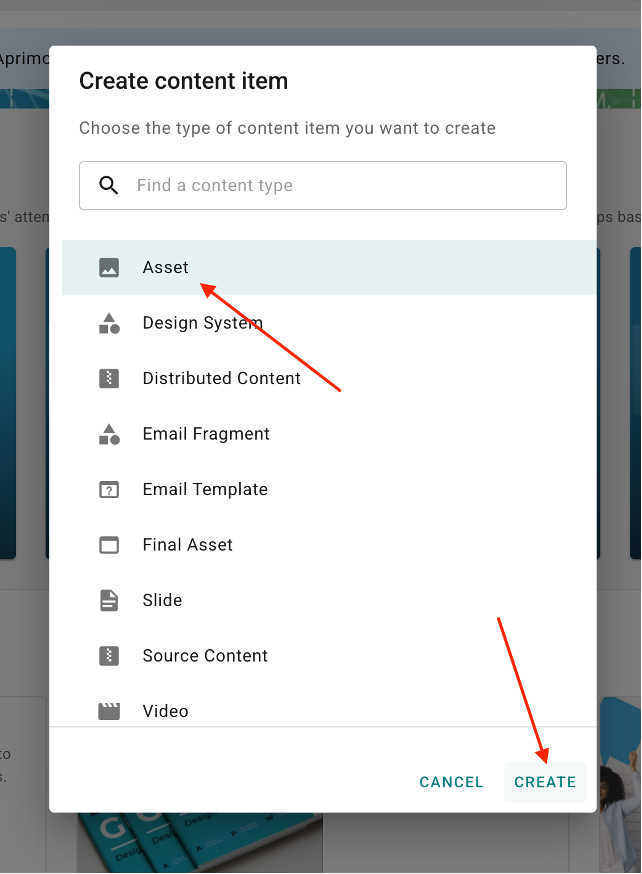
After that, specify the country and product and click the "Create" button in the upper right corner of the screen.
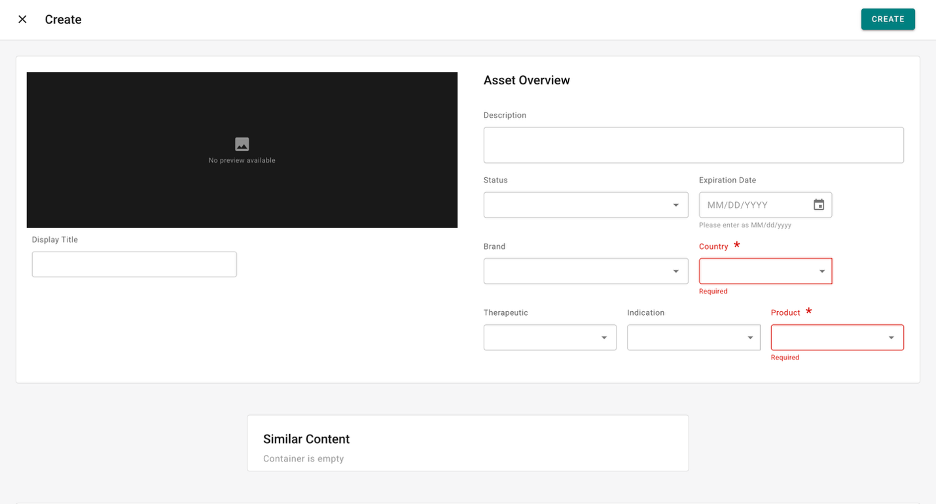
Upload the image using the "Upload File" button or drag and drop the image into the drop zone. The asset name will match the image name.
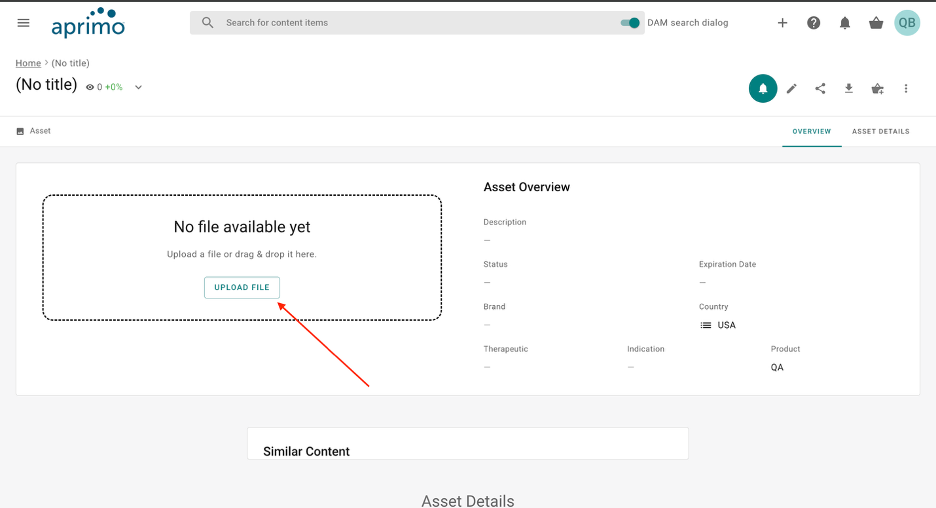
According to the previous section, we can find our image in Activator.
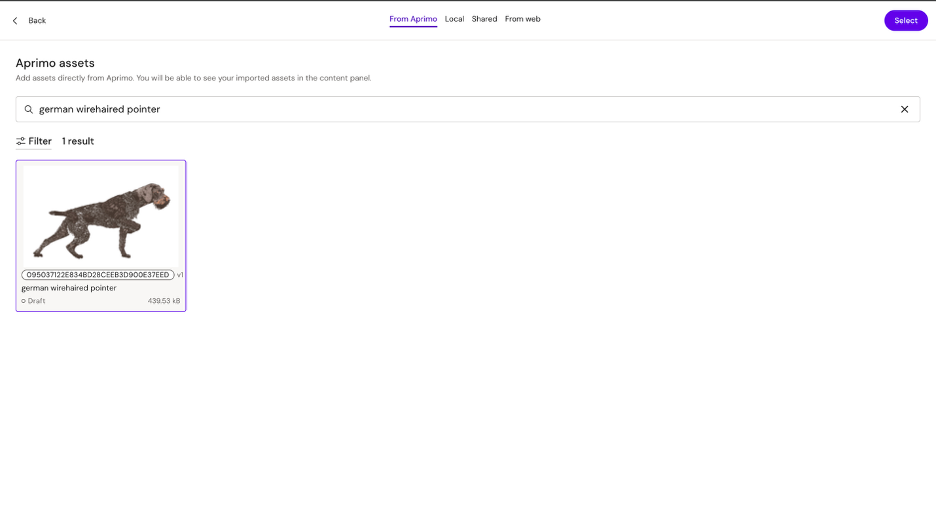
Image Optimization
Image optimization is very important for large file size images.
For example, take an image from the previous example with a file size of 602KB and optimize it using the service https://tinypng.com/

Observe that the service optimizes the image and reduces its file size. As a result, the image loads faster
The service changed the DPI of the image.
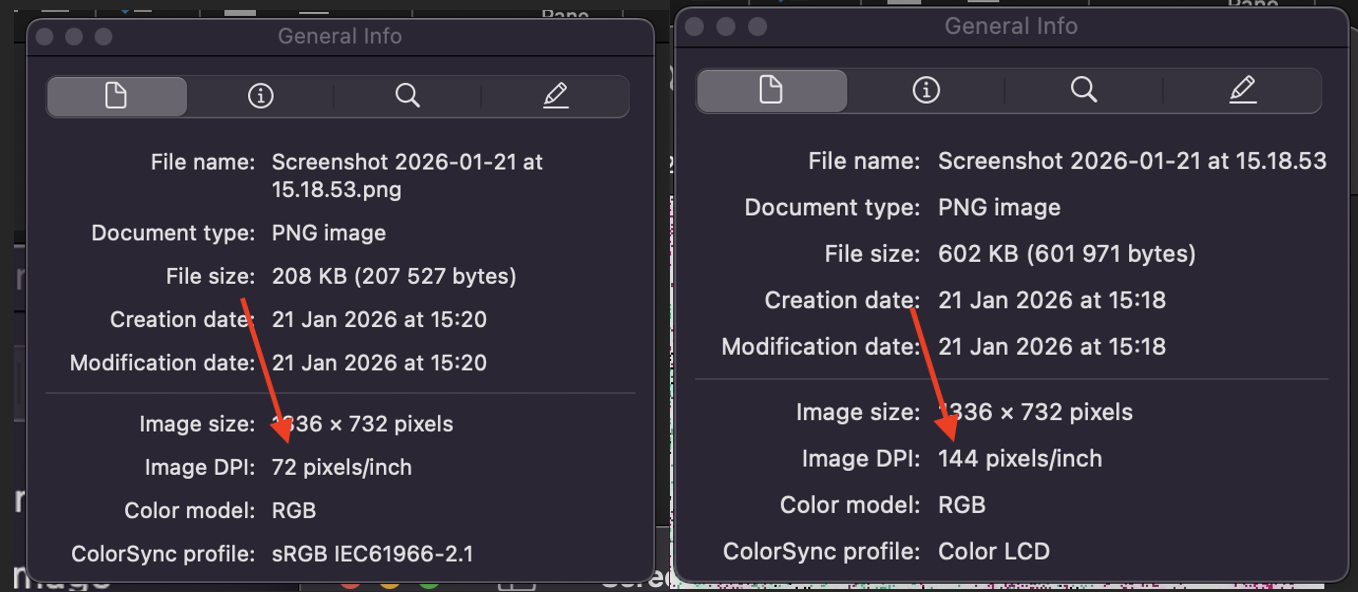
DPI affects printing, not the display of images on screen. Visually, the image quality on screens will not change.