
The Bottom Menu component is a specialized tool for creating slide navigation. Unlike standard components, its structure and links are managed centrally through the Shared Resource settings.
Add Bottom Menu
You can add a Bottom Menu from the Left panel.

How to style Bottom Menu
The right panel for the Bottom Menu contains general properties:
-
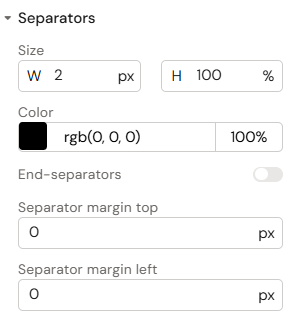
Separators:
-
Size (Width/Height)
-
Color
-
End-separators (Toggle)
-
Separator margin top
-
Separator margin left
-
-
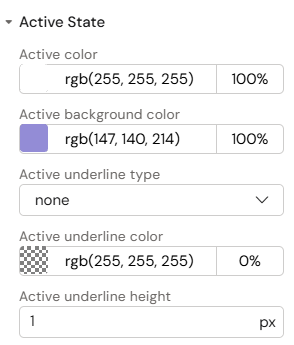
Active State:
-
Active color
-
Active background color
-
Active underline type:
-
none
-
underline
-
line-through
-
-
Active underline color
-
Active underline height
-
-
Background - available field - color
Overview and Prerequisites
The Bottom Menu provides a consistent navigation bar across multiple slides. However, it has specific requirements for correct functionality:
-
Shared Resource Configuration: The menu content (links and labels) is configured outside the Slide Editor.
-
Binder Structure: Slides must be placed within Binders created in Activator. Binders created in Vault may not maintain the correct shared resource connection during localization or copying.
-
Alternative Recommendation: Consider using Slide Fragments for navigation if you require more flexibility, as Fragments allow for direct editing within the Activator UI.
How to Use the Bottom Menu
Step 1: Adding the Component
Select the Bottom Menu component from the components list and place it on your slide. A placeholder menu will appear, but you cannot edit its links directly on the canvas.
Step 2: Accessing Shared Resource Settings
To configure the menu items:
-
Open the Settings page for your document.
-
Click the link for the Shared Resource associated with your project.
-
Once in the Shared Resource configuration page, click on the Menu tab.

Step 3: Configuring Navigation Items
In the Menu tab, you will see a list of items. Each row represents a button in the menu:
-
Label: Enter the text to be displayed on the menu button.
-
Presentation: Choose the target Binder from the first drop-down menu.
-
Slide: Choose the specific Slide within that binder from the second drop-down menu.
-
Add Items: Click "+ New menu item" to expand the menu.
-
Save: Click "Save Updates" and then "Publish".

Localization and Duplication
When managing localized versions or duplicating projects, keep the following in mind:
-
Relationship Mapping: If you localize a presentation, ensure the binder is created in Activator to maintain the relationship with the Design System.
-
Link Redundancy: When duplicating a project and its Design System, the new copy will retain links to the original project. You must manually update the links in the Shared Resource to point to the new slide copies.
-
Cross-Binder Navigation: Navigation between different binders is only possible if all binders share the same Design System.
Key Features
-
Centralized Control: Update the navigation once in Shared Resources to reflect changes across all slides using the component.
-
Standardized UI: Ensures that the navigation bar remains in the exact same position and style throughout the presentation.
Best Practices
-
Publishing: Always remember to Publish the Shared Resource after saving changes, otherwise, the updates will not appear on the slides.
-
Fragment Comparison: Use Bottom Menu for rigid, global navigation. Use Slide Fragments if you need different navigation structures for different sections of the same presentation.