
The Media Library is where you find, import, and reuse assets (primarily images) in your documents.
Assets can come from different sources depending on your tenant setup, for example:
-
Your connected repository (DAM) such as Veeva Vault or Aprimo
-
Design System shared assets
-
Local (document-only) uploads
Varies by tenant (Anthill-managed)
Asset sources and available actions depend on tenant configuration and DAM setup. Learn more.
Access the Media Library
You can access assets in two ways:
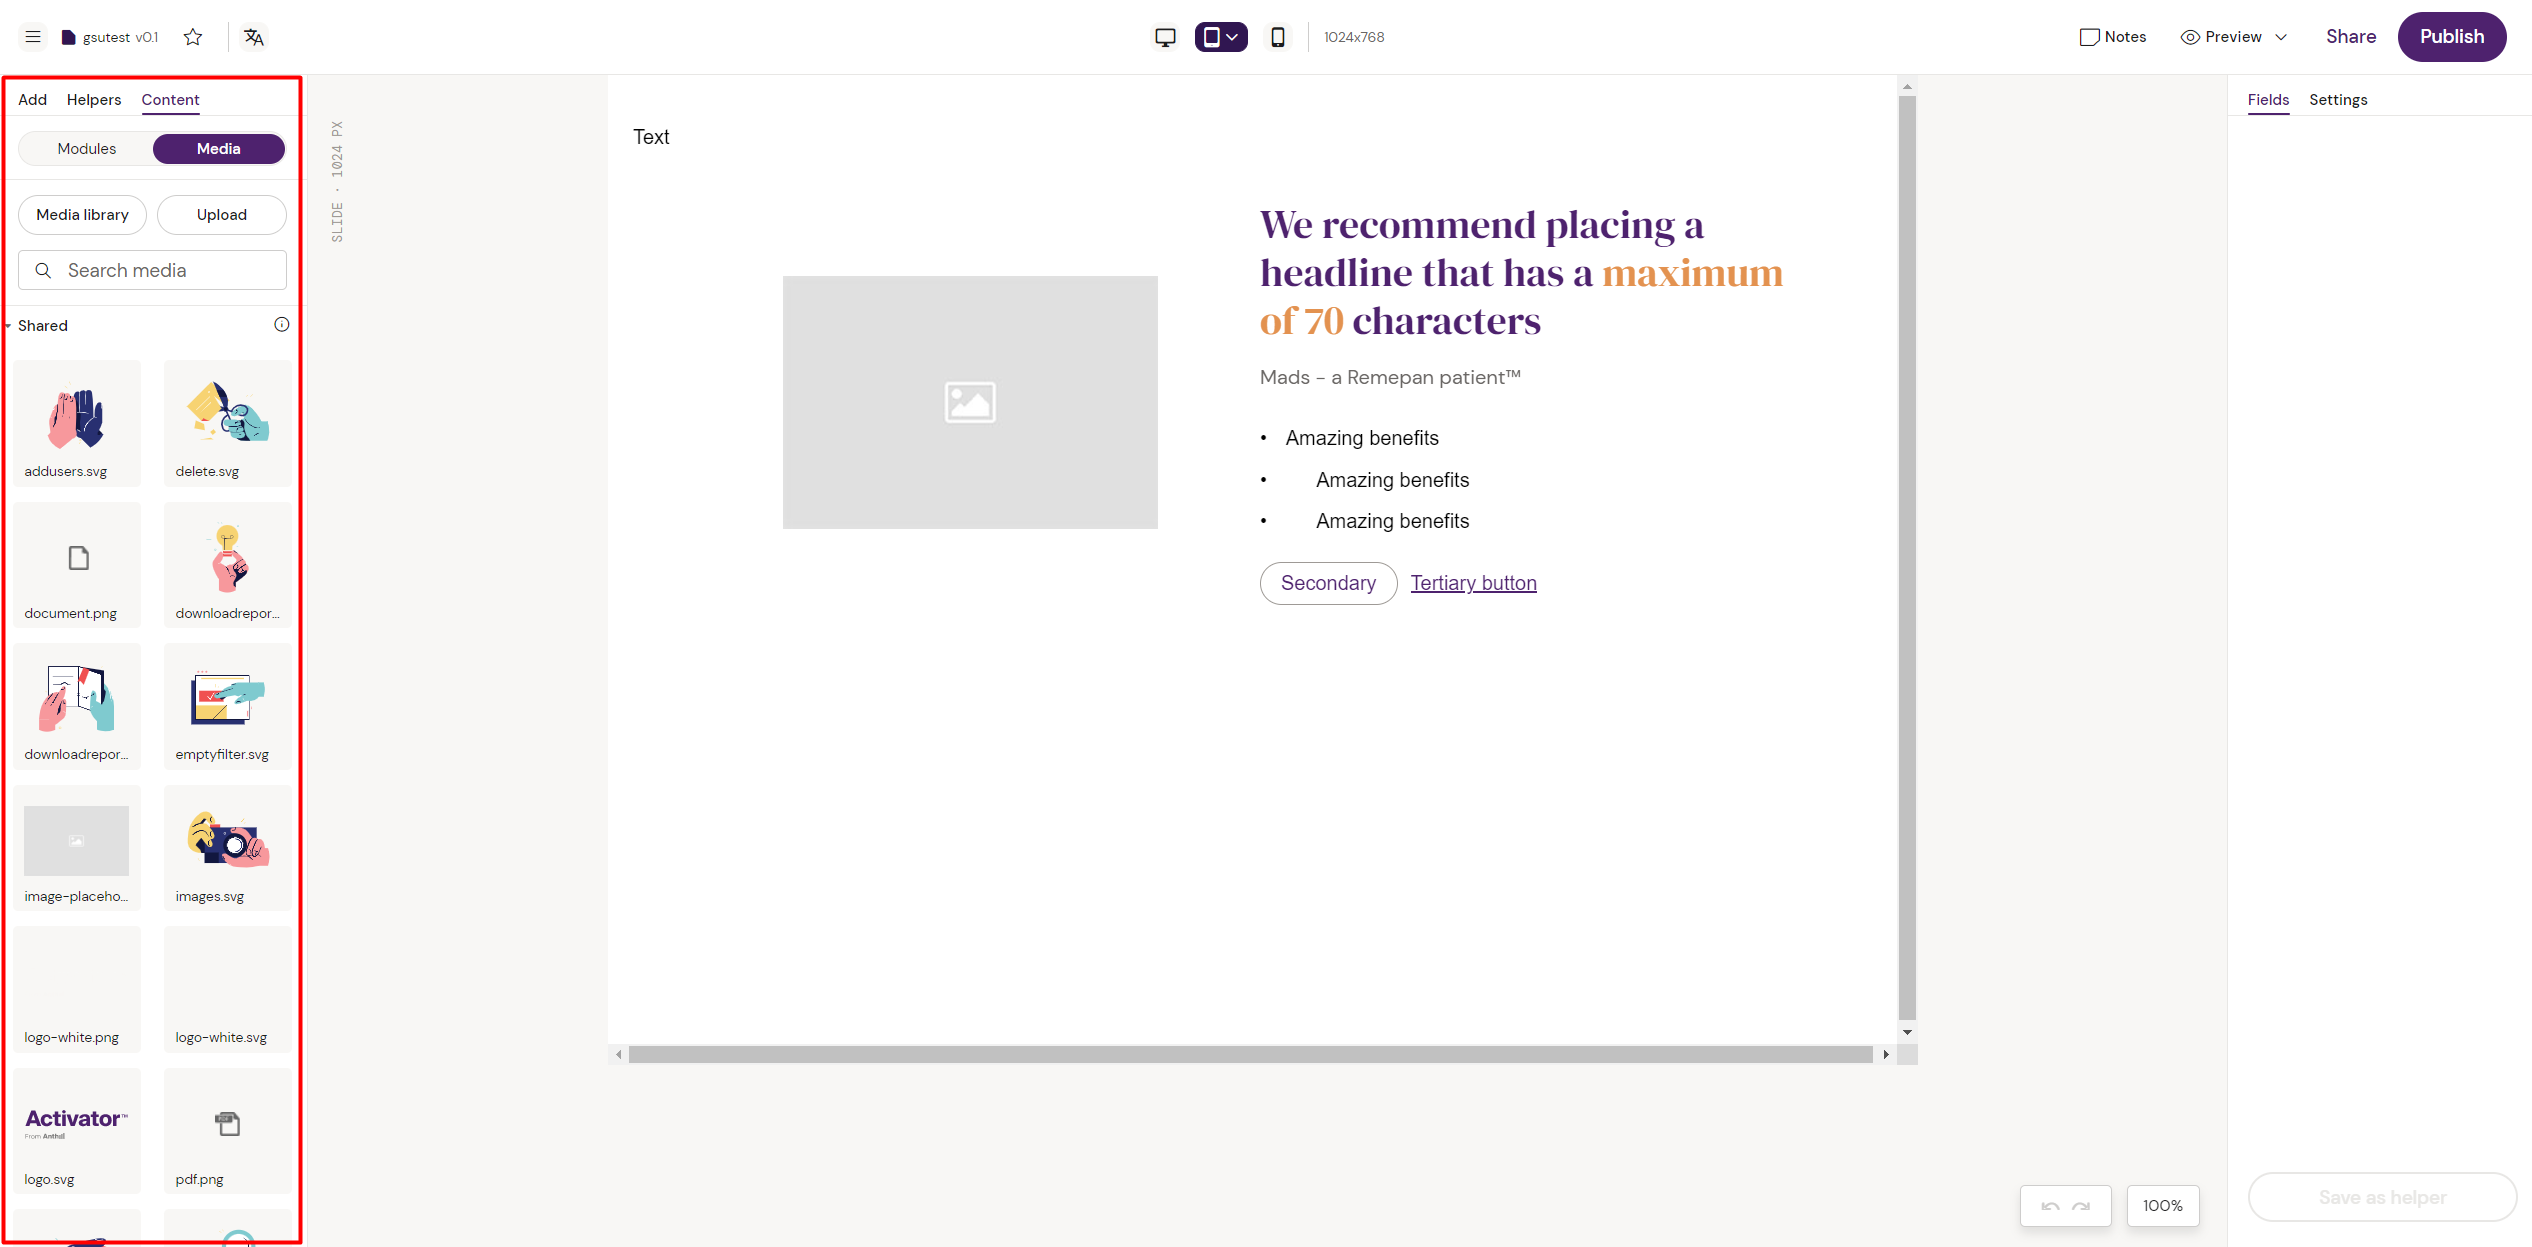
From the Editor (quick access)
-
Open a document in the Editor
-
Go to Content → Media
-
Browse available assets and thumbnails
Full-screen Media Library
Use the Media Library button to open a full-screen view where you can:
-
Search for assets
-
Filter by source (DAM / Shared / Local / Web, depending on tenant)
-
Upload assets (where permitted)
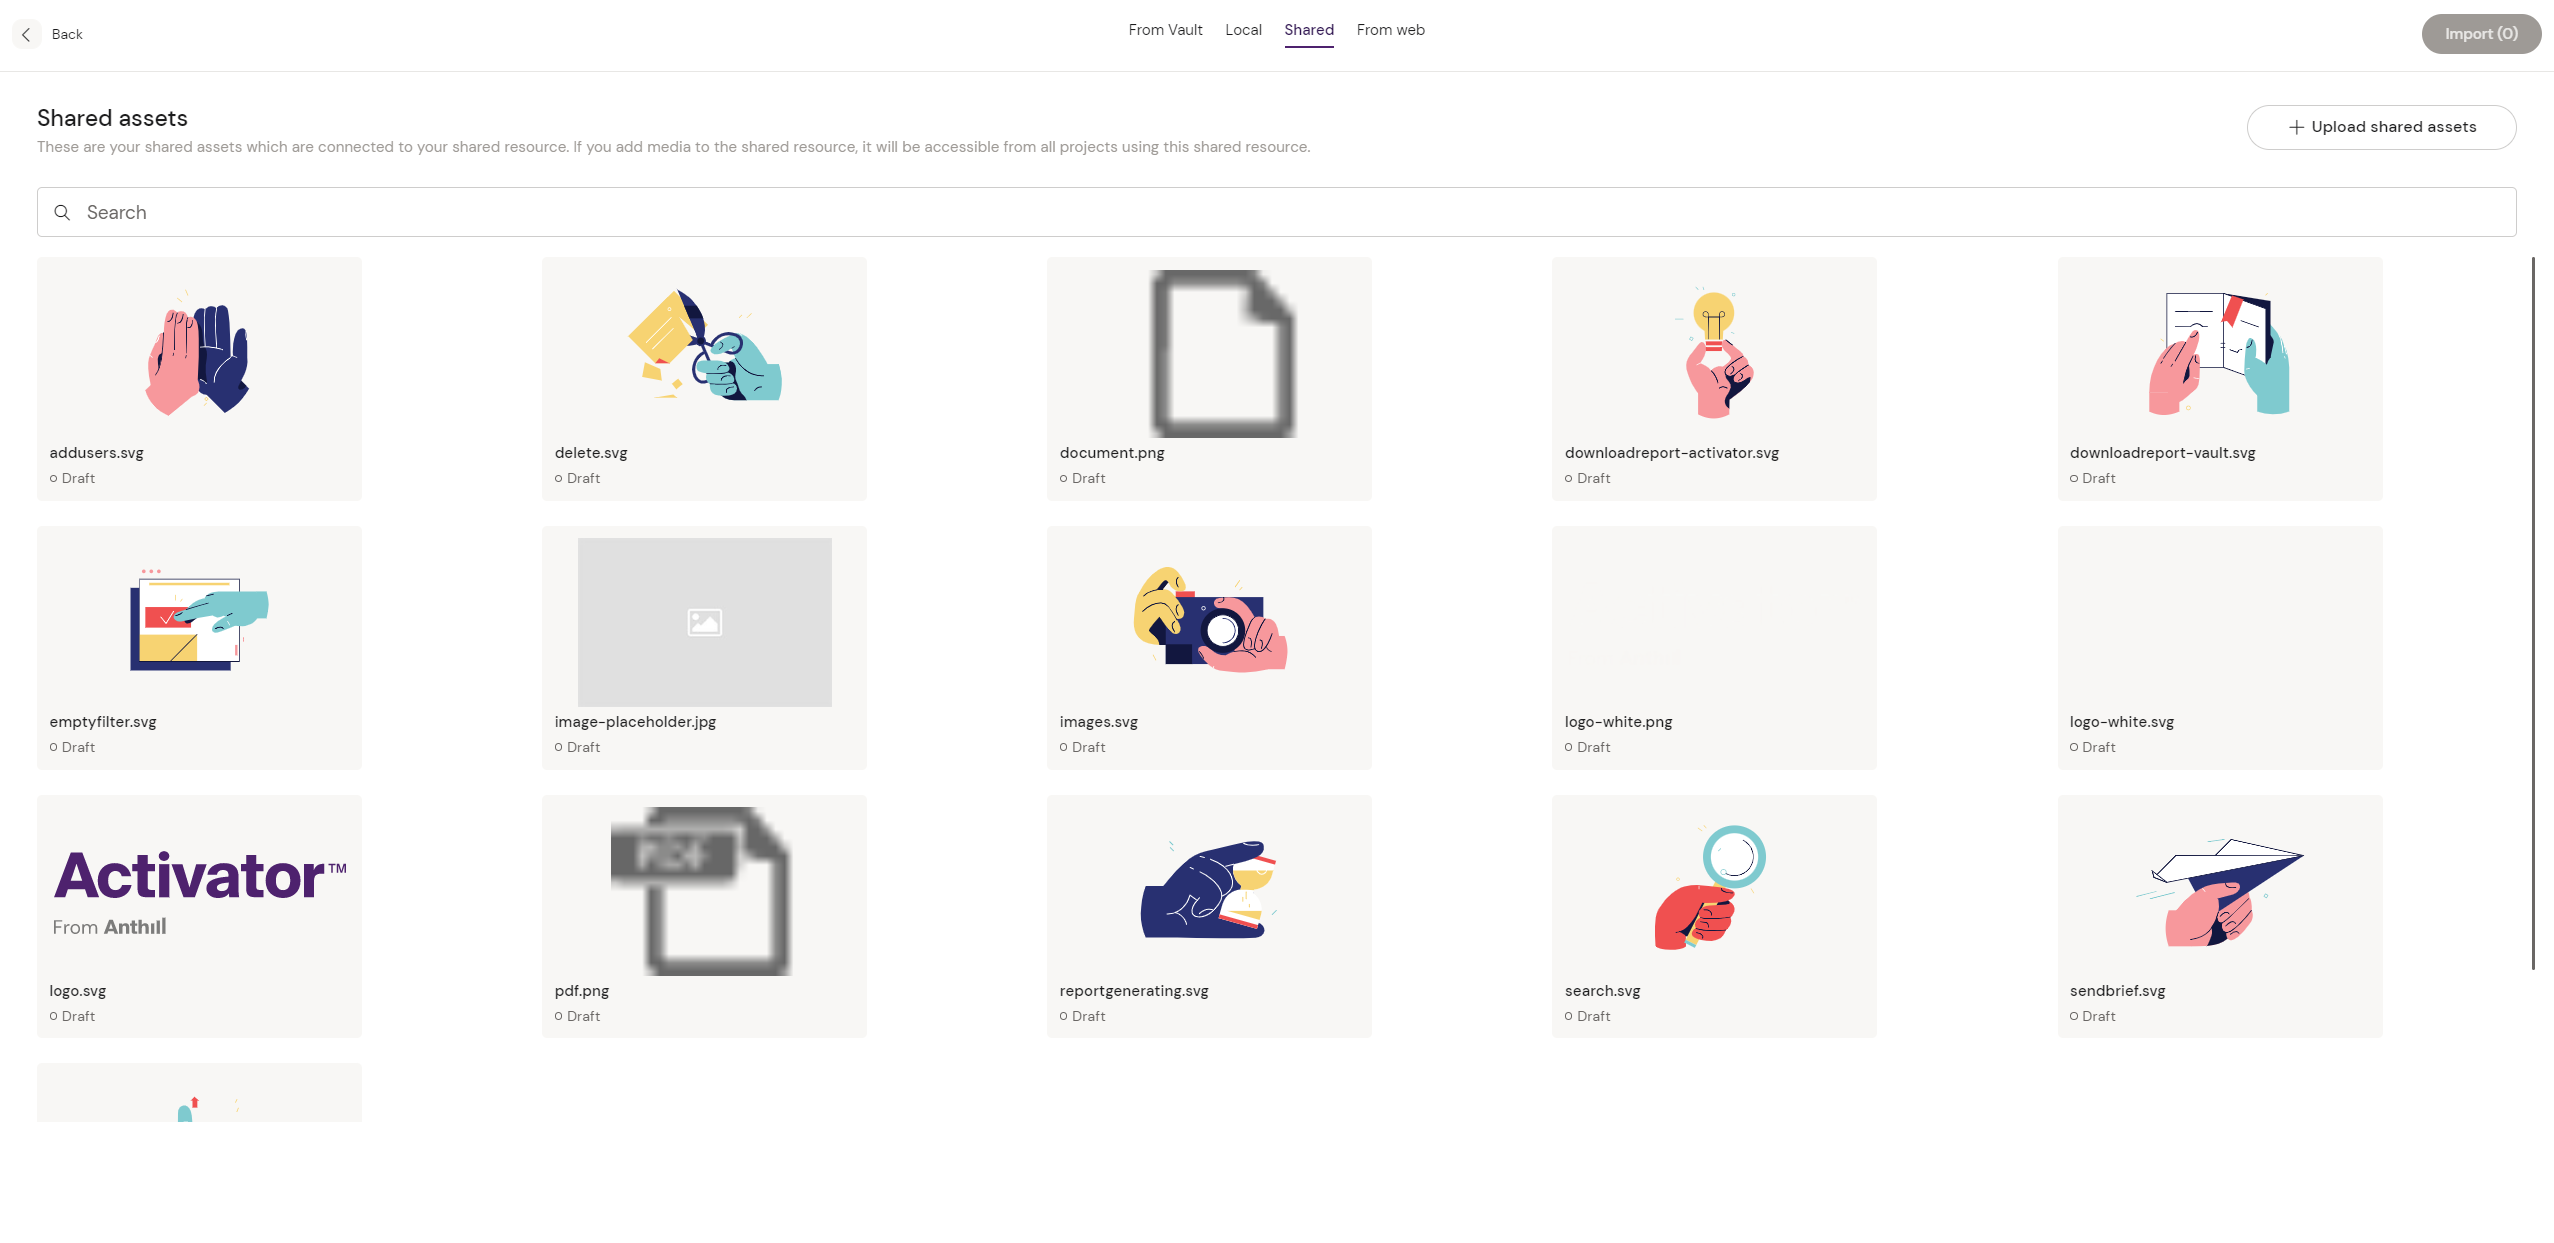
In the Media Library you can see all media assets available to your project.
Search by document ID (v3.6)
The Media Library search supports looking up assets directly by their document ID. Paste or type a known document ID into the search field to jump straight to the matching asset.
Document-ID search also applies to Email Fragments in addition to Media Library assets — useful when you have a known reference and want to avoid filtering through name-based search.
"Only CDN" filter (v3.6)
The Only CDN filter limits results to assets that resolve to a CDN-hosted URL. When this filter is configured as part of the default filter set by your tenant, the filter is enforced — the remove icon does not appear on its label, and the filter cannot be cleared by accident as long as no other metadata filters are active.
This behaviour ensures tenants that publish to systems requiring publicly resolvable image URLs (e.g. Salesforce Marketing Cloud) consistently see only the assets that will work downstream.
Add an existing asset to your document
-
In the Editor, go to Content → Media
-
Find the asset you want to use
-
Drag and drop it onto the canvas, or select it from the image picker (depending on component)
Upload a new asset
Uploads may target different destinations depending on tenant setup.
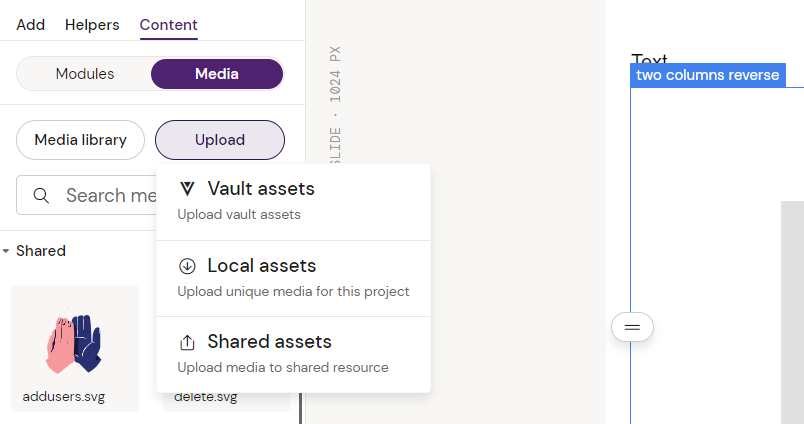
Typical upload destinations
-
DAM (e.g., Vault/Aprimo): uploads to your connected repository
-
Shared assets: uploads to a Design System asset library
-
Local assets: uploads that are only available to the current document (or project), depending on implementation
Important
Local uploads are not reusable across other documents unless you upload them as Shared or to the DAM.
Insert or import images
Images are inserted through an image component in the document.
Insert an image
-
Select the image placeholder/component on the canvas (or in Navigate)
-
Choose the source in the right sidebar (Settings), when available
-
Select an asset from the Media list (or import it via Media Library)
-
Set Alt text and other settings when available
Import an image (from the Media Library)
-
Open Media Library
-
Search and filter to find the asset
-
Import/select the asset
-
Insert it into the document via the image component
Note
Design System assets are typically available immediately. DAM assets may need importing first.
Image renditions (when available)
Some DAMs provide multiple renditions for an image (sizes, crops, formats). If your tenant exposes renditions, you can select the most suitable one during import/insertion.
-
Activator does not crop or edit images.
-